Poinsettia Petals by Amanda Hawtree-Taft

Autumn/Winter, Seasonal & Occasions, Step by Step
Amanda Hawtree-Taft, absolute master international educator with Crystal Nails UK, created this oh-so-pretty poinsettia designs…
Crystal Nails products are available via www.crystalnails4u.co.uk
Step 1
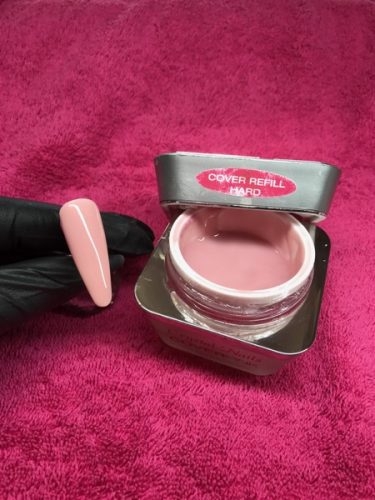
Prepare the nails for a Crystal Nails manicure service. Use Crystal Nails Cover Refill Hard gel as the case colour. The hard gel can be used for infills, as a builder gel to create structure of a nail bed extension or to sculpt the whole nail enhancement.
Step 2
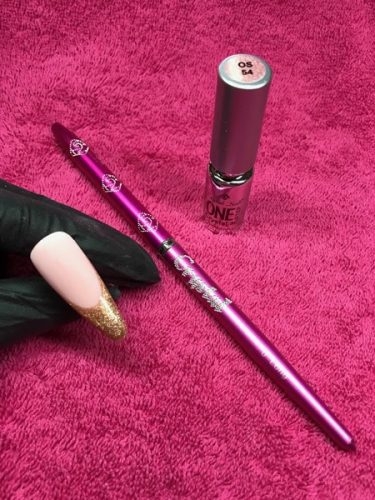
Create a smile line and free edge using Crystal Nails One Step Crystalac in Number 54.
Step 3
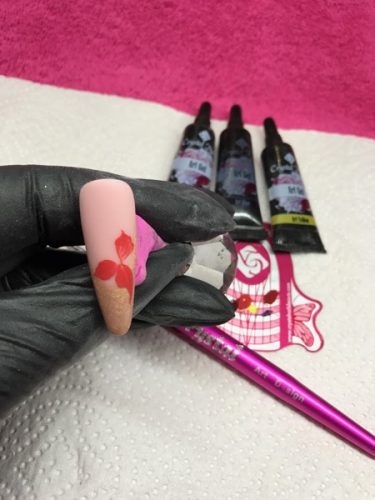
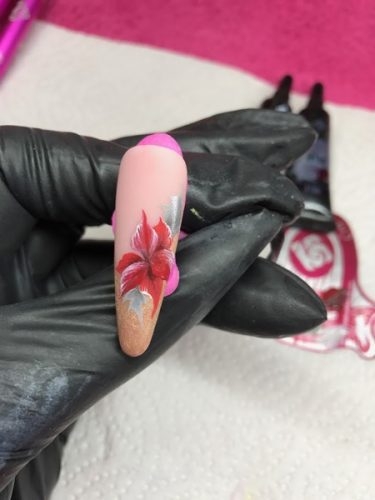
Paint the base petals of the poinsettia using a blend of the Crystal Nails Art Gels. The art gels are highly pigmented so you only need a tiny amount to achieve great coverage. The range come in ten colours, but can be mixed together to create an endless palette of colours.
Step 4
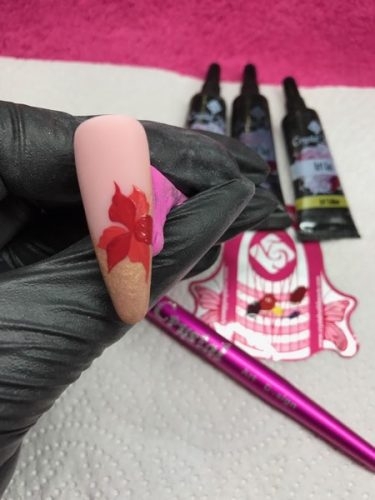
Create a slight different colour of red for the next layer of petals to create depth in the design. Use either the Crystal Nails Mini 3D Brush or Art Design Brush to paint the details.
Step 5
Using a blend of green art gels, add leaves to the design. Take care with the placement of the leaves to ensure the design ‘flows’ and the composition of the design compliments the length and shape of the nail.
Step 6
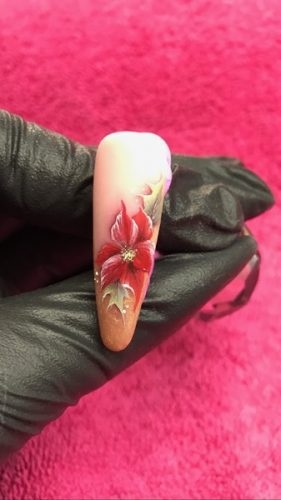
Using a 0 Short Fine Detailing brush, add highlights to the petals and leaves. Also add some detail to the centre of the flower using yellow art gel and a decoration needle.
Step 7
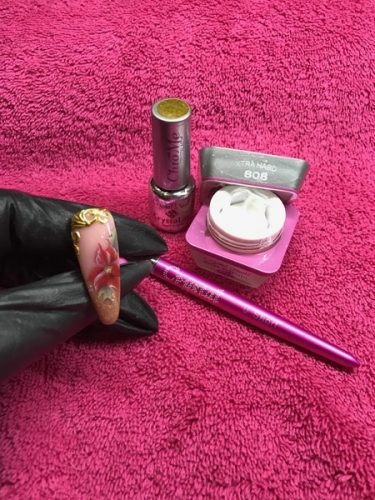
To complete the design, add a baroque style border using Crystal Nails 3D Gel. This gel can be applied in thicker layers to create raised designs. Finished the design with a little Crystal Nails Chrome Gel Polish in Gold.

Read the latest issue