How to take a great nail photo
By Katie Barnes | 14 March 2017 | Business, Expert Advice, Feature, Technique
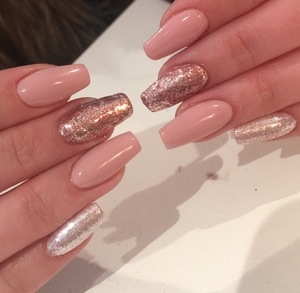
Salon owner, educator, former Scratch columnist and award-winning nail stylist, Katie Barnes, offers advice on making the most of your nail snaps…
Taking good photographs of your nail work can increase your chances of being featured in publications and grow your clients and social media following. The quality of your photographs can show the difference between an amateur and professional nail technician.
You don’t need a professional camera or equipment to get good quality, professional images of your nails. The built-in camera in your smartphone is just as good for nail images unless they are being used for a competition entry, editorial or front cover.
Small imperfections tend to be magnified in a photo so do you best to clean up around your nails and skin before taking a photo. You can edit these images on your phone using the free Photoshop app and in social media platforms such as Instagram where you can change colour balance, brightness, contrast and crop. One of the most important points to consider when photographing your nail work is lighting.
Lighting
Where possible, try to photograph in natural lighting, but if it’s dark outside, photograph the nails under white light (either fluorescent or regular light bulbs). I often use a homemade lightbox. It provides light diffusion and a uniform background. Professional lightboxes can be expensive, but you can make a cheaper version at home and then use flashes, desk lamps, and other light sources such as light rings which attach to your smartphone to create the desired lighting effect. Spend some time to learn how to work with the light and nail poses and what works best for that image and your model’s hands.
Hand poses and props
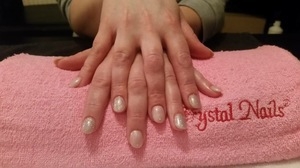
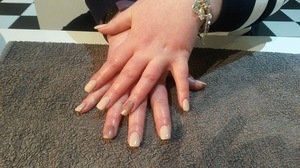
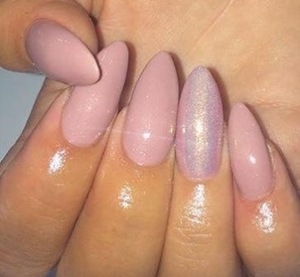
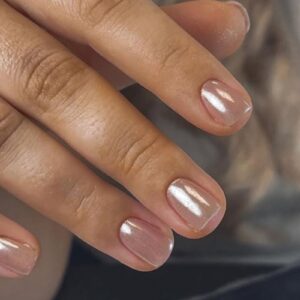
When choosing the hand pose, take into consideration the client’s fingers and hands – are they straight and slim or do they have flaws? Choose a hand pose that is flattering to the hands you are photographing. Remember, our clients aren’t professional hand models and need guidance and often help into a position. Take close up photographs where the nails are the focus and the detail of your work is clear to be seen. Your eyes should immediately be drawn to the nails and not any clutter or backgrounds.
Having one well-placed prop is enough as you don’t want it to take away from what should be the main focus of the photo – the nails. If the client’s fingers aren’t naturally straight and slim, you could get them to hold their hand around something, such as the polish bottle. As a background, use a clean, plain towel or piece of computer paper behind the nails. Make sure your background is free of clutter you want the nails to be the focus of the photo.
Finishing Touches
Take lots of photos with different lighting, hand poses and backgrounds and sort through them on your computer or smartphone where you can see them all enlarged and zoom in; it’s better to have more than you need than not have enough good ones to choose from.
Don’t be tempted to flood the nails and cuticles with cuticle oil. Just enough to rehydrate is sufficient and ensure you massage it into the cuticle area, side walls and hyponychium. The greatest design can be overshadowed by chrome, dust or product in the cuticles.
My top tips for showcasing your nail work:
- Be creative with your photos
- Use quality photos only
- Use filters to enhance your photos
- Use edgy angles
- Mix up your hand poses
- Use good lighting
- Combine a number of photos into one using a collage app
- Avoid blurry, distorted images
- Make sure the nails are the focus and centre of the image
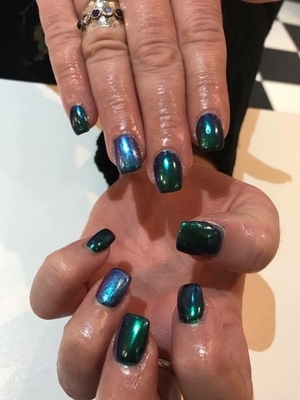
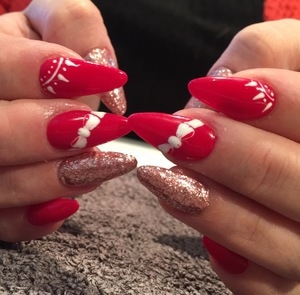
- Take close-up photos to show detail and quality
- Keep the photo symmetrical
- Position the hands effectively
Don’t forget to tag Scratch magazine into your posts with #showscratch on social media for your chance to be featured on the website or in the magazine.
Love Katie B x

Read the latest issue


