How to practice nail techniques away from clients
By Katie Barnes | 26 April 2017 | Feature, Technique
Salon owner, educator, former Scratch columnist and award-winning nail stylist, Katie Barnes, offers advice on finding time and tools to practice your techniques…
A sentence I hear more than often, especially from those fresh in the industry or learning is ‘I can’t find anyone to practice on’.
There is no better way to practice than on a ‘real customer’ so that you can test the longevity and wear of your work on real hands, however this is not always possible and shouldn’t deter you from constantly practicing your techniques.
The old age saying of ‘practice makes perfect’ is true and I always encourage my students to practice a technique every single day – whether it’s application, filing, bead pick up or a full set. Here are my top tips:
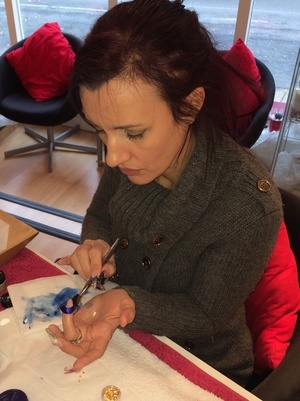
Practice on yourself
While you are your best model, it is not always beneficial to practice on your own nails time and time again. Constantly applying and removing enhancements on a daily or weekly occurrence could damage your own nails and you will never get to practice on a ‘real client’.
However, this way is most effective for concentrating on nail prep; form fitting; structure and carrying out a nail from start to finish and to establish the wear and longevity of your nail services.
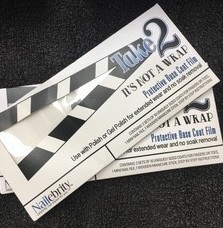
To help prevent damage, consider applying a protective wrap, such as Nailebrity’s Take 2 wraps onto your natural nail before application or even just buff your natural nail to a high shine, apply cuticle oil or clear polish and the enhancement easily separates from this once finished with an orange wood stick if you have used a wrap or minimal soaking for the latter.
If using these protective wraps, you must be gentle with your filing to ensure the product doesn’t lift from the wrap or protective layer you put down.
Practice on nail tips/wheels
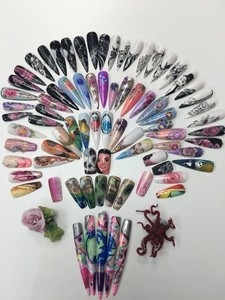
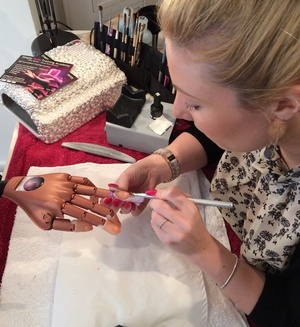
There are many kinds of tips that you can get: nail tips; nail wheels; display tips or practice fingers. These are great for practicing your polishing technique and nail art but can also be great for mastering smile lines, product application and filing.
Make sure you remove the shine from the tip before starting but you can miss out the base or priming stage.
Use a nail trainer
It can be quite tricky to apply a form correctly or easily on a nail trainer and get a slim shape but you can still practice all the techniques in your own time. Many nail trainer tips come with a raised cuticle area. Cut this off with some nail clippers for a flusher application at the cuticle area. Nail trainers can be expensive, so a make your own version can be to fill a plastic glove with sand and adhere a nail tip to the fingers to make ‘nails’. This sits nicely on the desk and is easy to manoeuvre about. Be careful not to file a hole in this though!
Use a ‘C-Curve’ Stick or Polish Bottle
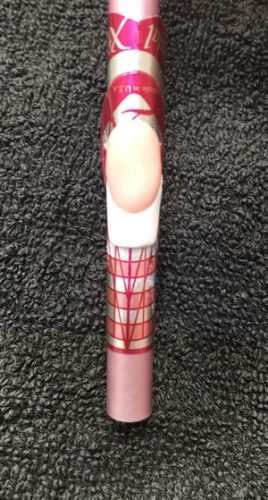
Using a c-curve stick, brush handle or a bottle of nail polish and attach the nail form to the end of it, just like you would do on a real finger.
The rounded base will mimic the rounded nail plate and give you a ‘c curve’. Leave the central tab of the form on to work on as the ‘nail plate’.
Laminated sheet
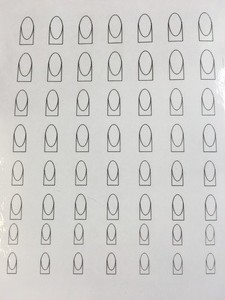
While it is valuable to practice all the service from start to finish, it is also beneficial to break down each stage, such as mastering bead pick up and mix ratio. You can do this on a laminated sheet of nail shapes or even on some couch roll.
It is important to practice different methods and ‘models’, to help with mix ratio (you won’t have the client’s natural warmth on a tip) for different situations and not get too comfortable with just the one practicing technique.
No excuses! There’s always a way to practice, even if you don’t have a model.
Love Katie B x
