7 tips for working with nail embellishments
By Scratch Staff | 16 August 2025 | Expert Advice, Feature, Technique

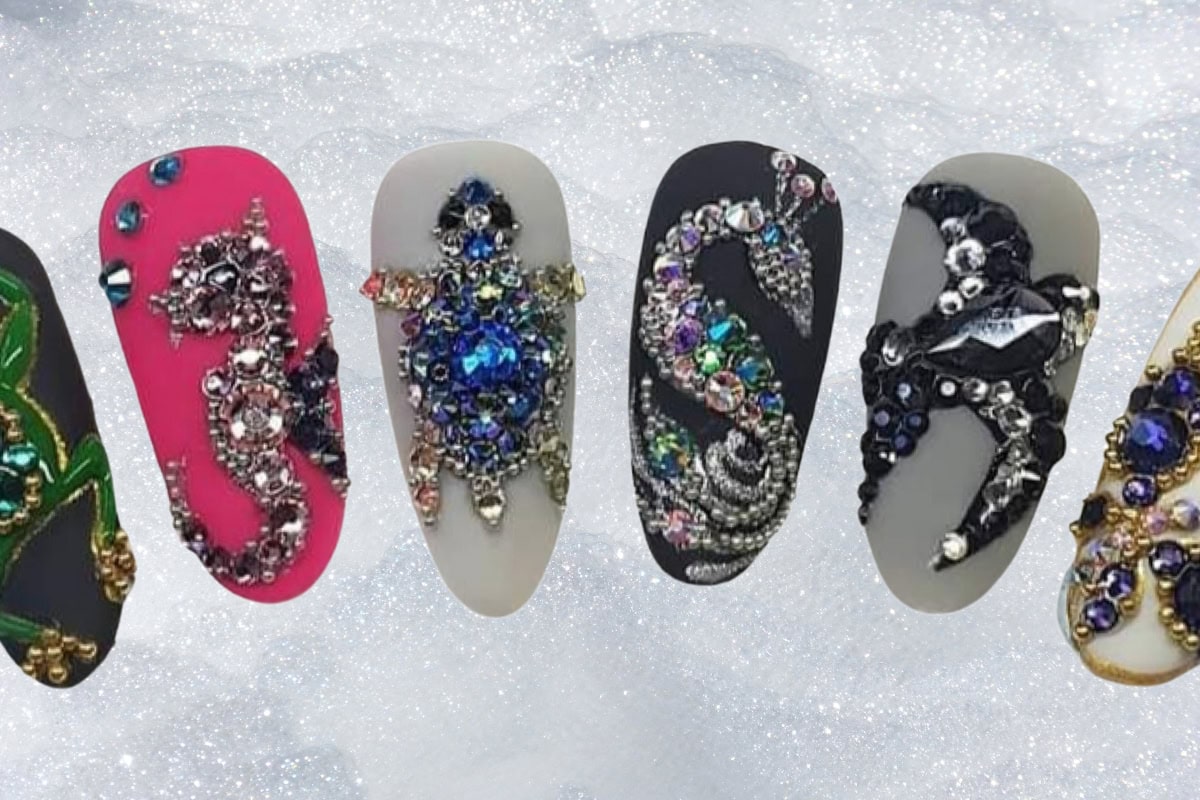
Adorning nails with 3D embellishments adds dimension to designs, allowing you to transform plain styles into striking looks.
7 nail stylists offer adhesion and application advice…
Lead nail tips by Scarlett Senter (@scarlett_senternailartist).

1. “Practice wearing embellished designs on your own nails, as this will help you to learn a lot about working with them and where to place them,” says Belinda Price, nail industry expert & educator.

2. “I recommend small, simple charms for clients that are new to embellishments,” shares Kiyoko Sumai of Nails By Kiyoko, Oregon. “I offer clients advice on everyday activities while they get used to their embellished nails, which reminds them that they have delicate additions on their fingertips. Caution is key!”

3. “Plan the placement of crystals and embellishments before you add them to nails,” advises Amanda Trivett, six-time Scratch Stars Awards finalist & Lecenté creator. “I recommend planning crystal designs on a piece of paper before applying to nails, allowing you to adjust the placement as required.”

4. “Patience is key when working with embellishments. Picking up tiny crystals can quickly become frustrating, but there are tools available to help make your work easier,” notes Scarlett Senter, multi award-winning nail artist & Kirsty Meakin brand ambassador.

5. “Adding embellishments requires a steady hand, plenty of time and a lot of patience. Be sure to explain this to the client ahead of their appointment and book out plenty of time,” recommends Emma Laverton, Glitterbels ambassador. “When using caviar beads, consider mixing them into clear builder gel on a palette and applying using a fine liner brush, before adding top coat to finish.”

6. “For small gems and pearls, I use nail glue, which I find is enough to adhere them to nails,” details Katie Turner, Glitterbels ambassador. “For larger pieces, I recommend placing the embellishment onto clear acrylic or builder gel, then allowing to set or cure before applying top coat with a fine liner brush to seal.”

7. Some pros offer to replace embellishments free of charge if they are lost up to 72 hours after the nail service. “I offer free fixes on any of my nail services, including embellishments, for the first three days, but anything over this time is charged as a fix,” comments Brighton nail artist, Hannah Turbine of @gellraiser. “As nail technicians, there is only so much we can do before it becomes an issue with the client’s aftercare.”

Read the latest issue


