Nail art tutorial: adorable 3D Easter bunny nails

Seasonal & Occasions, Step by Step
Scratch Stars Mixed Media Artist of the Year 2023 & Educator of the Year 2024, Melanie Lewendon, shares how to create this super-cute Easter bunny nail design.

“It took 15 minutes to create the bunny nail art, and I would charge £40 to £45 on natural nails for the full set, minus the 3D ears,” she says.
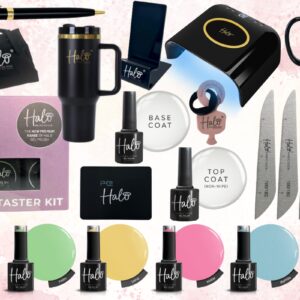
Products used:
- Halo Gel Polish in Swish and Matte Top Coat.
- Crystal Nails Aurora Flakes.
- Nail Artists UK gold and white L&P acrylic powders.
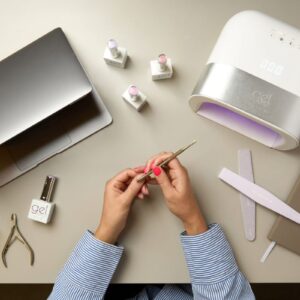
Step 1
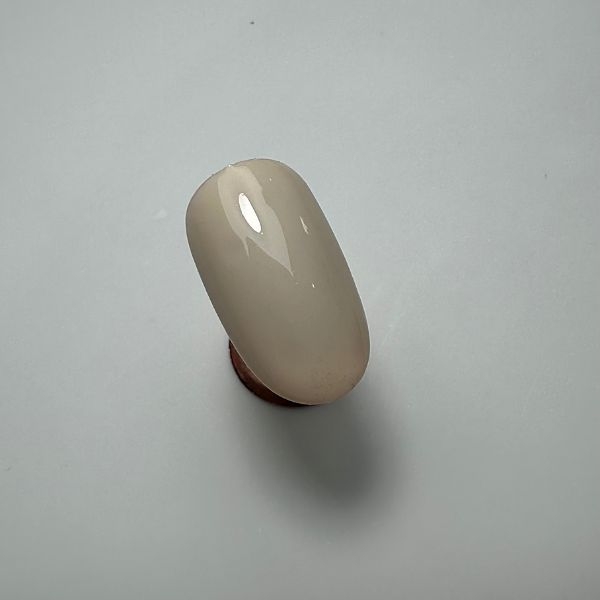
Apply your chosen gel polish base colour and cure.
Step 2
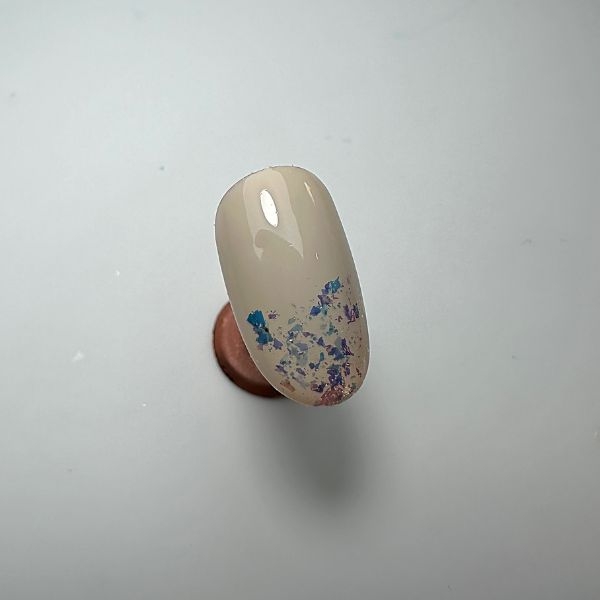
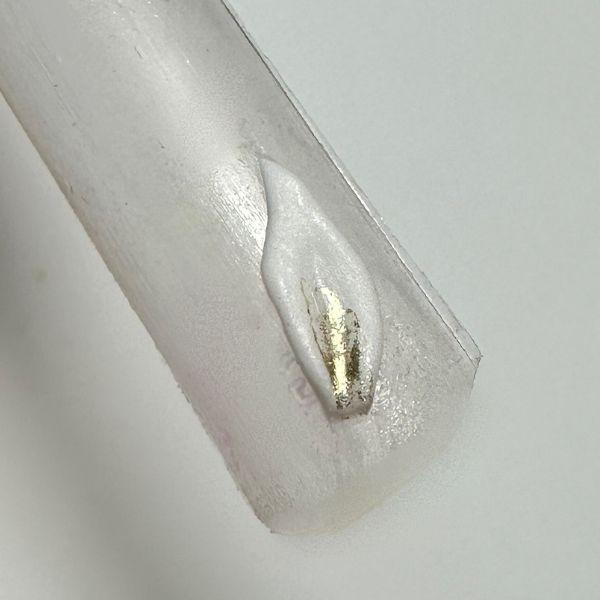
Press metallic flakes into a cured layer of the base colour coat.
Step 3
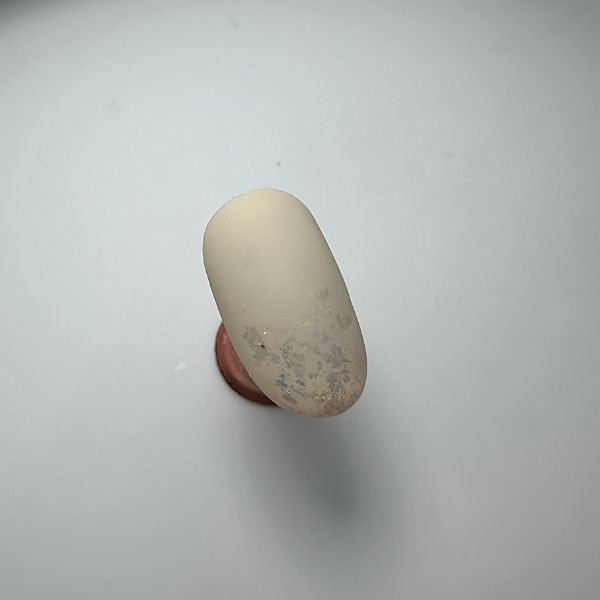
Apply matte top coat and cure.
Step 4
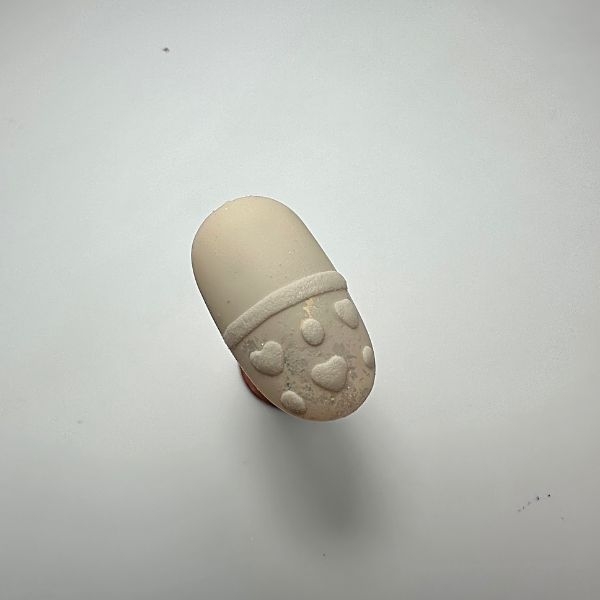
Using the base colour, paint a design onto the bottom half of the nail and sprinkle with clear acrylic power to create a sugared effect. Cure, then brush off any excess powder and apply fine glitter for a sparkly look.
Step 5
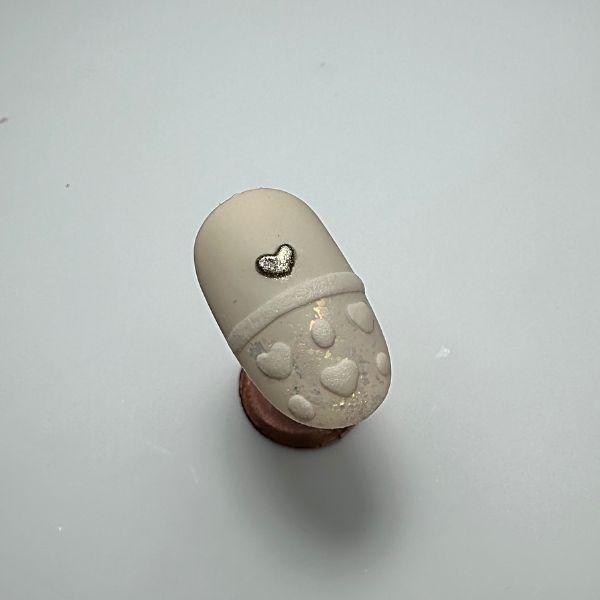
Paint a love heart onto the nail using a gold gel or acrylic paint, to create the bunny's nose.
Step 6
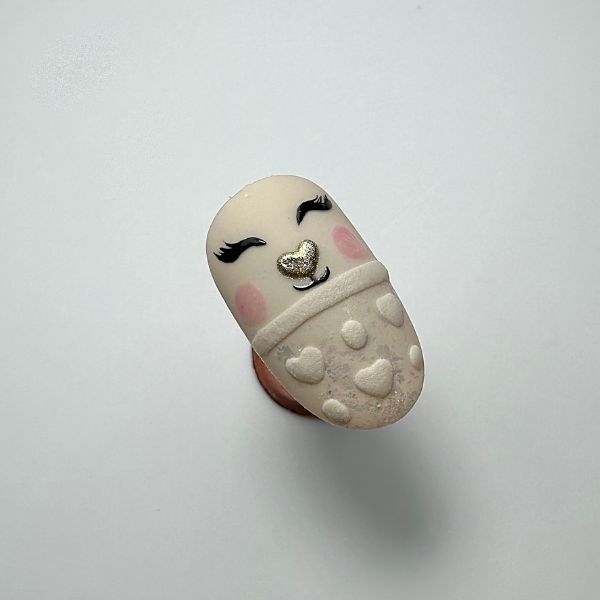
Paint lashes and the mouth with tack-free black gel paint. Mix pink pigment powder or pink gel with a no-wipe top coat to make a glassy pink gel, and paint rosy red cheeks. If the cheeks look tacky when cured, apply no-wipe top coat to them.
Step 7
Craft 3D ears using white L&P acrylic on an Arabella form. Apply gold metallic details and adhere to the nail.
Step 8
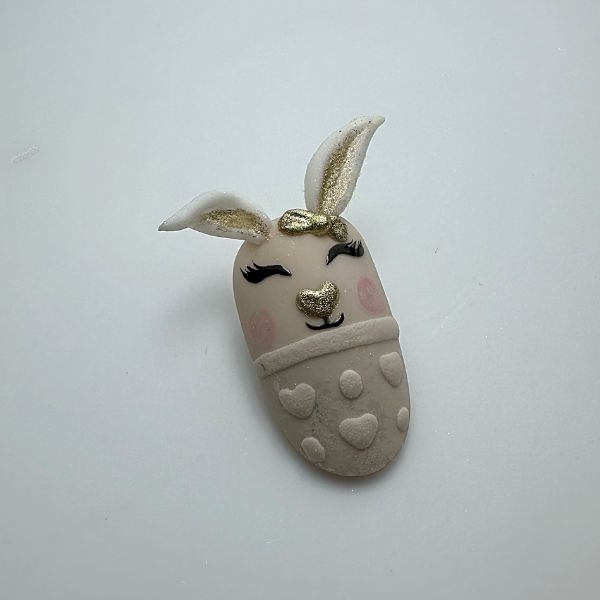
Add an acrylic bow, painting with the gold paint. If you do not want to add 3D elements, make the bunny's features smaller and paint the ears with white tack-free gel.
Step 9

Use the same techniques to create designs on other nails.

Read the latest issue