
3D Santa Claus nail

Step by Step
Follow along as Indigo Nails Lab’s Agnieszka Ciężka shows you how to create this sweet Santa nail look featuring 3d design elements…
Indigo Nails Lab products are available in the UK via www.indigo-nails.co.uk
Step 1
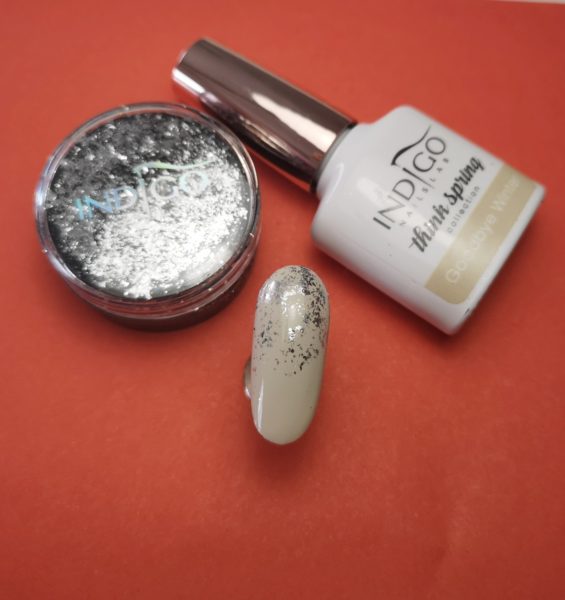
Prep the nail. Apply Indigo Nails Lab gel polish in Goodbye Winter. Cure and apply a small amount of Flame Effect Moonlight nail art flakes.
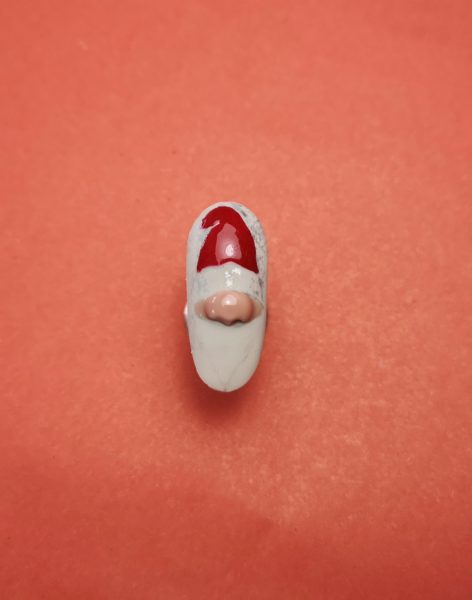
Step 2
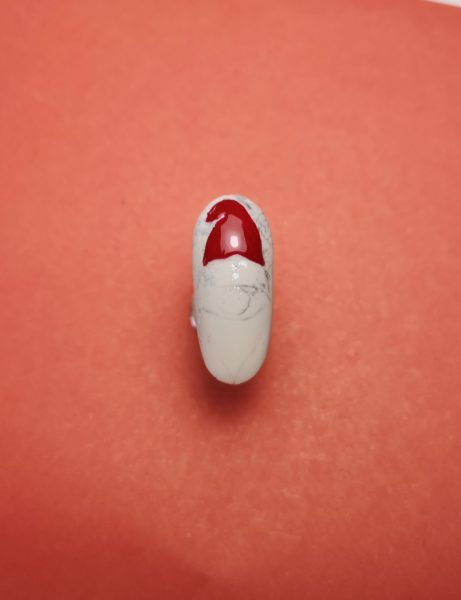
Apply Super Matte top coat on the entire surface of the nail. Cure. Next, sketch the shape of Santa. On the Santa's hat, apply Arte Brillante Beautiful Monster and cure it in the lamp.
Step 3
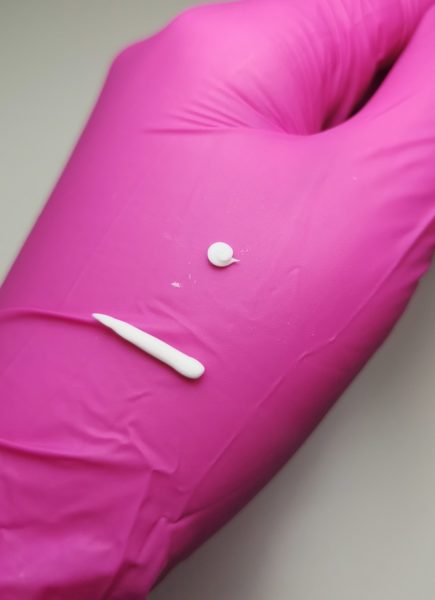
Create a small ball with Indigo Art Gum White Rose.
Step 4
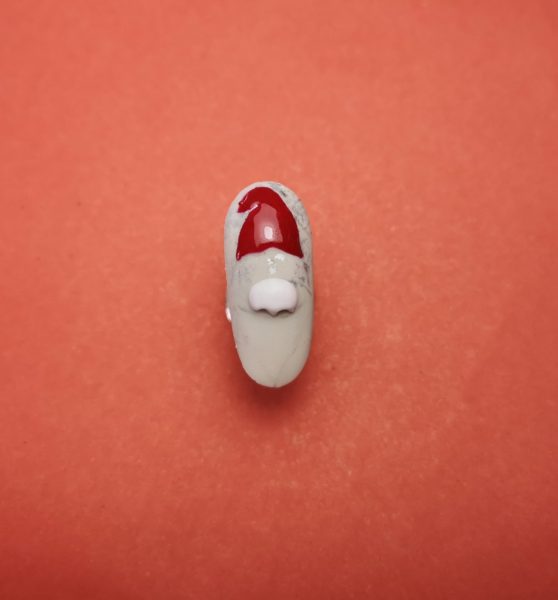
Place it as Santa's nose. Use brush cat tongue No.4 to form the shape of the nose. Cure.
Step 5
On Santa's nose and cheeks apply Hello Beautiful! gel polish. Cure.
Step 6

Apply a strip made with Indigo Art Gum White Rose to create part of Santa's hat. Use the probe to create the uneven surface of the fur. Cure.
Step 7

On Santa’s nose apply Super Matte top coat and cure. Using a small amount of Indigo Art Gum White Rose form curls and place it as Santa's beard.
Step 8
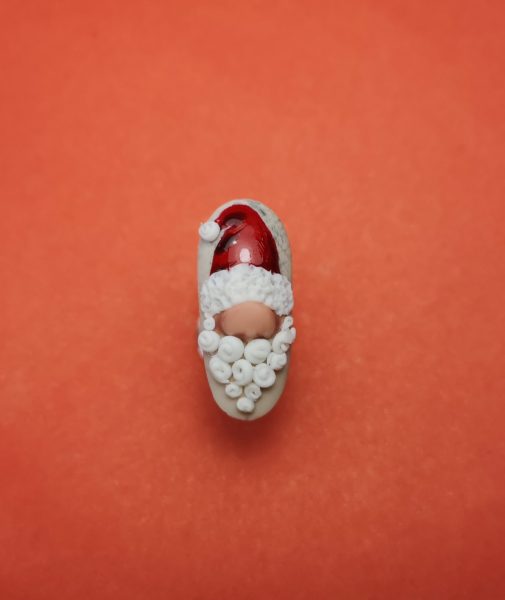
To create the shadow on Santa's hat, use the Black Ghost gel polish. Place another curl made with Art Gum on the end of the hat. Apply Tip Top top coat to the hat.
