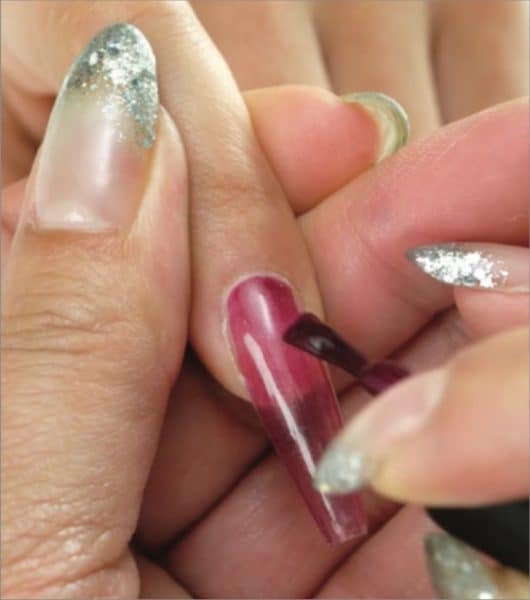
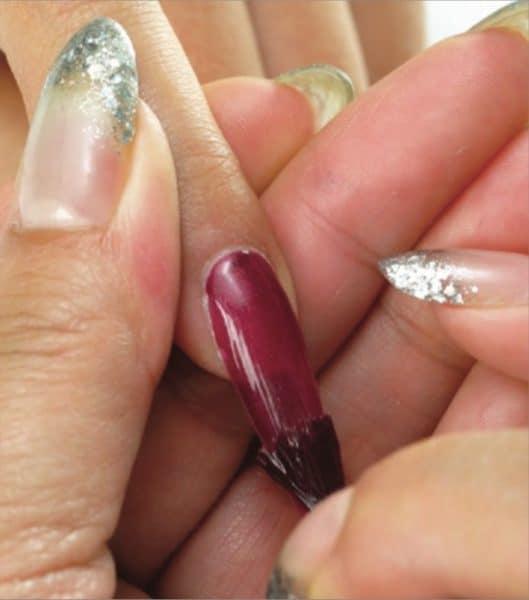
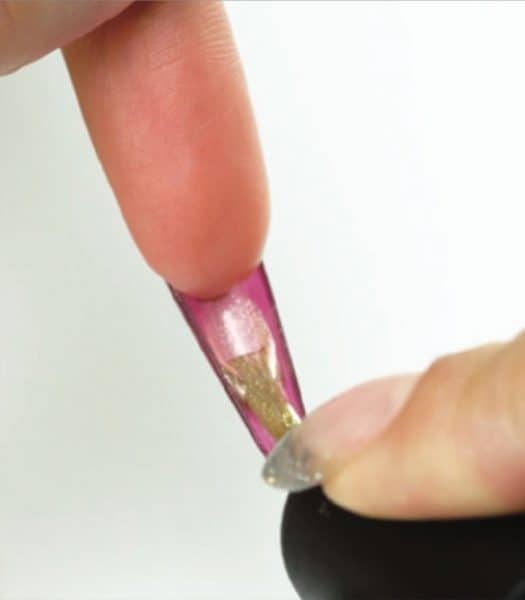
Steampunk style nails by Artistic Nail Design

Steampunk Affair Artistic 9

Autumn/Winter, Step by Step

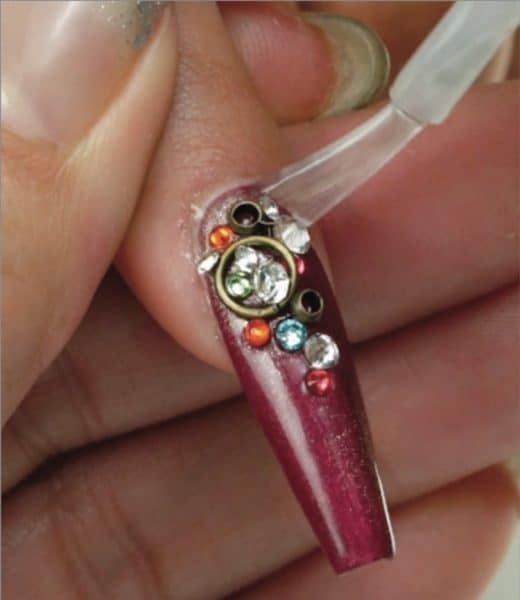
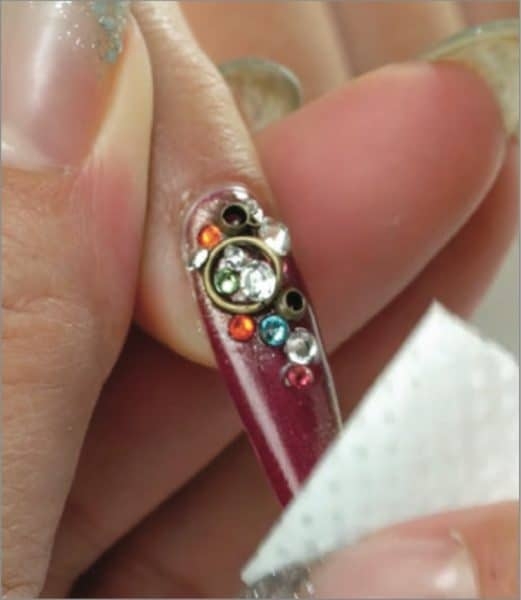
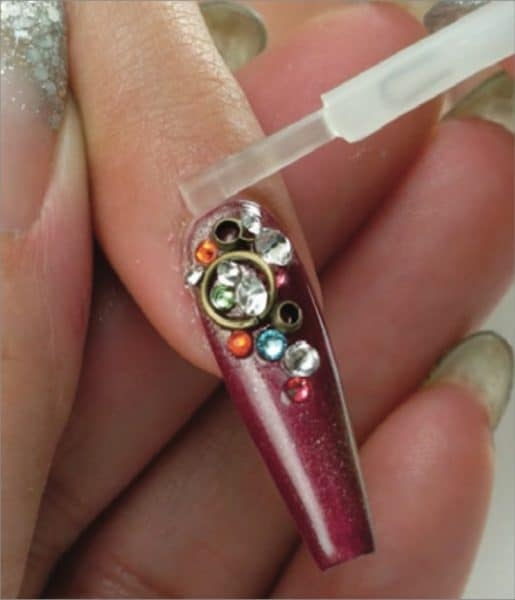
Dive into the world of steampunk with Artistic Nail Design’s 2018 wedding collection, A Steampunk Affair, and create this quirky design using the shades.

The essence of Steampunk comes from expressing individuality and creativity through gadgets, attitude and style and each of the four shades – available in both Colour Gloss and Colour Revolution – is designed to help the wearer ‘transcend though time with the retro-futuristic and romantic elements of steampunk’s eclectic world’.

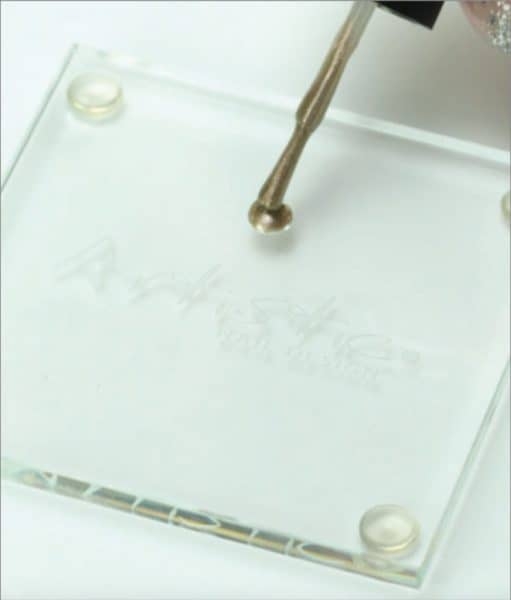
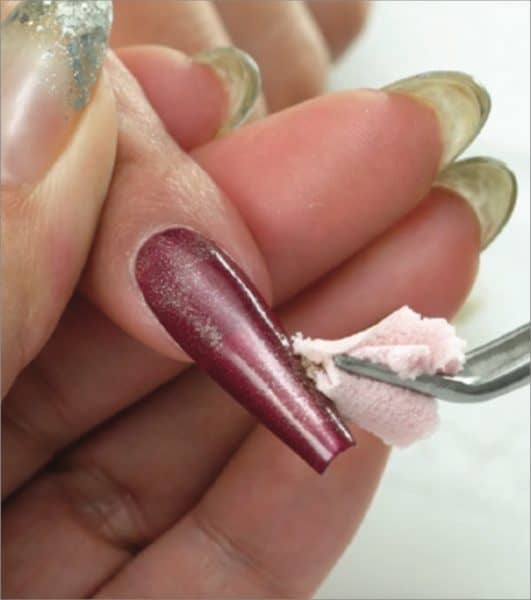
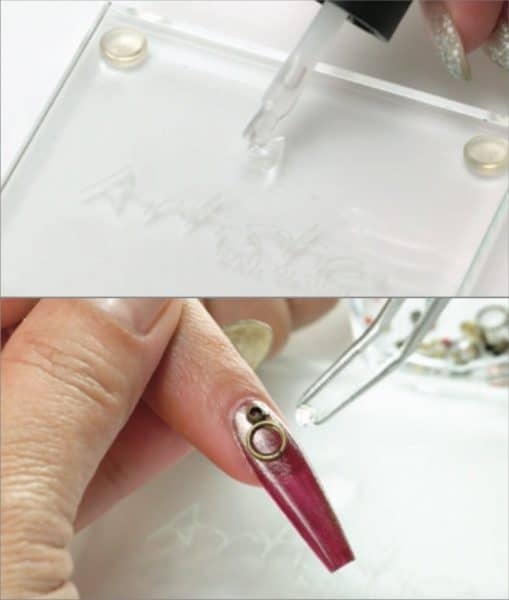
This nail design, by Artistic’s creative director, Alisha Rimando, can be achieved over nails that have been enhanced using the Putty or Rock Hard systems. Leave the nail rough from a 100-grit Perfect Buffer before following the below steps.

Available from www.louellabelle.co.uk

Step 1
Apply Colour Gloss Bonding Gel. Cure for five seconds in Cure Box LED Light. Apply Colour Gloss in Mother of Invention. Cure for 30 seconds in Cure Box LED Light.
Step 2
Apply a second coat of Mother of Invention. Cure for 30 seconds in Cure Box LED Light.
Step 3
Apply Colour Gloss Getting Steamy to underside of the nail. Cure for 30 seconds in Cure Box LED Light. Apply a second coat of Getting Steamy. Cure for 30 seconds in Cure Box LED Light.
Step 4
Apply a drop of Colour Gloss Getting Steamy to your pallet.
Step 5
Use a small sponge to apply Getting Steamy in various places on the nail. Flash cure 10 seconds and add more to create a faded gold vintage look.
Step 6
Apply a drop of Bonding Gel to your pallet. Pick up gems and embellishments with your Sani tongs, dip into Bonding Gel and apply to nail in various clusters. Flash cure for 10 seconds when needed.
Step 7
Apply Colour Gloss Glossing Gel to nail around stones. Cure for 30 seconds in Cure Box LED Light.
Step 8
Cleanse with Nail Surface Cleanser and a Lint- Free Wipe.
Step 9
Apply Artistic Revive Cuticle Oil to cuticle and surrounding skin.