
Beauty and the Beast nail art

Step by Step, Themed
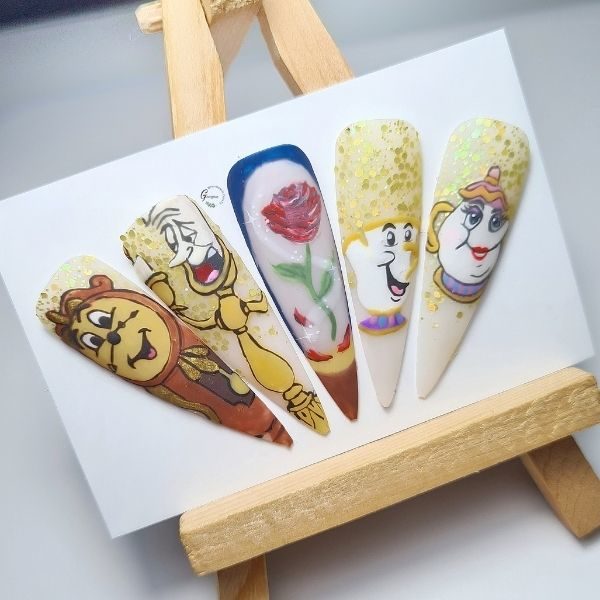
Disney enthusiast, Georgina Duffy, has created this incredible Beauty and the Beast nail art tutorial.
Step 1
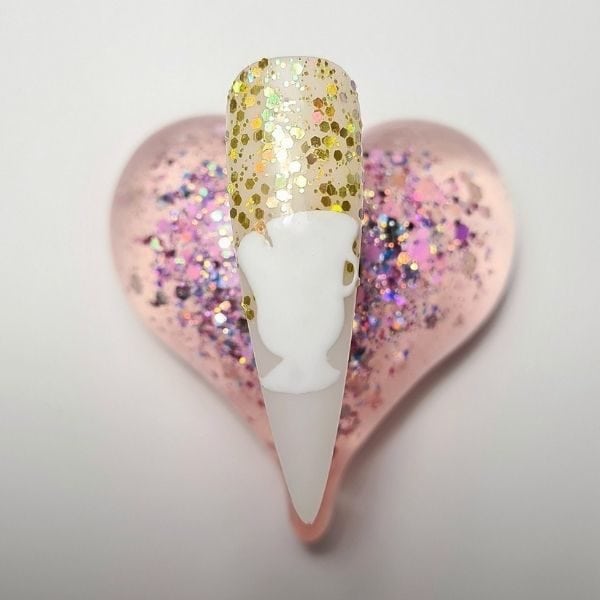
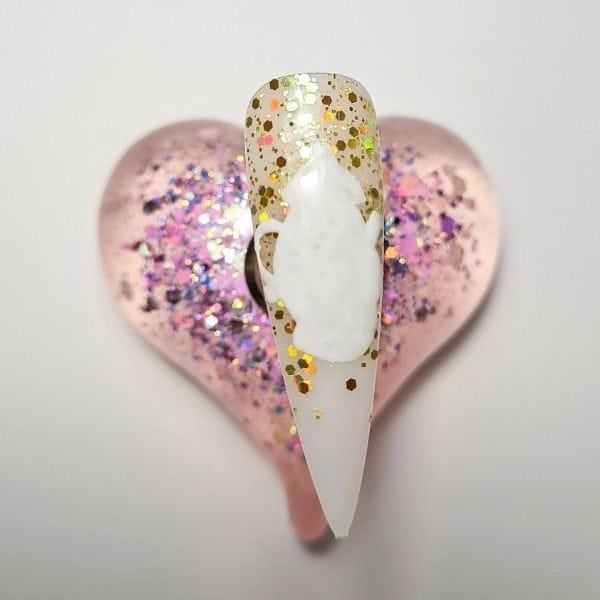
To start creating Chip, begin by colouring in a silhouette/outline. No details, just the initial shape and fill in the colour.
Step 2
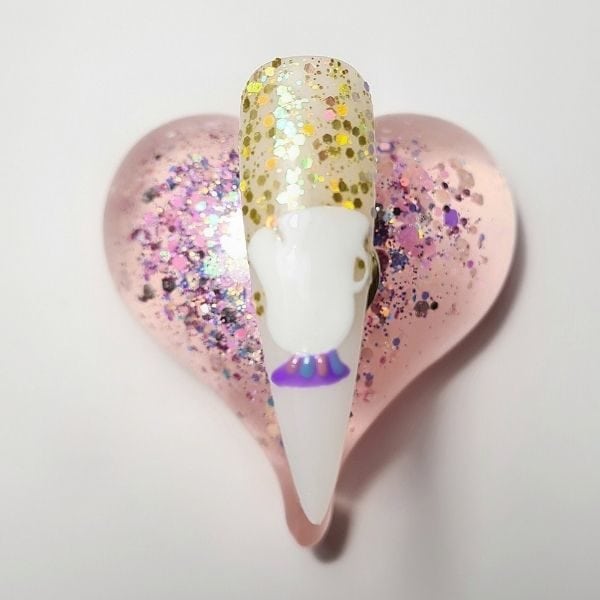
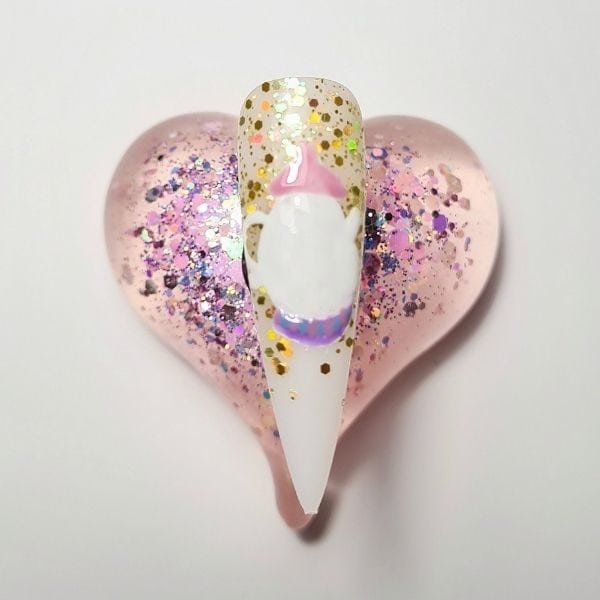
Add the purple base colour to the bottom of the cup. Once cured, add the pink and blue details to the purple and then cure again.
Step 3
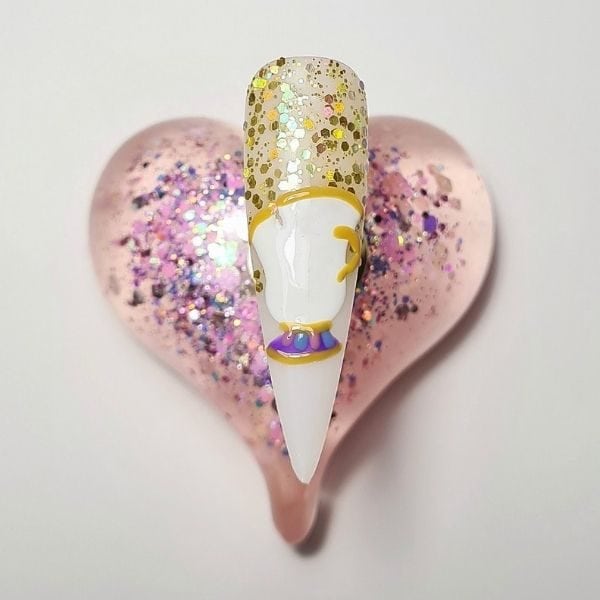
Add the gold/yellow details to the handle, the top of the cup, and the base of the purple.
Step 4
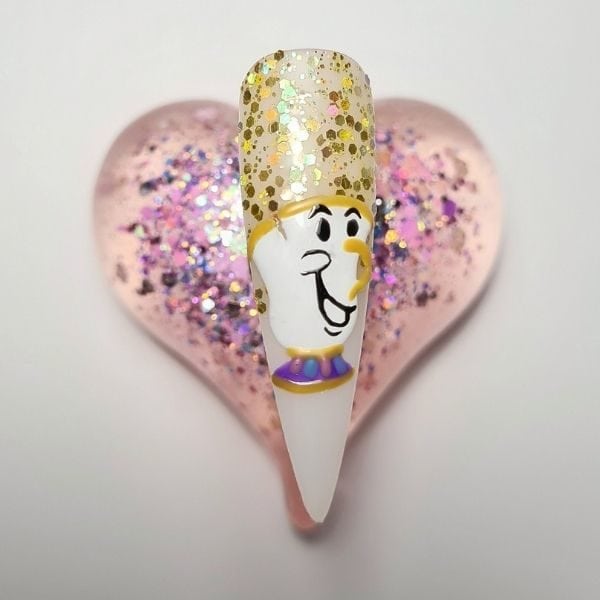
I have chosen black to add the details for a slightly more defined look. Draw the eyebrows, eyes, cheek and mouth.
Step 5
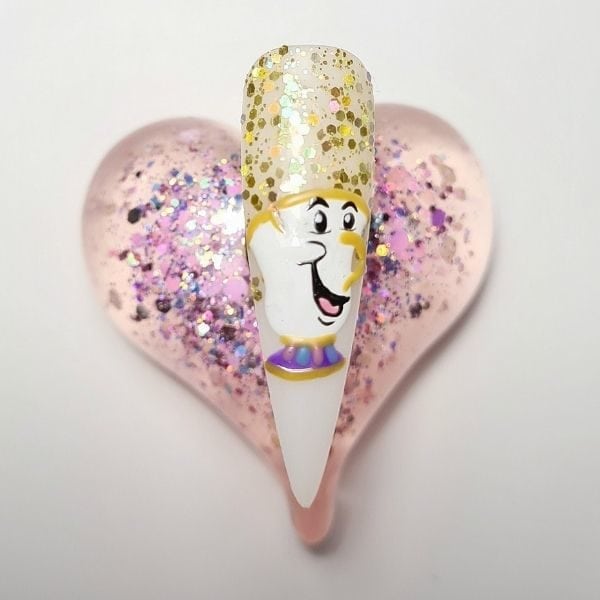
Colour inside of the mouth, add a pinky shade for Chip's tongue and a white dot to each eye. Optional step is then outlining Chip but I decided to leave him like this. Add a top coat to complete Chip.
Step 6
To create Mrs Potts, once again begin by colouring in a silhouette/outline. No details, just the initial shape and colour in.
Step 7
Add the first pop of colour. Apply purple, pink and blue to the base of the Teapot. Colour the area that will be the 'lid' in pink/lilac.
Step 8

Add yellow/gold details to the lid, base and handle and begin your outline. Enhance the features and bring it to life. I started with the spout, then the cheek, eyes, brows and chin details.
Step 9
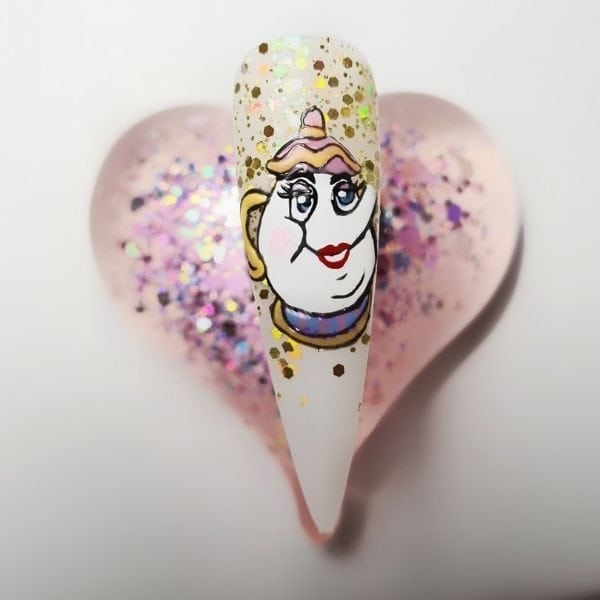
I added some blush pink to the "cheek" area, red shapes for the lips and finished the eyes, colour the eyeshadow, eye detailing including eye highlight and then once happy, cure.
Step 10
To finish the design, add a top coat. I always matte top coat my characters for those key details to be visible without any light glare/over shine.
