

Summer nail art tutorial: blooming French tips & hibiscus flowers

Floral, Spring/Summer, Step by Step, Trends
Scratch Stars Gel Polish Stylist of the Year finalist 2025, Carrie Williams, shares a step-by-step guide for this summer style, featuring blooming effects at the tips and hibiscus flowers.

Step 1
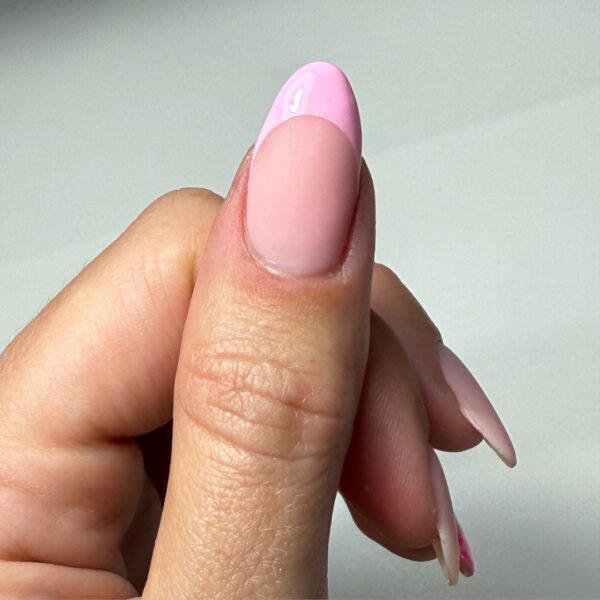
Apply a matte top coat, as this creates a great base for gel polish to adhere to. Cure. Use a striper brush to paint a French tip in a gel polish colour of your choice, and cure.
Step 2
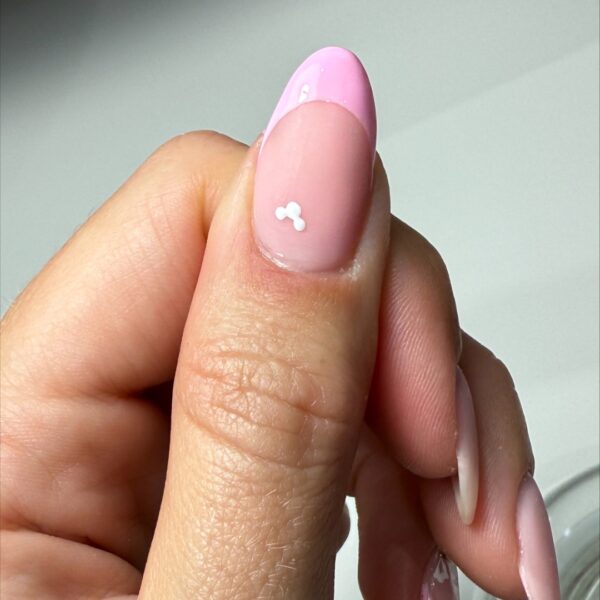
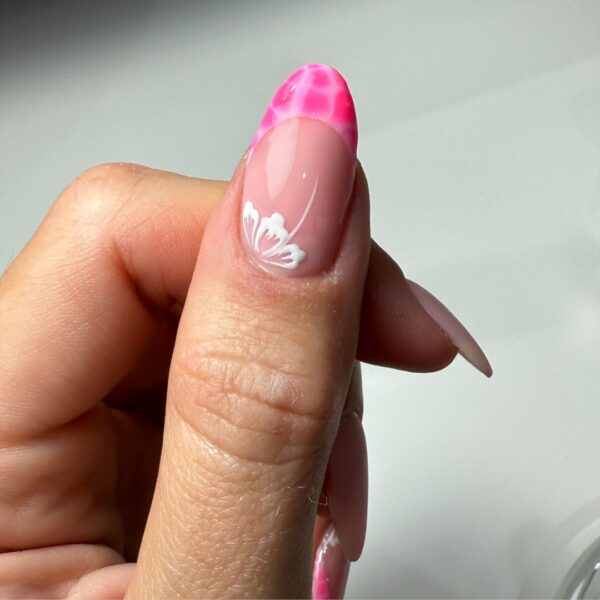
To create the first hibiscus flower petal, use a white gel polish and small dotting tool to paint three dots in an upside down ‘V’ shape.
Step 3
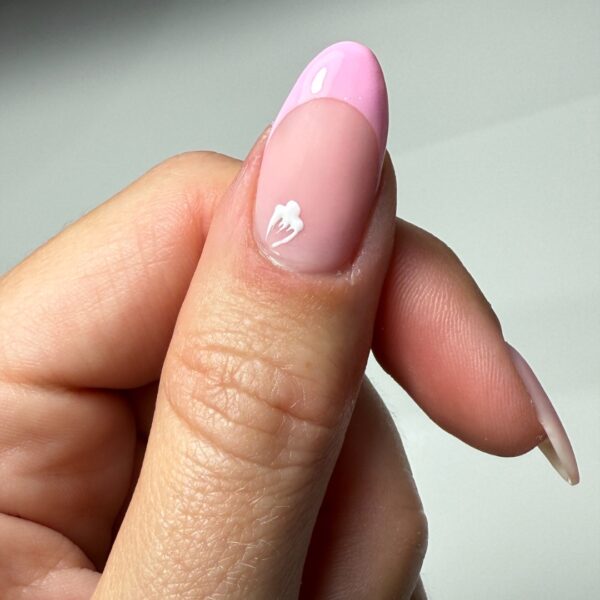
Using a detail brush, drag each dot down into a point at the cuticle. Flash cure if you’re worried about the colour smudging.
Step 4

Repeat steps 2 and 3 on either side of the first petal. Cure fully once happy with the look of the flower.
Step 5
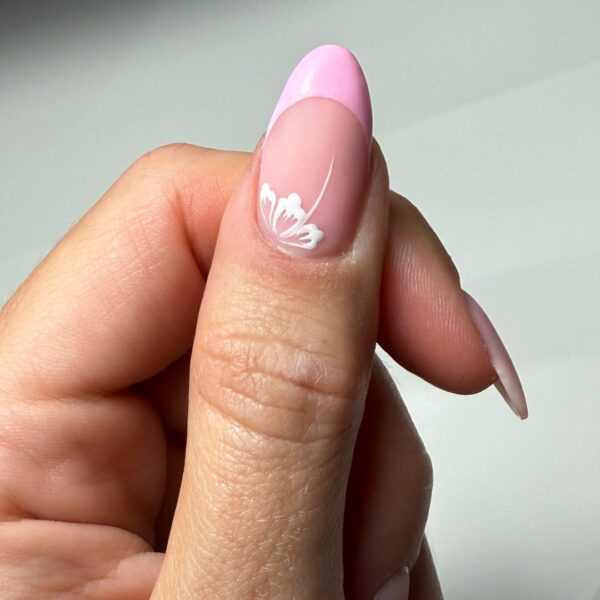
Use the white gel polish and a liner brush to paint a stem coming from the middle of the flower. Cure.
Step 6
Apply blooming gel over the French tip in a thin layer. Do not cure. Take a contrasting gel polish colour of your choice and use a dotting tool to dot it in the blooming gel, not getting too close to the smile line. Once happy with how the colour has spread, cure.
Step 7
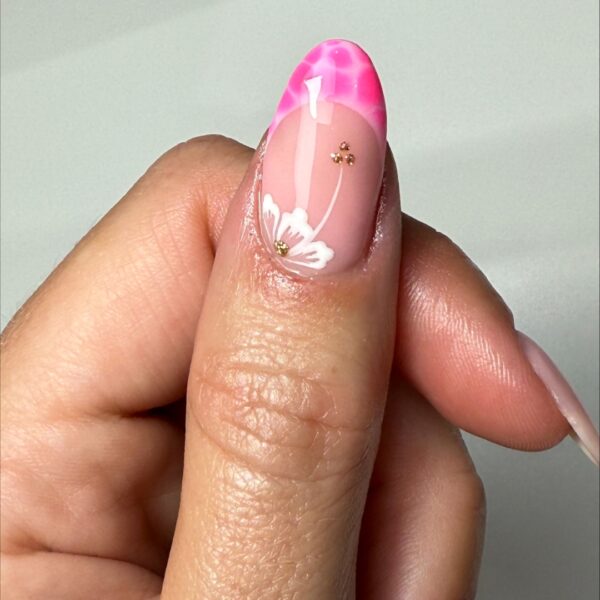
Using a small dotting tool, add glitter gel polish in the centre of the hibiscus flower and at the end of its stem. Cure. Apply your chosen top coat and cure.

Read the latest issue


