

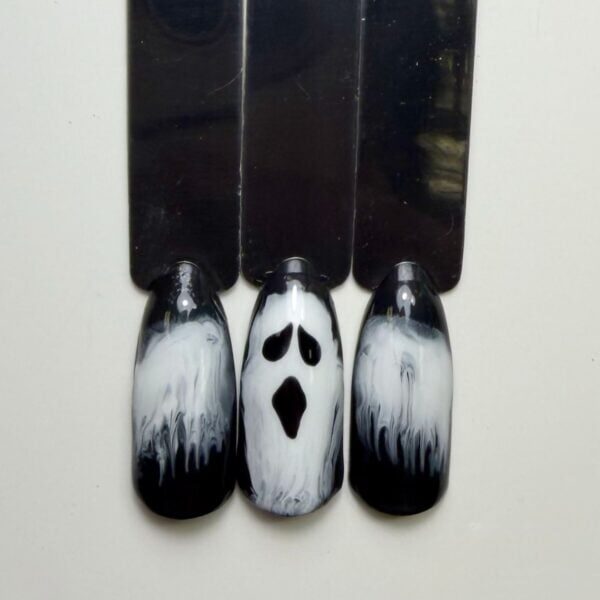
Blooming boo-tiful: simple 4-step ghost nail art tutorial
Autumn/Winter, Seasonal & Occasions, Step by Step, Themed
Alice Nali is a nail tech, educator & owner of London-based nail salon & academy, Aly Nails. The Scratch Stars Mixed Media Artist of the Year 2025 & 2026 shares a simple four-step blooming gel ghost nail design for a subtly spooky Halloween style…
You will need:

Are you enjoying this content?
Join our community to receive more like this
- Gel polish in black and white.
- Blooming gel.
- Fine liner nail art brush.
- Glossy gel polish top coat.
Step 1
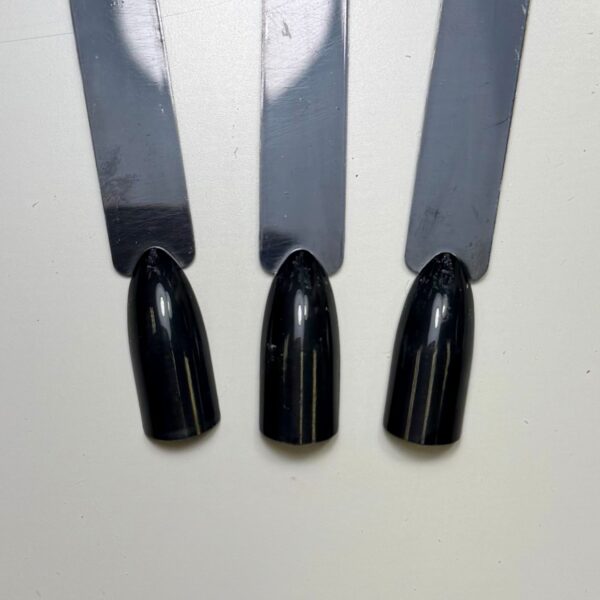
Prep the index, middle and ring fingernails and apply two coats of black gel polish to each, curing after both layers.
Step 2
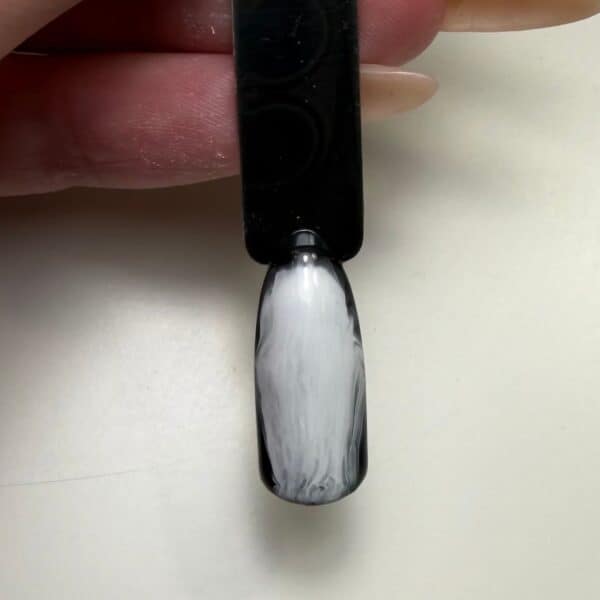
On the middle nail, apply a layer of blooming gel. Do not cure. Using white gel polish, paint a rough outline in the shape of a ghost. Wait for the blooming gel to diffuse the white gel polish, and cure when happy with the result.
Step 3
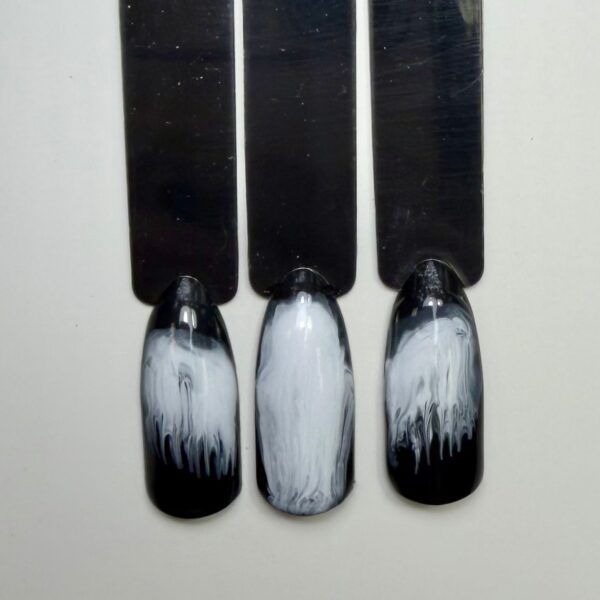
Apply a layer of blooming gel to the index and ring fingernails. Do not cure. Using white gel polish, create the ghost’s arms by painting a horizontal line on each nail, gently dragging it down slightly. Allow the blooming gel to diffuse the white polish until you’re happy with the effect. Cure to set.
Step 4
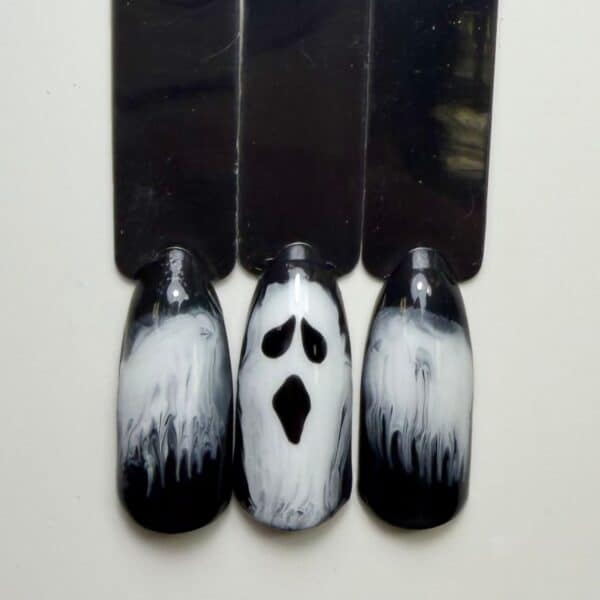
Using black gel polish and a fine liner nail art brush, paint two teardrop-shaped eyes on the middle nail. Cure, then paint a diamond-shaped mouth with softly curved corners. Cure again. Finally, add a glossy gel polish top coat to all three nails and cure to finish.