
Blooming Rose with Gelatty Gel by Zsuzsanna Varga
")
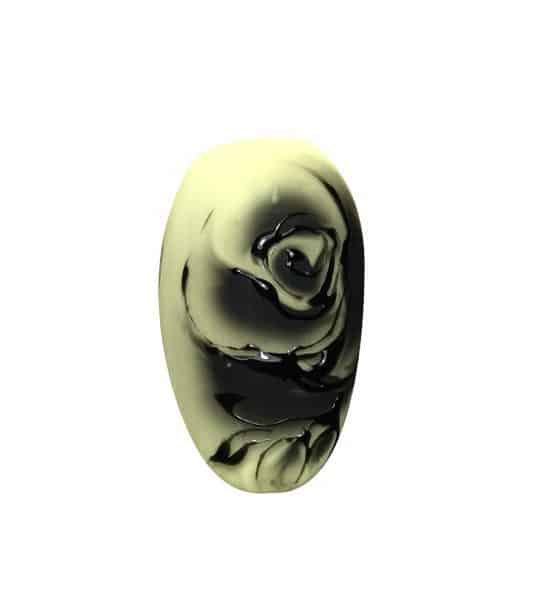
Floral, Step by Step
Arriving in the UK this month courtesy of Susan’s Nail Store, the Ritzy Nails Gelatty Gel range sees a clear gel and highly-pigmented colour gel that can be used to create a variety of nail art designs inspired by the aquarelle techniques.
Currently, the coloured gels are available in white, yellow, blue, burgundy, purple, red, pink and black. The shades are also mixable, seeing an infinite number of colour and design possibilities. These special gels bloom in the clear gel base, allowing the technician to create ethereal designs speedily in the salon.
Here, Zsuzsanna Varga shows you how to create a blooming rose design…
Step 1
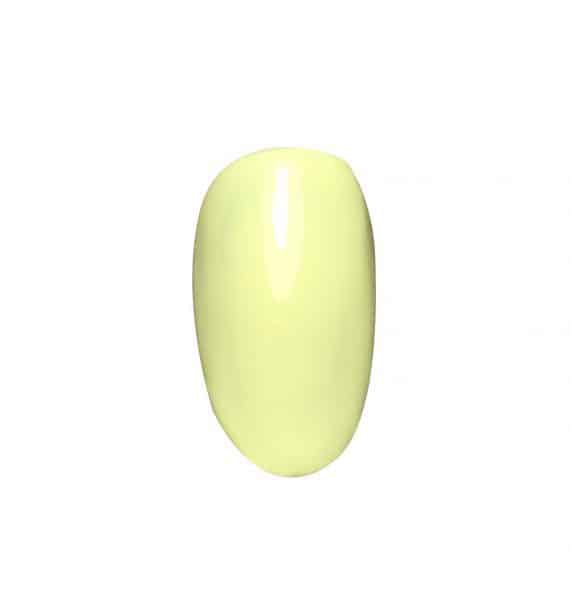
Apply your chosen base colour gel polish and cure.
Step 2
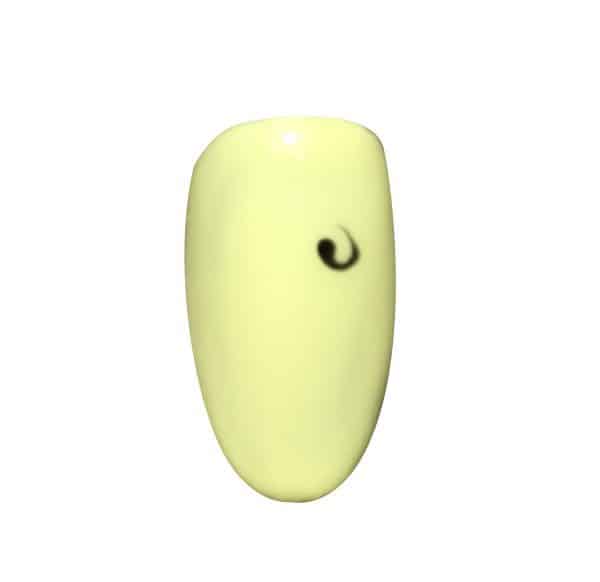
Apply Gellaty Gel Clear Base over the colour but do not cure. With a fine detail brush, like NABA Slim brush, start creating the middle of your rose using Gellaty Gel Colour Black. Do not cure.
Step 3

Apply the next rose petal above your first petal.
Step 4

Create another petal shape to the left, larger in size.
Step 5
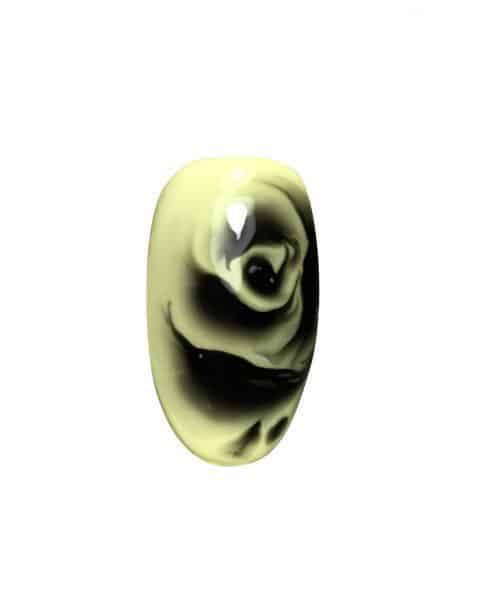
While still uncured, continue to add petals to your clear base gel.
Step 6
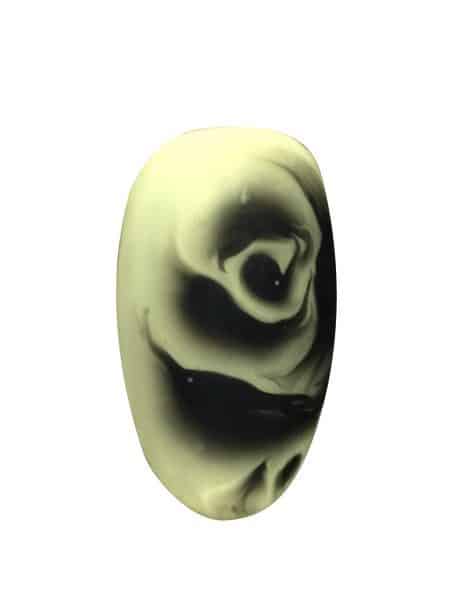
After your last rose patel, cure. Top coat the entire design with a matte top coat.
Step 7
Finish by adding some freehand fine lines to add detail and create a raised element to your design.
