Blue Monday nails

Seasonal & Occasions, Step by Step
Salon System nail expert, Karen Louise, has created a nail art step-by-step using GELLUX, to make Blue Monday a little less blue.
Step 1
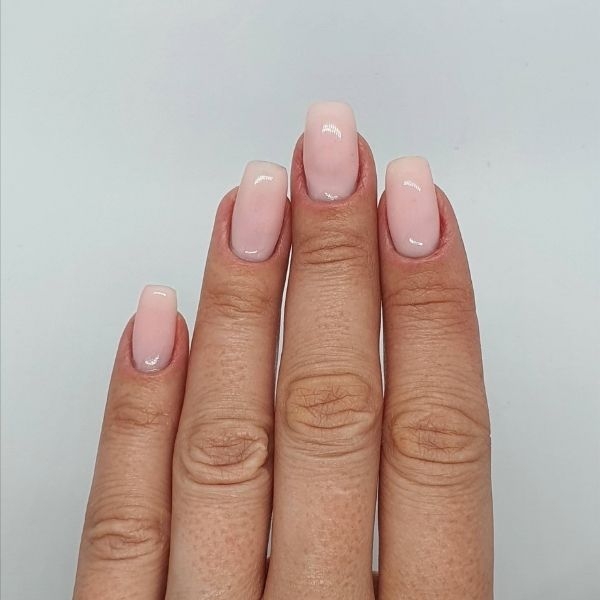
Prepare the nails, file to shape, push back the cuticles and gently buff the nail plate. Brush away any dust and wipe over the nails with the GELLUX Prep + Wipe. Apply the GELLUX Fast Bond and let it dry. Apply a thin layer of GELLUX Builder Gel in Light Pink and cure.
Step 2
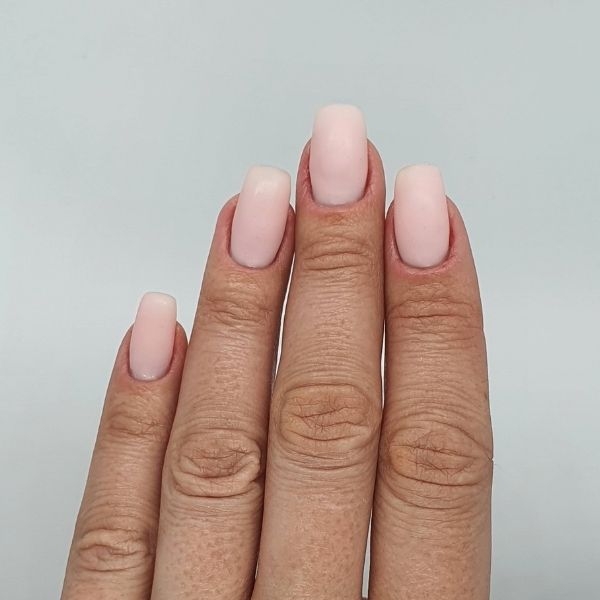
Using GELLUX Matte Base & Top Coat, apply to all the nails, making sure to cap the edges and cure for 30 seconds.
Step 3
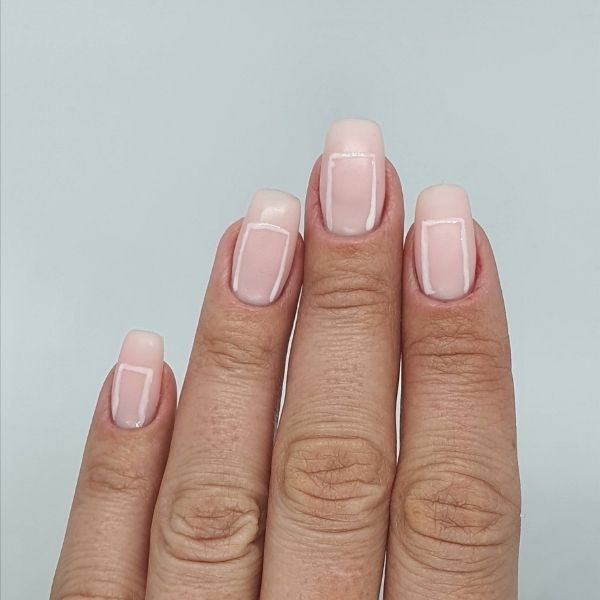
Next, add a small amount of GELLUX Purely White to a nail palette. Using a small striping brush, create a rectangle shape at the cuticle area of the nails. Do not worry about being too neat, but be sure to keep your edges sharp. Cure for 60 seconds.
Step 4
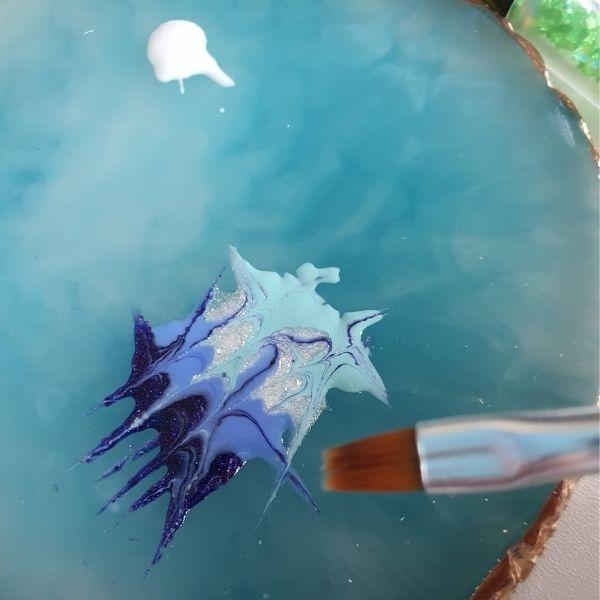
Next, on your palette, drop a line of GELLUX Rave Review, GELLUX Freeze Frame, GELLUX Star Dust and GELLUX Tease Me Teal along next to each other and then, swipe to mix slightly, using your striping brush.
Step 5
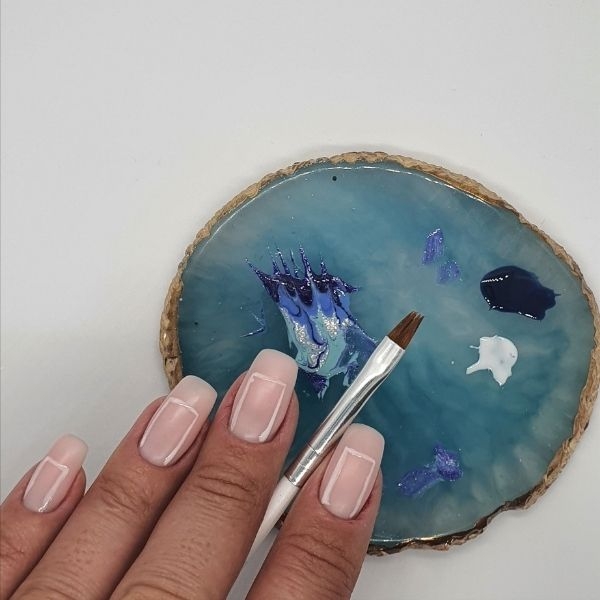
Using a small flat brush, scoop up a small amount. Gently, from the cuticle area, apply the brush in a slightly dabbing motion down the nail, making sure to keep inside the GELLUX Purely White grid. Pick up more if needed. Once happy and the box is filled, cure. Then, apply a layer of GELLUX Shiny Top Coat, making sure it stays within the grid.
Step 6
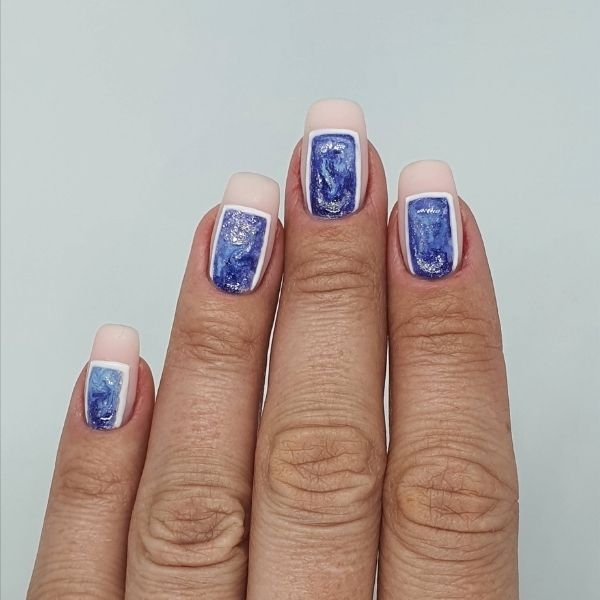
Using the striping brush again, go over the outline of your design, trying to keep the corners sharp and the lines straight. Finally, apply the GELLUX Shiny Top Coat over the grid, to give a slight raised look. Cure for 60 seconds. Be sure to wipe the nails with GELLUX Prep + Wipe and apply GELLUX Nail & Cuticle Oil.