How to paint an Easter bunny nail using Glitterbels

Seasonal & Occasions, Step by Step
Glitterbels content creator, Stacey Machin, shares how to create this bunny nail art design for Easter.
Products used:
- Glitterbels Hema Free Gel Polish in Martini, Please!
- Glitterbels Unbelievabel Gel in White, Dreamboat and Black
- Glitterbels Builder Gel in Candy Pie
- Glitterbels Magic Shiner
Step 1
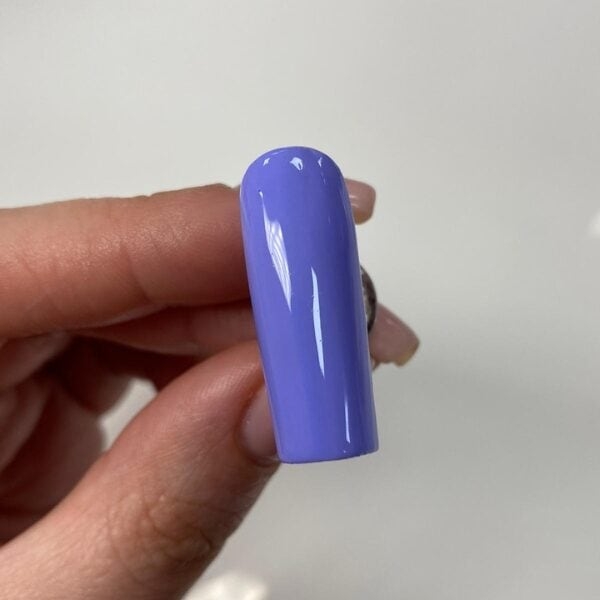
Prep the nail using Glitterbels Dehydrator, Acid-Free Primer and Basecoat. Apply your first coat of gel polish and cure. Apply a second coat if needed and cure. I used Glitterbels Hema Free Gel Polish in Martini, Please!
Step 2
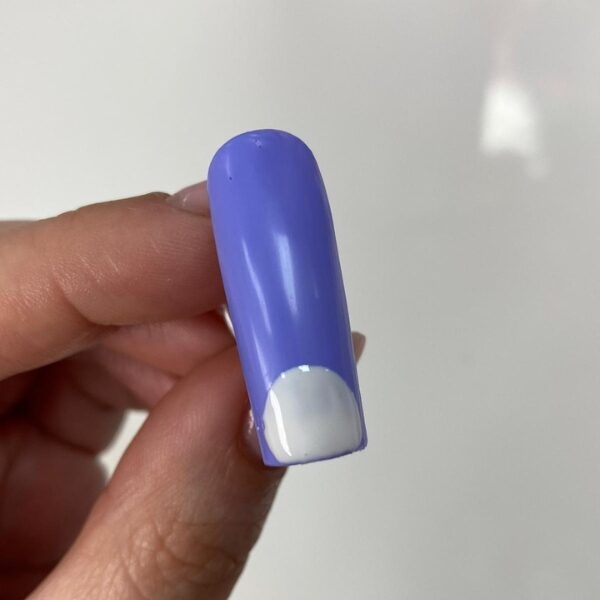
Using a detailer brush, paint a semi-circle onto the nail to create the bunny’s head shape. Cure. I used Unbelievabel Gel in White.
Step 3
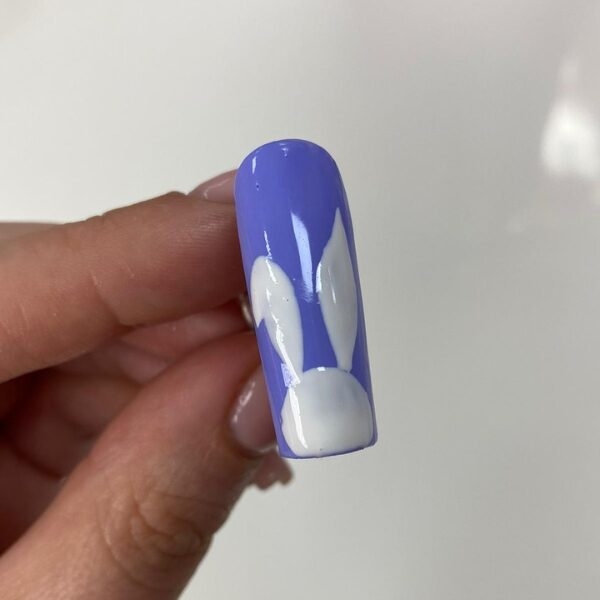
Using the same shade as step two, paint the outline of the bunny ears, fill them in then cure.
Step 4
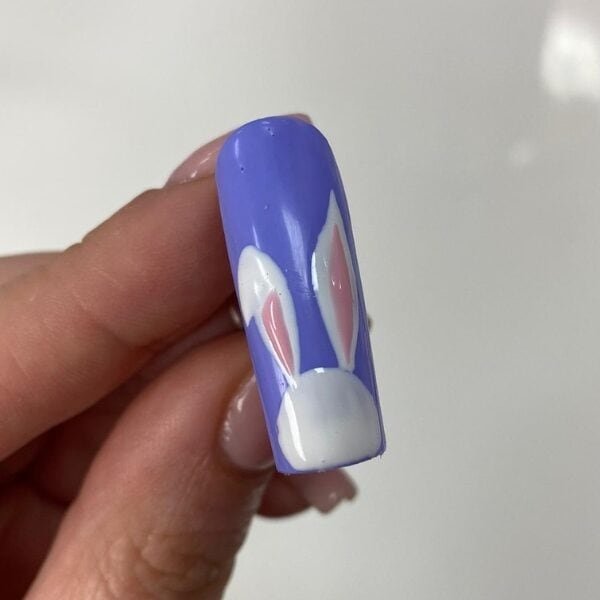
Take a light pink shade and paint the inside parts of the ears, then cure. I used Unbelievabel Gel in Dreamboat.
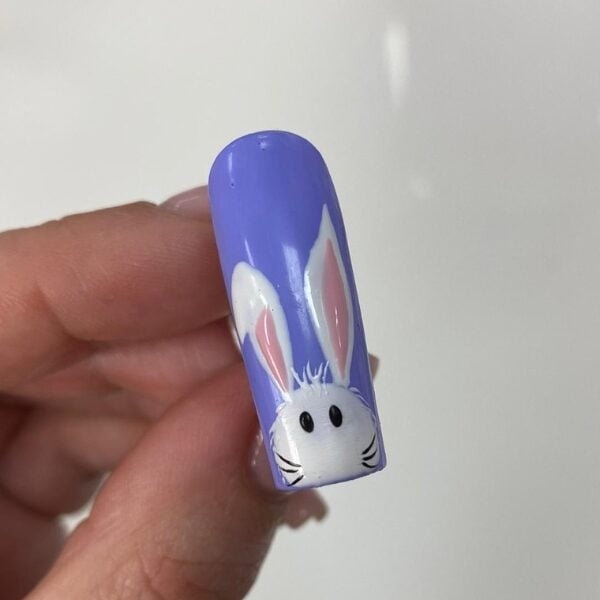
Step 5
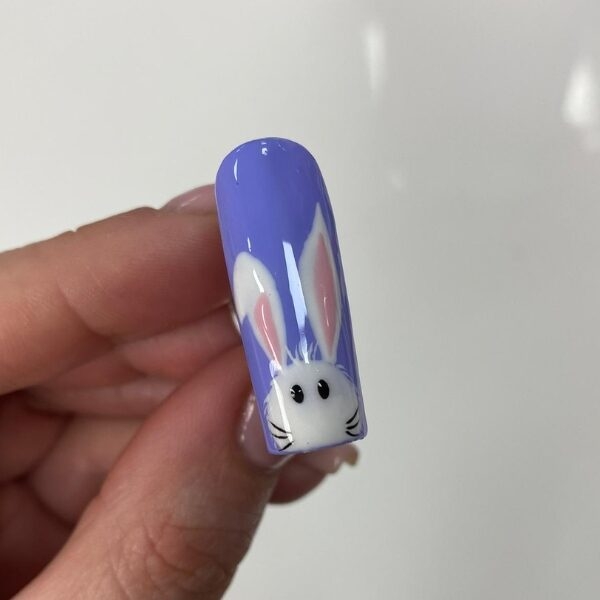
Add small hairs around the bunny’s face using the white shade and cure. Dot in the bunny eyes and lightly paint the whiskers using a black hue, then cure. I used Unbelievabel Gel in Black. Finish this step by top coating and curing again.
Step 6
Go in with the Glitterbels Magic Shiner to mattify the nail.
Step 7
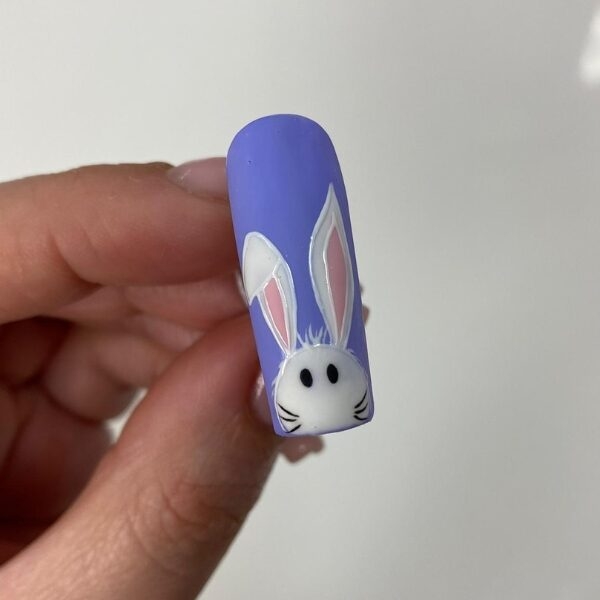
Using the white shade, outline the bunny to make it stand out and cure.
Step 8
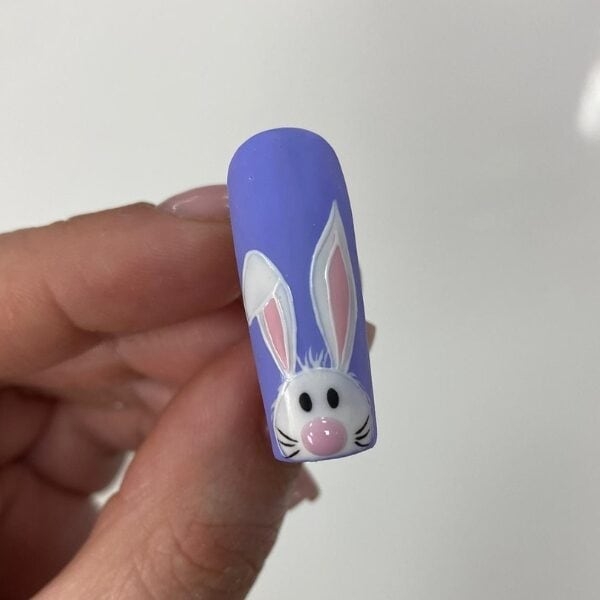
Finally, paint the bunny nose and cure. I used Glitterbels Builder Gel in Candy Pie.

Read the latest issue