
5-step nail art guide to cat eye pumpkin claws
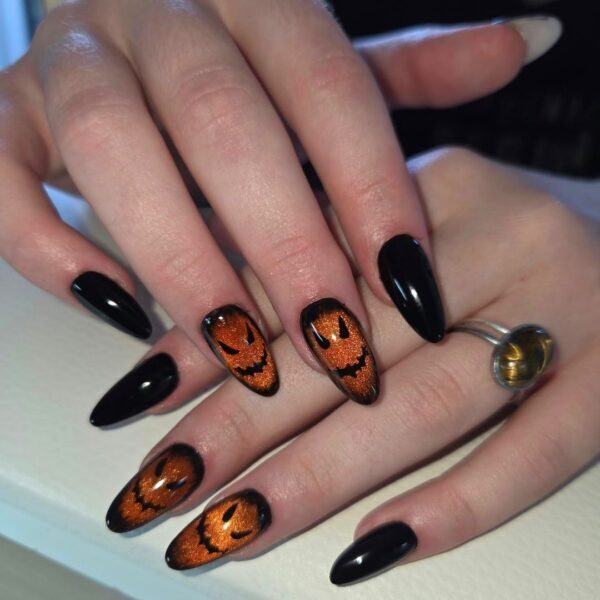
Autumn/Winter, Seasonal & Occasions, Step by Step, Themed
Scratch Stars Gel Tech of the Year finalist 2026, Maya Juranova (@letsnailit.uk), shares how to achieve a perfect pumpkin nail design that’s ideal for spooky season…
With over 15 years in the industry, Maya is a nail tech & educator specialising in structured salon nails, retention and troubleshooting.

Are you enjoying this content?
Join our community to receive more like this
For this design you will need:
- Orange cat eye gel nail polish.
- Black gel polish.
- Nail art brushes: fine liner & ombré.
- Glossy gel polish top coat.
Step 1
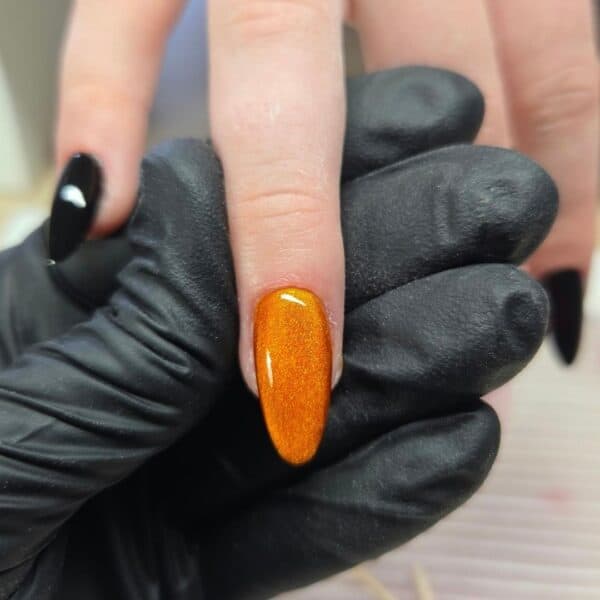
Prep the nails, then apply two coats of orange cat eye gel polish, curing after the first layer. Before curing the second coat, slowly wave a magnet from side to side, parallel to the nail, to move the particles across the entire surface and create a soft, diffused shimmer effect. Cure.
Step 2
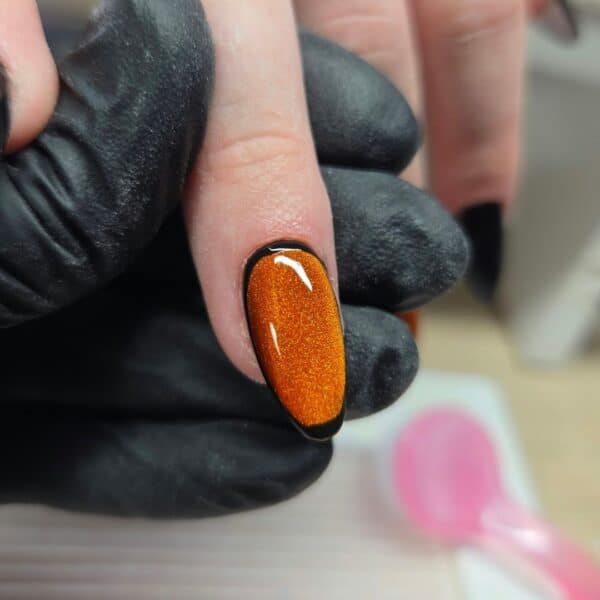
Using a fine liner nail art brush and black gel polish, outline the nail. Do not cure.
Step 3
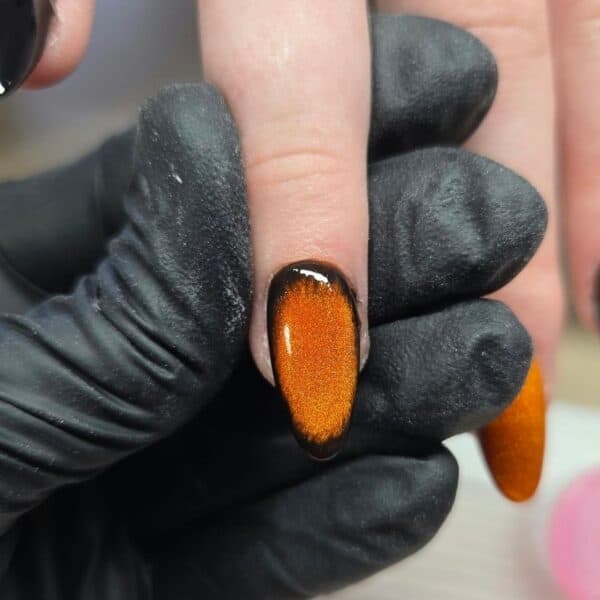
With a clean ombré nail art brush, fade the black outline towards the centre of the nail, leaving enough space in the centre for the pumpkin face. Cure.
Step 4
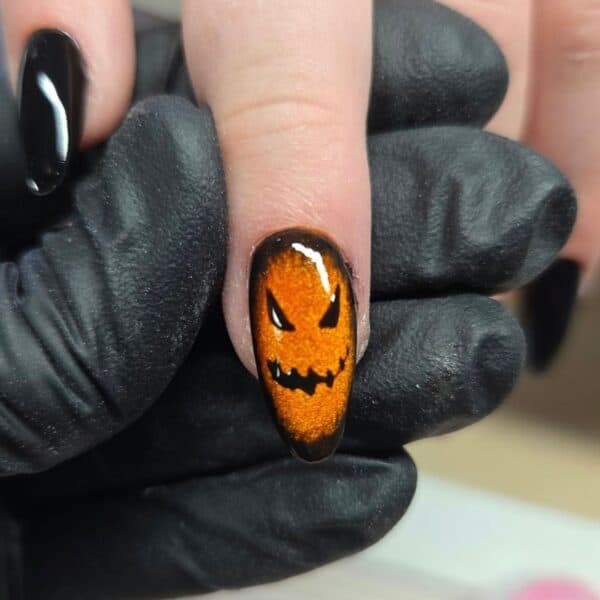
Use the fine liner brush and black gel polish to paint two triangles for the pumpkin's eyes and a jagged line as the mouth. Cure again.
Step 5
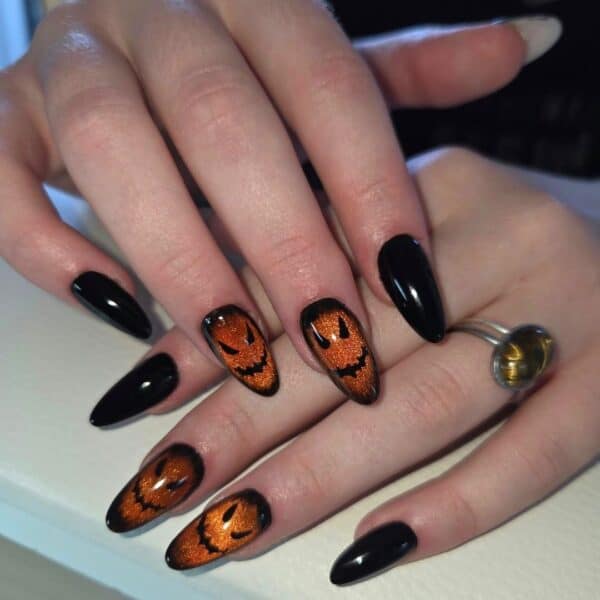
Seal the design with a glossy gel polish top coat and cure to finish. (For an optional finishing touch, apply black gel polish to any nails not featuring the pumpkin design. Cure, then add a glossy gel polish top coat and cure again.)