
Colourful skull nails

Step by Step
Nina Tully, The Nail Team ambassador, reveals how to create this super-cute skull design, perfect for a Halloween nail look with some added bright colour.
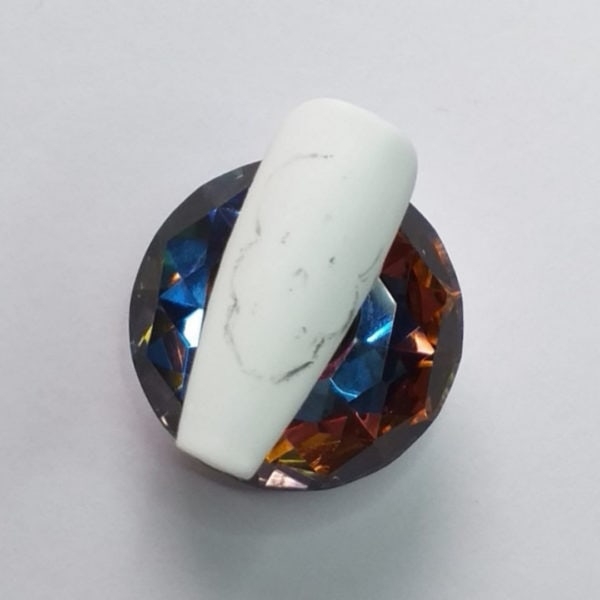
Step 1

Prepare nails. Apply The Nail Team's Betty Base coat and cure, then apply Gems Gel Polish in the shade Angel and cure. Apply a second coat and cure, then apply The Nail Team's Martha Matte Top coat and cure.
Step 2
With a pencil, lightly sketch the skull onto the nail. I use a 2b pencil.
Step 3
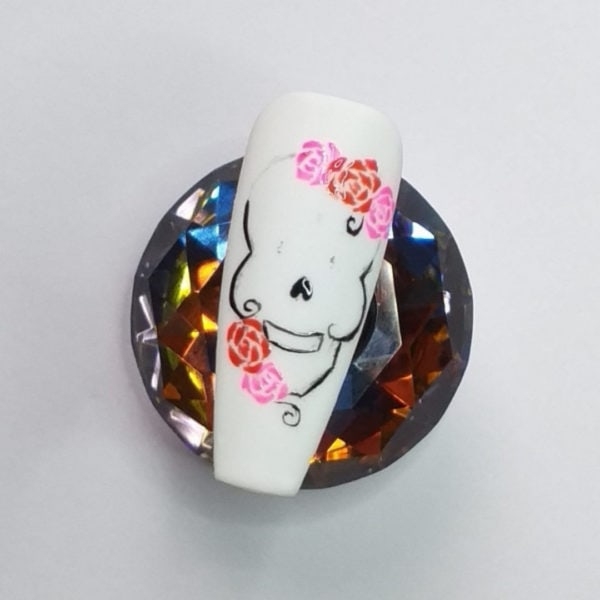
With your detailer brush, start to paint your roses at the jawline and top of the skull with Gems Gel Polish in the shade Lola and the shade Hope. Flash cure for 5 seconds, then use Crystal Nails Royal Gel 1-30 in the shade 7 to paint the skull outline, a bit of detail, and the nose, then flash cure for 5 seconds.
Step 4
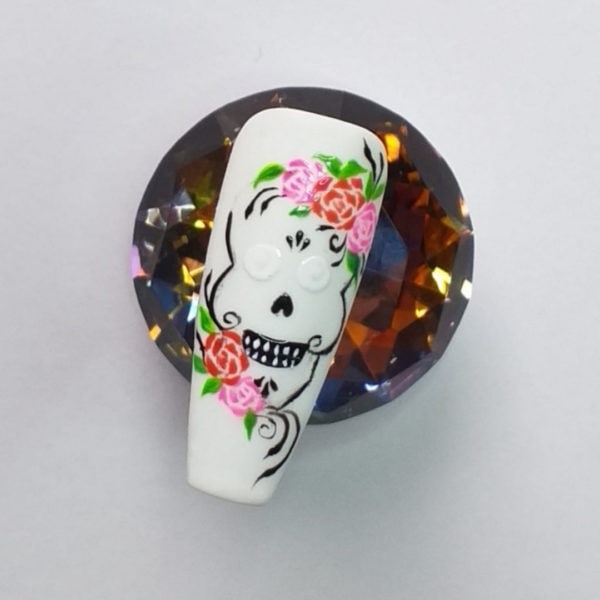
Using a dotting tool and Gems Gel Polish in Angel, add the base of the eye sockets as a guide and flash sure for 5 seconds. With your detailer brush, start to add more detail to your skull and fill the mouth area with Crystal Nails Royal Gel 1-30 in the shade 7, then flash cure for 5 seconds. Using your dotting tool and white gel, add the teeth and full cure.
Step 5
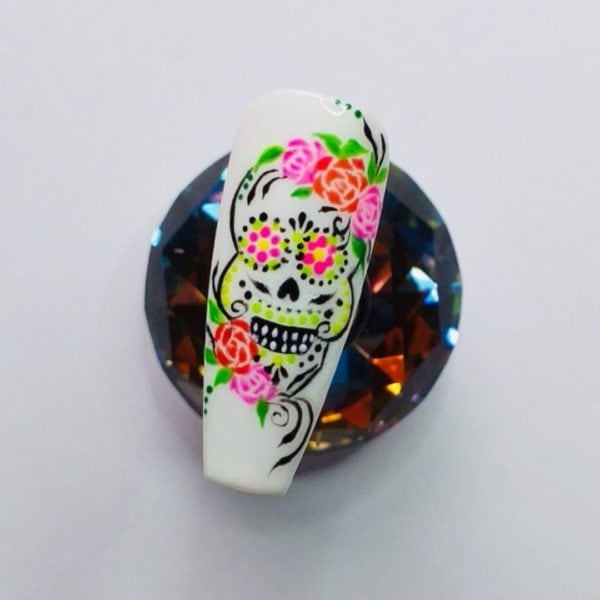
Continue to use your dotting tool to add in the rest of the skulls detail on the eyes and cheeks with Gems Gel Polish in the shade Lexi, Summer and Lola, flash curing after each colour so that your detail does not run. Finishing off with the detailer brush and Crystal Nails Royal Gel 1-30 in the shade 7, add in the cheek detail and flash cure. Using a mix of the shade Lexi and Olivia from Gems Gel Polish, paint the rose leaves in, adding in more dots as and where you wish. Full cure, then finish with Tina top coat.
