
Easter chick nails

Seasonal & Occasions, Step by Step
Celebrate Easter with these cute chick nails by Natalia Zduniuk, F.O.X Nails UK brand ambassador.
Step 1

Prep the nail, apply base coat and cure. Apply a blue gel polish shade around the centre of the nail and cure, followed by a milky gel polish shade. Cure.
Step 2

Frame the nail using a pink gel polish shade and create a gradient toward the centre using an ombré brush. Cure.
Step 3

Paint over the entire nail with a milky gel polish and cure.
Step 4
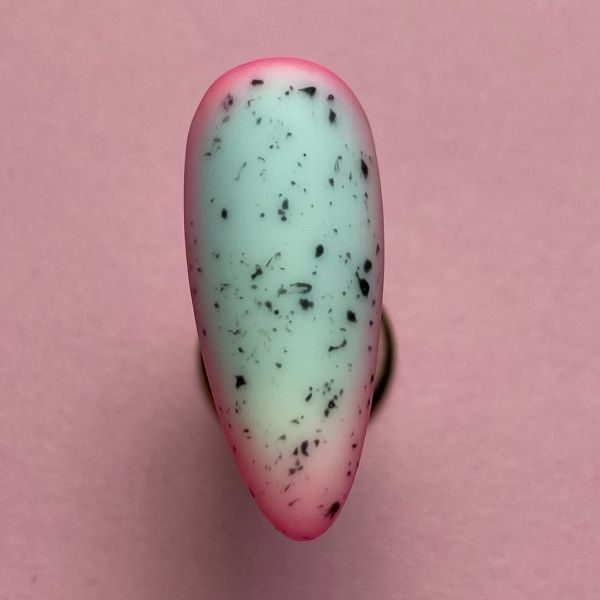
Using a fanned brush dipped in black gel polish, create speckles across the nail and cure. To finish here, apply a matte top coat and cure.
Step 5

Use black gel polish and a nail art brush to create a ‘cracked’ background. Once cured, paint eyes and a beak and cure. Outline the cracks using white gel polish to accentuate. Complete the design with a glossy top coat and cure.
