
Extreme Shapes: Monika Kupien Edge

Step by Step
Georgie Smedley Group educator, Monika Kupien, share this step-by-step for creating edge shaped nails…
Step 1
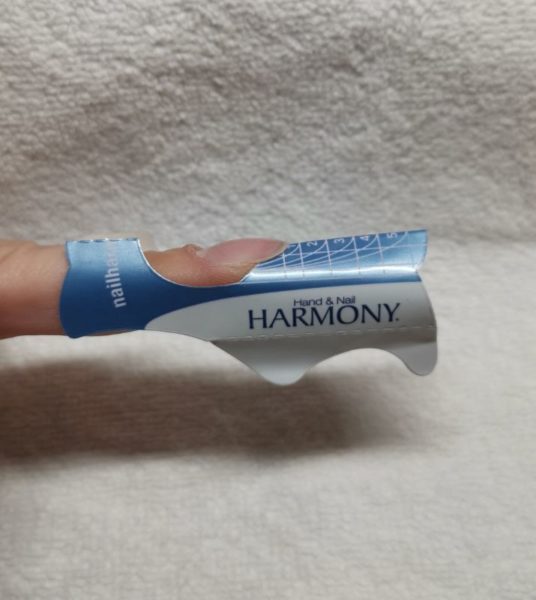
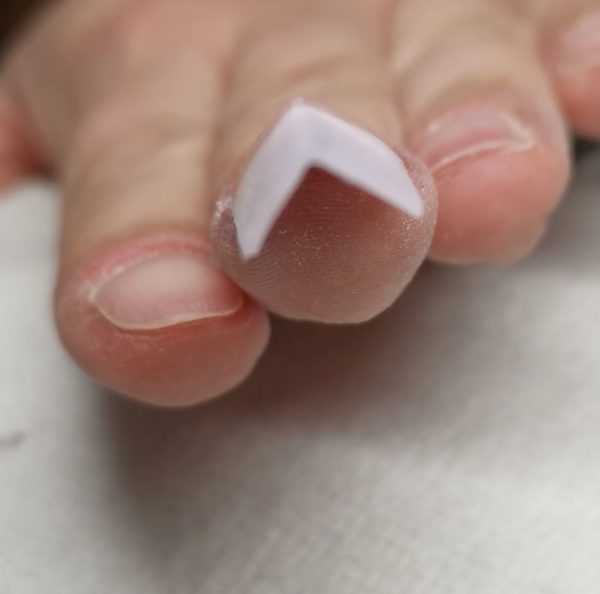
After preparing nail, customise the form by trimming in smile line area. The form should be applied straight to the finger and slightly upwards, so the end of future free edge is as high as the apex.
Step 2
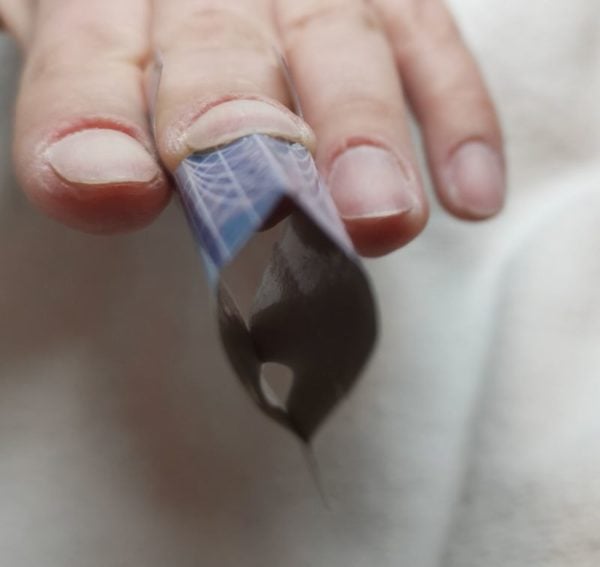
The tip of the form is closed in diamond shape creating upside down ‘v’.
Step 3
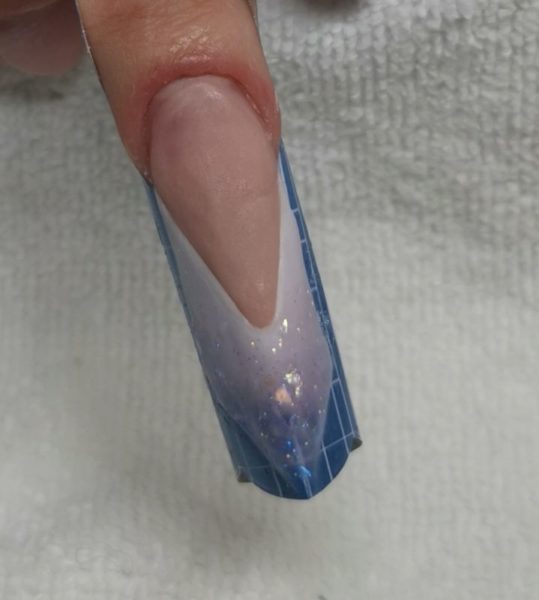
Apply the product evenly on the both sides of the form. The tip ends in the sharp point, as should the nail bed extension.
Step 4
The side walls are parallel and run in a straight line from the smile line corners.
Step 5
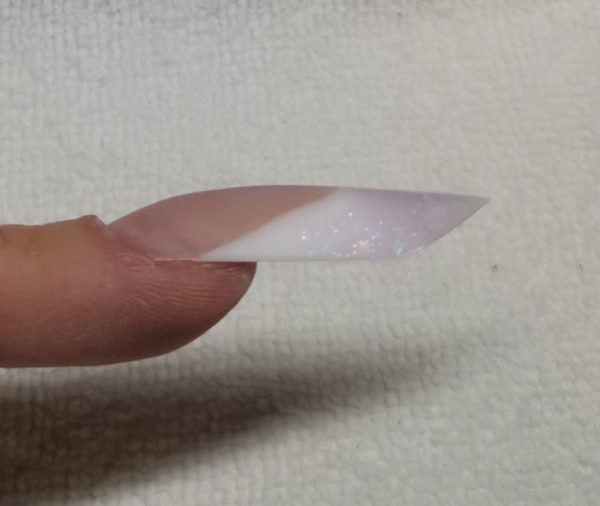
File the free edge from the lower arch to the edge upwards. Make sure your file is flat and parallel to the side. The end of extension file to a 45-degree angle so it is finished with a sharp tip.
Step 6
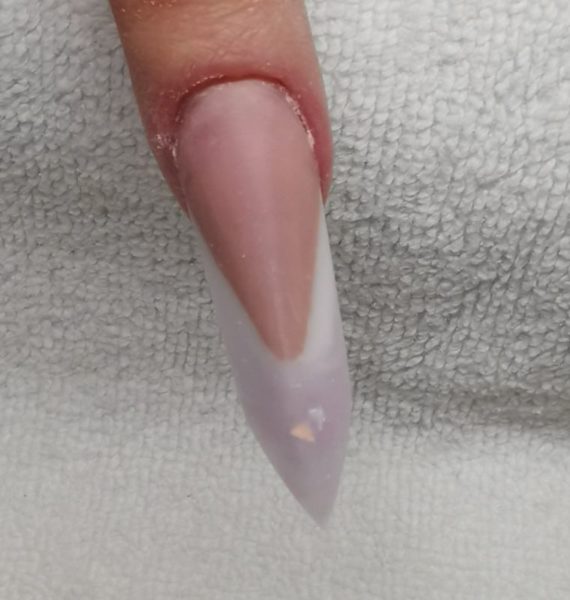
File flat on the side walls, file should be placed straight to the finger. Smooth the cuticle area.
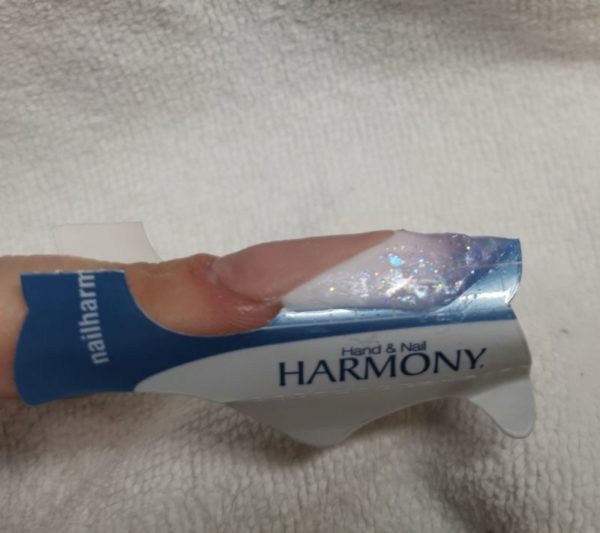
Step 7
The free edge finished with a sharp tip. Finalise your nail and decorate with nail art and embellishments.
