
Fiji-inspired nails by Jo Wickens

Spring/Summer, Step by Step
“For my Fiji-themed nails, I chose to take inspiration from the Fijian Masi, or tapa cloth,” reveals Jo Wickens. “Made from bark, the tapa is decorated using rubbing, stamping, stencilling or smoking to create geometric patterns with repeated motifs.”
See more holiday destination-inspired designs from page 54 of the July issue of Scratch magazine. Get your hands on a copy by clicking here!
Step 1
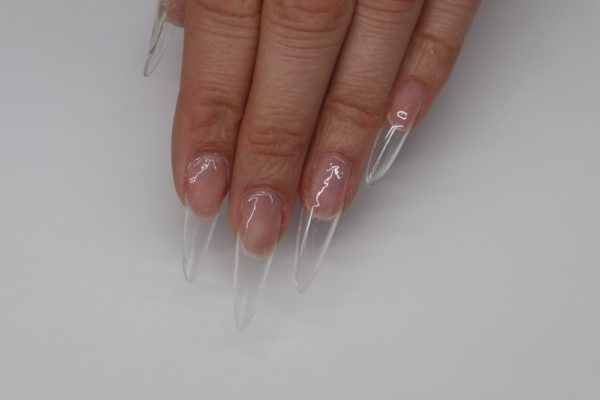
Prepare the natural nails, apply any bonders/primers, and then sculpt out the base layer or apply a tip followed by a thin layer of gel. Here I have used Light Elegance Extreme gel.
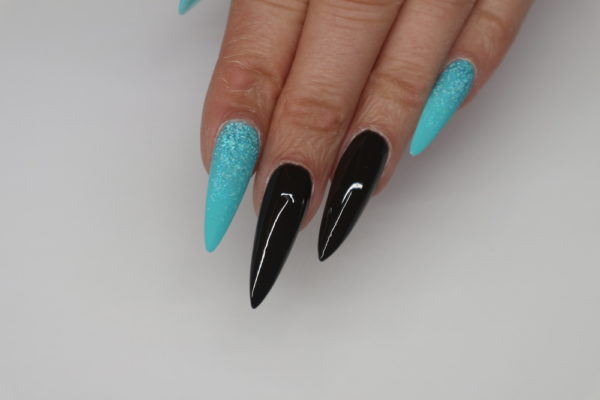
Step 2

Apply Light Elegance Espresso Me colour gel with the Light Elegance Gel Polish Bling brush to the middle and ring finger. Cure for 30 seconds in LED (2 minutes in UV).
Step 3
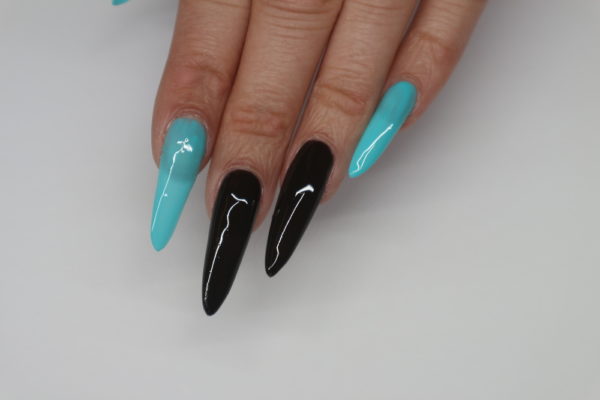
Apply Light Elegance Espresso Me colour gel with the Light Elegance Gel Polish Bling brush to the middle and ring finger. Cure for 30 seconds in LED (2 minutes in UV).
Step 4
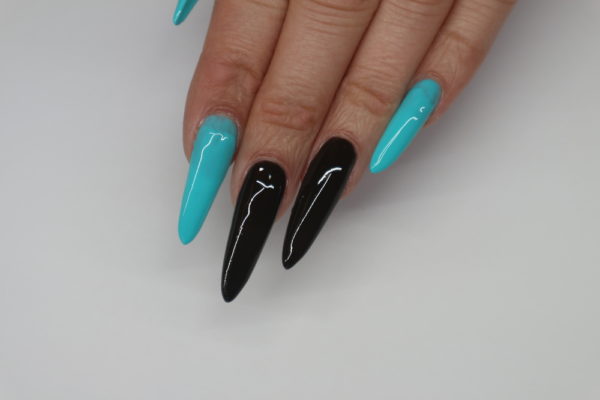
Apply a second layer of Longboard, leaving a gap near the cuticle area, then cure.
Step 5

Use a separate Gel Polish Bling Brush to apply Light Elegance Maliblue glitter gel to the gap where you did not apply the second layer of colour. Then blend up the nail to create a glitter fade. Cure for 30 seconds in LED (2 minutes in UV).
Step 6
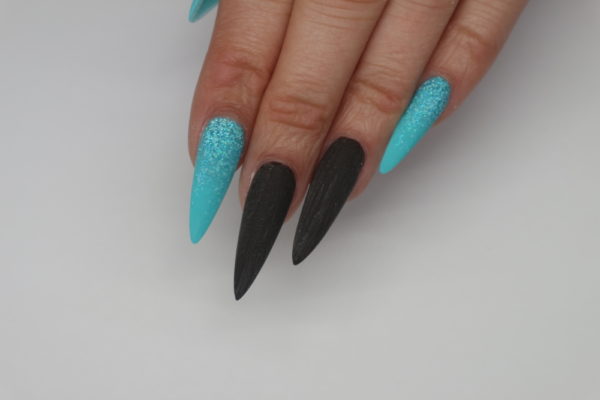
Encapsulate all of the nails with a layer of Light Elegance Extreme gel using the Light Elegance Oval #4 brush. Make sure you apply this layer to create an apex and give strength to the nail enhancement. Cure for 30 seconds in LED (2 minutes in UV). Once cured, cleanse the nails and then use a 150 grit to refine the nail surface. Shape the free edge with a 180 grit file, and smooth any areas on the nail surface that are uneven. Finish filing with the Light Elegance Foamie buffer, which will buff out any scratches on the nail and give the perfect smooth surface for the next steps. Cleanse the nails to remove any dust.
Step 7
Apply a thin layer of Espresso Me over the middle and ring fingers with a Gel Polish Bling Brush, and cure for 30 seconds in LED (2 minutes in UV).
Step 8

Apply Light Elegance Super Shiney top coat to all nails and cure for 60 seconds in LED (2 minutes in UV). Allow to cool before cleansing the nails. Using the Stripy brush from the Light Elegance Celina Ryden Signature brush kit, create a vertical line on the middle and ring finger with Light Elegance Just White Buttercream. Flash cure for 5-10 seconds.
Step 9
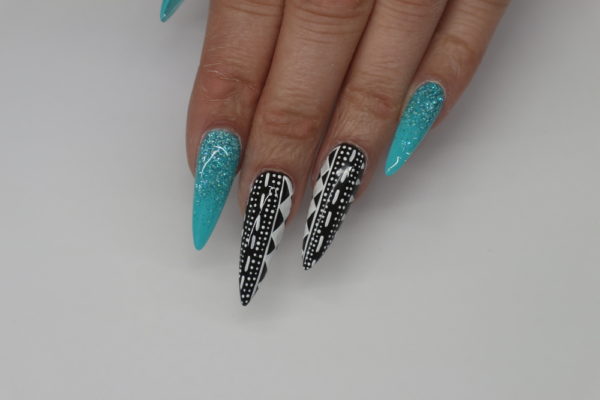
Create the geometric design using Just White Buttercream and the Stripy, Block and Swirly brush from Celina Ryden’s brush kit, along with the Light Elegance Stylus for the dot work. Cure for 30 seconds in LED (2 minutes in UV).
Step 10
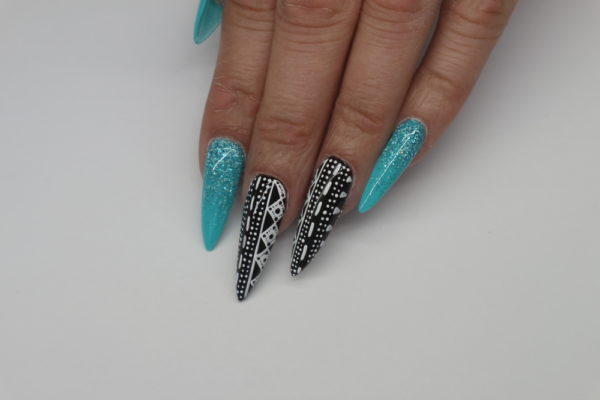
Add details to the design using a stylus/dotting needle and Light Elegance Black Tie Buttercream. Cure for 60 seconds in LED (2 minutes in UV) to ensure the design is fully cured before top coat.
Step 11
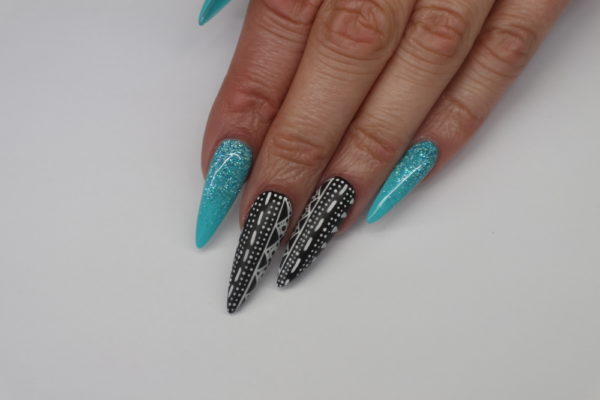
Apply a layer of Light Elegance Flat Matte top coat to the design nails and cure for 60 seconds in LED (2 minutes in UV), allow to cool before cleansing the nails. Lightly file the free edge on all the nails with a 180 grit to perfect the shape of the finished nails.
