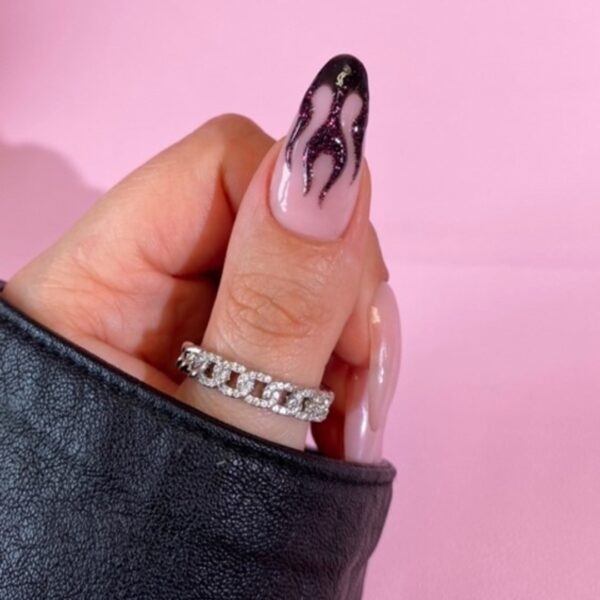
Flame nail art using Glitterbels’ Rock Chick collection

Step by Step
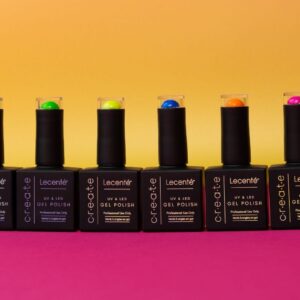
Content creator at Glitterbels HQ, Stacey Machin, shares how to create a fierce flame nail design using shades from the brand’s Rock Chick collection of punky Hema Free Gel Polishes…
Step 1
Once you are happy with your prep and your base colour is applied (I used Sweet Pea from the Glitterbels Hema Free Builder-bel Gel collection), paint a thin line from the tip to the middle of the nail. This must be in the shade you want your flame to be. I used Stage Lights from the Rock Chick collection.
Step 2
Paint a 'U' on top of the line to create a pitchfork shape. For the best result and a realistic look, the sides of the 'U' shape should taper in then out slightly.
Step 3

Thicken the lines to fill out the shape. Paint using curved lines by gently swiping your brush across the nail. It is important for the tips of the flame to be thinner at the top and thicker at the bottom.
Step 4
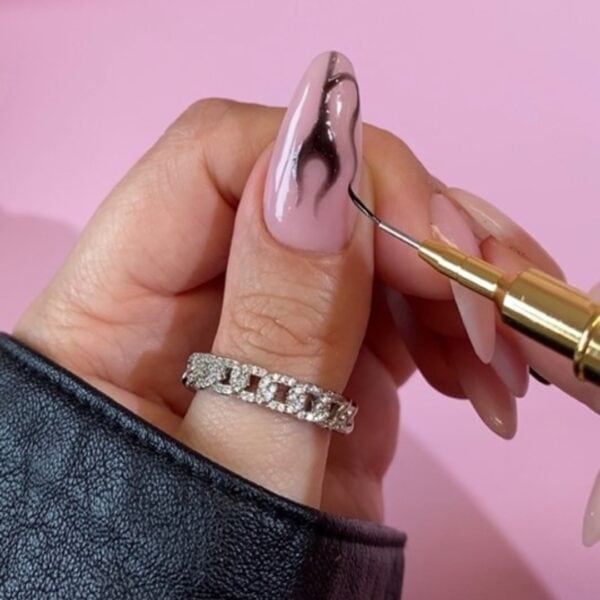
Once you have completed the middle flame, this will act as an anchor point for the rest of the design. Paint a line that curves from the thinner base of the middle flame. Make sure to add some bends in the line as you work your way out and up.
Step 5
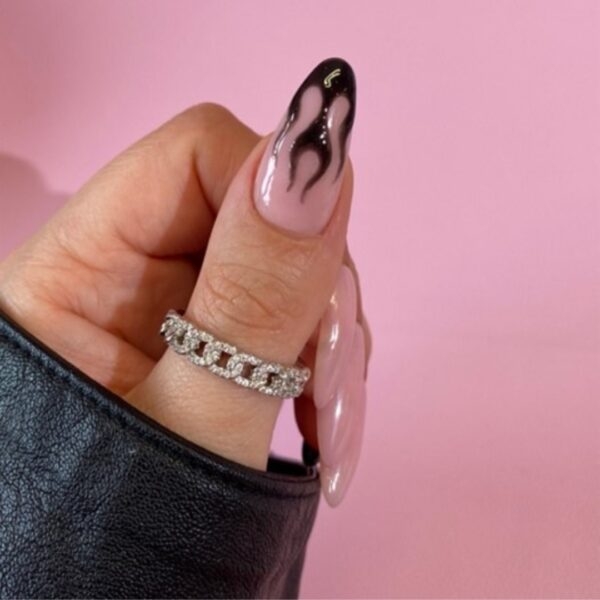
Replicate this line on the other side of the middle flame and thicken the lines up. Once you’re happy with the shape and coverage of the flame, cure in the Glitterbels UV/LED Lamp for 60 seconds.
Step 6
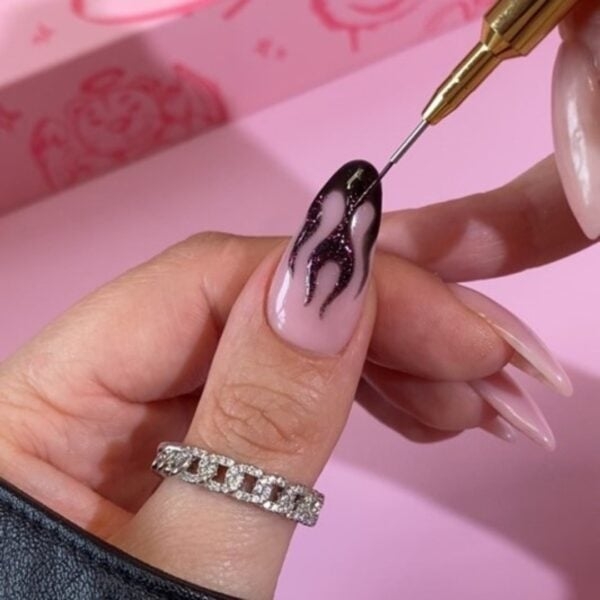
Using the Glitterbels 9mm Liner Brush and Fan Girl from the Rock Chick collection, ombré the glitter gel polish down the flame, from the tips to the base. When you are happy with the placement, cure for 60 seconds.
Step 7
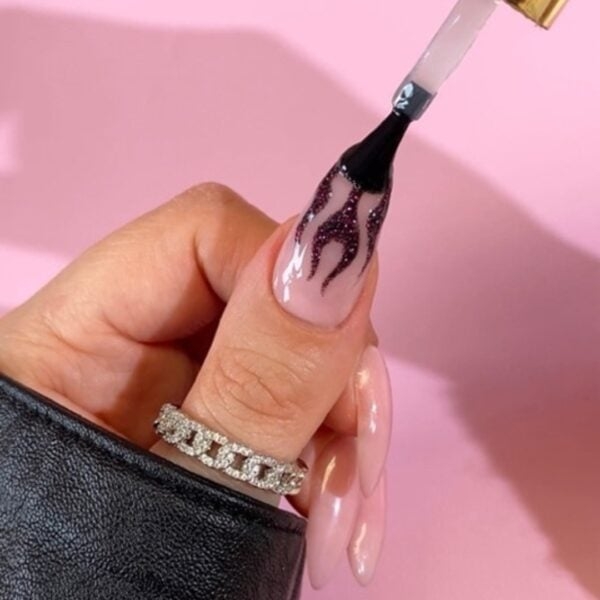
Apply a layer of Glitterbels Hema Free Topcoat. Cure for 60 seconds.
Step 8
If you are happy with the look, stop at step 7. However, if you are looking for a hint of 3D, use the 9mm Liner Brush to apply the clear Glitterbels Hema Free Builder-Bel Gel in Crystal over the flame. Once you are happy with the placement, cure for 60 seconds.

Read the latest issue