
Gothic cross nail art

Seasonal & Occasions, Step by Step
Nail artist, Sophie Harris-Greenslade aka The Illustrated Nail, reveals how to create this gothic cross design – ideal for Halloween!
“October is my favourite month because I love Halloween and creating themed nail art designs,” Sophie comments. “I haven’t created an embellished look for a while so I gathered my Swarovski crystals, studs, tape and various other bits and bobs that I have in my collection.
“I love using silver bullion beads to outline designs. It gives such a great effect and reminds me of heavy stitching in fabric or decorative stamped metal wall hangings. The bullion beads can come off quite easily so use nail glue to stick them on or encapsulate in gel for longevity.”
Step 1
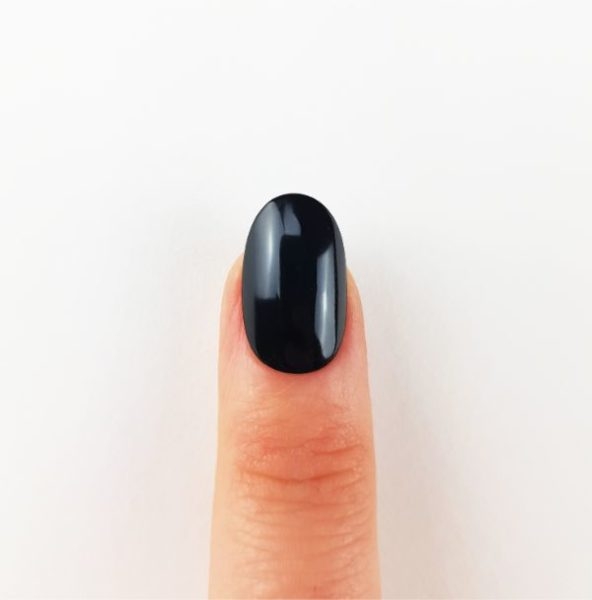
After filing, prepping and applying a base coat, apply two coats of Black Gelly Nail Paint by Barry M to all nails.
Step 2
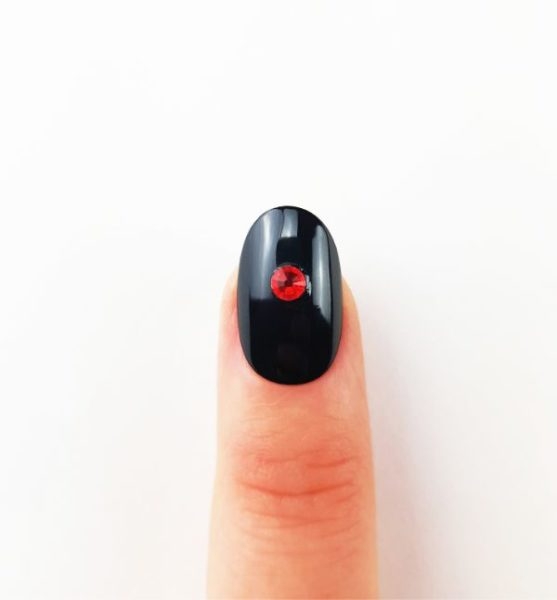
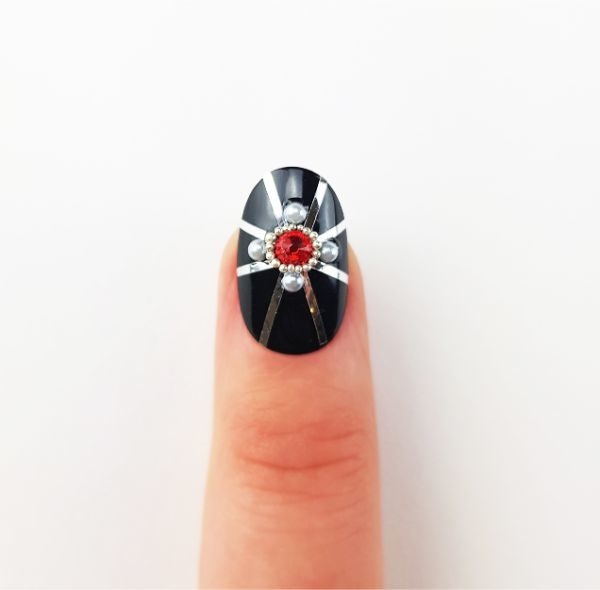
Add a dot of in the centre of the nail and place a red crystal on top. Hold down with an orangewood stick so that the crystal properly adheres to the nail.
Step 3
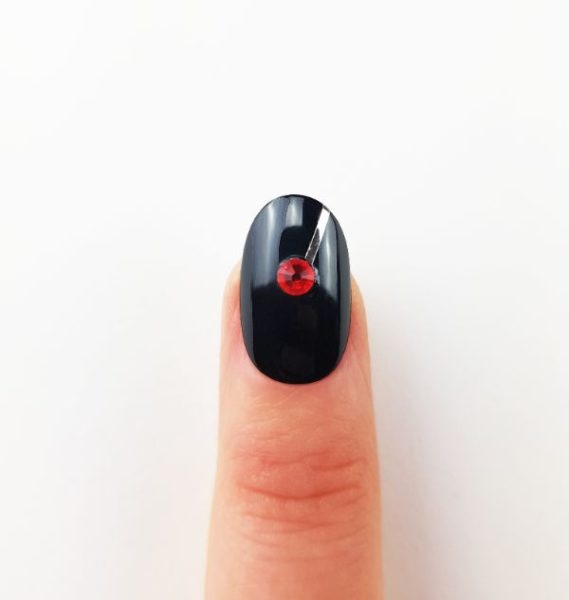
Cut a strip of silver metallic striping tape and place just to the right of the crystal, from the crystal to the tip of the nail at a slight angle. File off any excess tape at the free edge.
Step 4

Continue adding striping tape in ‘V’-like patterns around the nail. Eight strips of tape forms a gothic cross effect.
Step 5
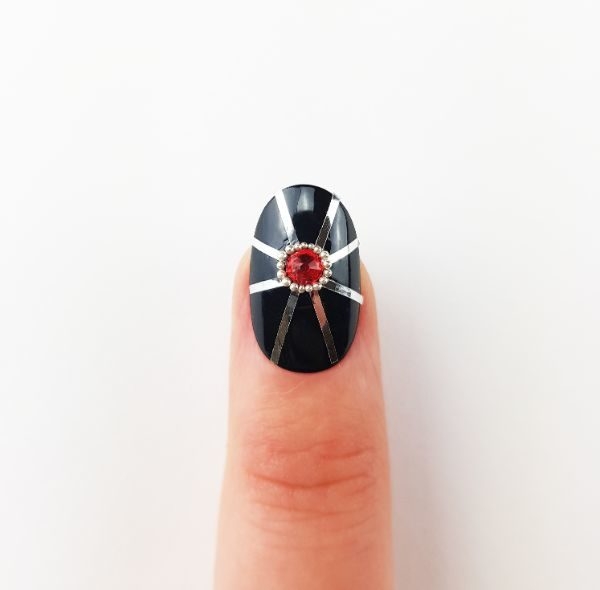
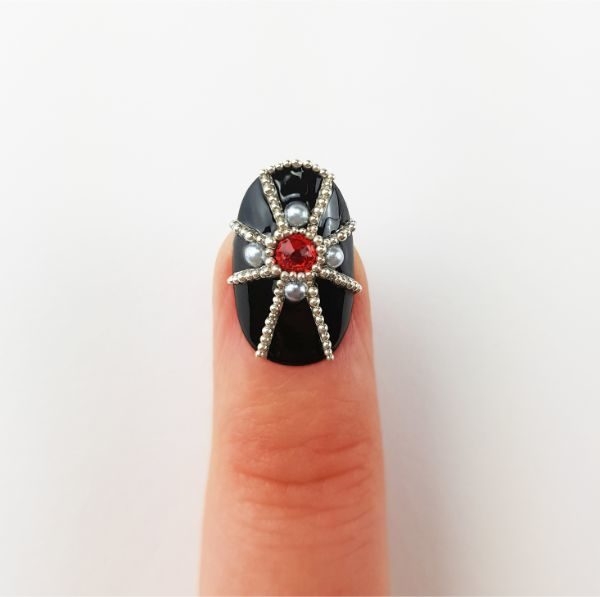
Apply some glue around the red crystal and place silver bullion beads.
Step 6
Using nail glue and an orangewood stick, apply four pearls within the four ‘V’ shapes; a the top, bottom, left and right, directly next to the silver bullion beads.
Step 7
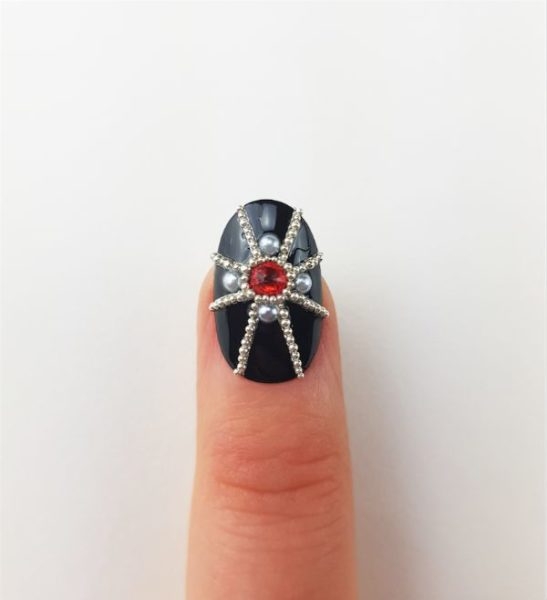
Add glue and apply bullion beads to each line of striping tape.
Step 8
Apply bullion beads with glue in-between the top ‘V’ shape, following the nail tip.
Step 9
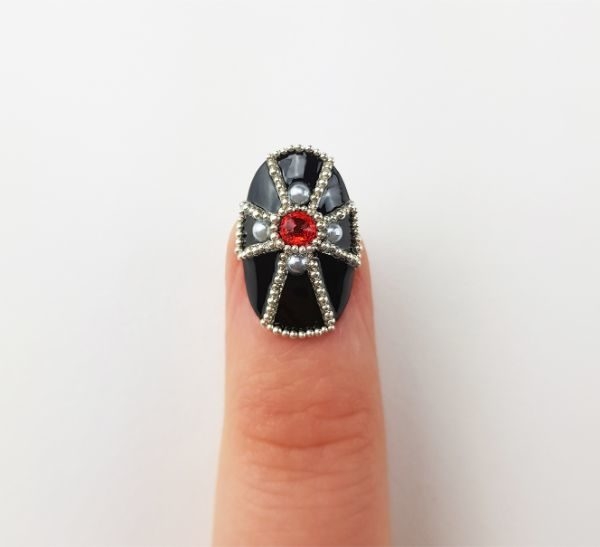
Finish the cross by applying bullion beads with glue in between each ‘V’ shape at the sidewalls and cuticle. Finish with top coat.
