
How to paint Minnie Mouse on nails

Step 1
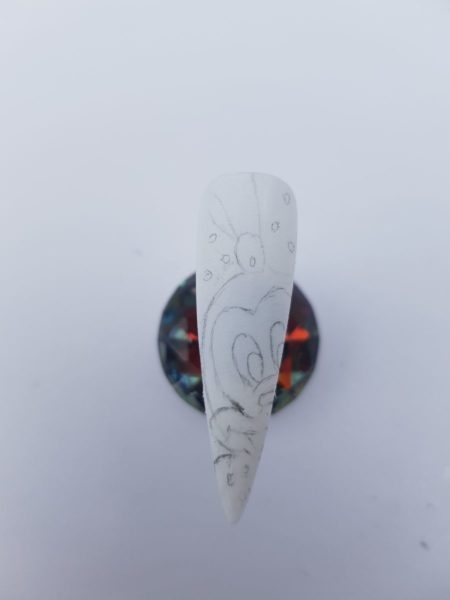
Apply two coats of Artistic Colour Gloss in Bride, curing each layer for 30 seconds. Apply two coats of Artistic Colour Glossing Top Coat, curing each for 30 seconds. Remove the inhibition layer and buff to create a matte surface. I prefer to work on a sealed polish, because if I make a mistake I can remove it, without disturbing the polish underneath. I also want a matte surface to work on, so I can sketch my design. Wipe over the nail with nail cleanser to remove any dust particles, and sketch your picture onto the nail. Ensure you have proportions equal.
Step 2

Paint the black parts of Minnie - the nose, eyes and outer part of the face. I used Artistic Colour Gloss in Swag. Flash cure, unless you are nervous you may disturb the polish, in which case cure for 30 seconds. Apply a second coat, if required, for depth of colour.
Step 3

Apply the flesh colour of the face area. I mixed a few colours to get the right shade. Flash cure. Always apply your layers of polish thinly, cure and build up.
Step 4

Using the Artistic Colour Gloss shade, Hotsy, paint the bow and dress. Flash cure.
Step 5
Using Swag, draw the outline of the eyes, the bow and the face. Add detail and creases to the bow. Flash cure. Now add spots of Bride, using a dotting tool, to the dress and bow. Flash cure.
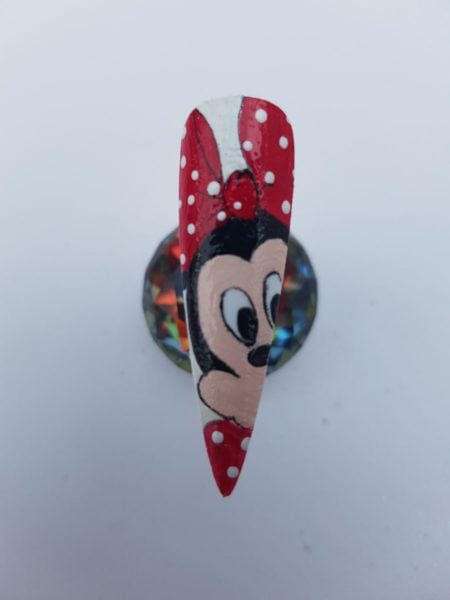
Step 6
Add the final touches with Swag: eyelashes, detail to the eye, the mouth, the crease above the nose and below the eyes. Flash cure between each colour if they are being applied next to each other. Once all detail is complete, cure fully. Apply Artistic Glossing Gel Top Coat and cure, then remove the inhibition layer.
