Leopard print nail art tutorial: 4 simple steps

Animal print, Step by Step
Session nail stylist, salon owner & educator, Marie-Louise Coster, shares a step-by-step for leopard print styling.
She used Artistic Nail Design Colour Gloss shades, available in the UK via www.sweetsquared.com
Follow Marie-Louise:
- Instagram: @mlcnailartist
- Facebook: Marie-Louise Coster Nail Artist
Step 1
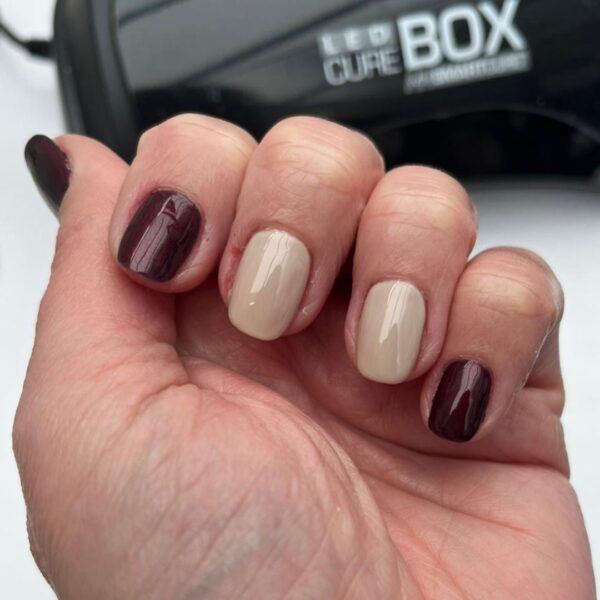
Prep the nails. Apply gel polish base coat and cure. Apply two coats of your chosen gel polish colours: one hue on the thumb, index finger and pinky, and the other on the middle and ring fingers. Cure after each layer. Apply a matte top coat and cure, to create a great surface to paint on.
Step 2
With a dotting tool, apply the colour used on the thumb, index finger and pinky in imperfect circle/oval shapes on the middle fingers. The shapes do not need to be specific or the same, as the more different they are, the better the overall look. Cure.
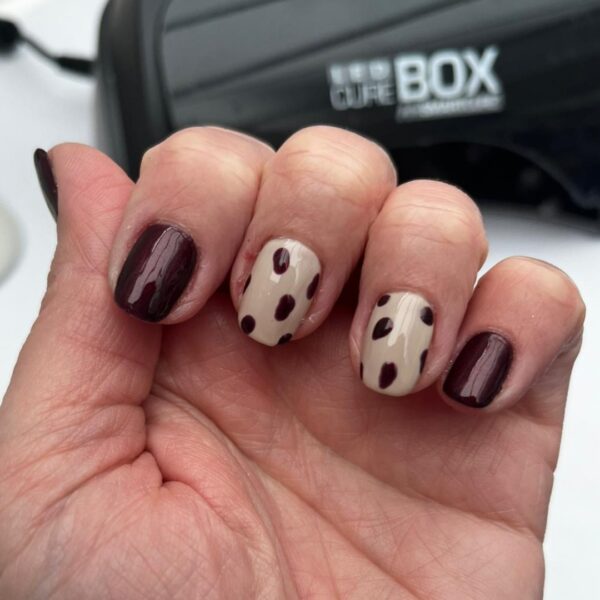
Step 3

Using a fine liner brush, take a black gel polish or gel paint and outline the circle/ovals, but not completely in order to create the leopard print pattern. Cure.
Step 4

With the black shade and fine liner brush, paint random, misshapen dots in the gaps between the leopard print. Cure once you are happy with the design. Apply your chosen gel polish top coat and cure.

Read the latest issue