

Award-winning LGBTQ+ nail artist: 5 steps to create a blooming Pride rainbow nail

Seasonal & Occasions, Step by Step
Miami-based nail pro & CEO of Nails BTCH., Tatiana Savostikova, shares her LGBTQ+ experiences and a blooming gel Pride step-by-step…

My LGBTQ+ journey began a long time ago in Russia, and the community I have found as a result means everything to me. It champions freedom, love and self-expression that cannot be confined by rules. I believe that the nail industry should be more inclusive of trans and non-binary nail enthusiasts, as manicured hands have traditionally symbolised femininity.
Why are you proud to be part of the nail community?
I believe true style lies in details, and nails are a perfect way to showcase identity. Nail appointments are more than treatments – they’re moments of support and self-care. I’m proud to help students develop their talents and build careers through my Level Up course, which offers time-saving techniques to attract clients and avoid common mistakes.
LGBTQ+ techs – prioritise yourself, embrace your uniqueness and proudly bring beauty into the world through nail artistry!
Follow Tatiana on Instagram: @nailsbtch
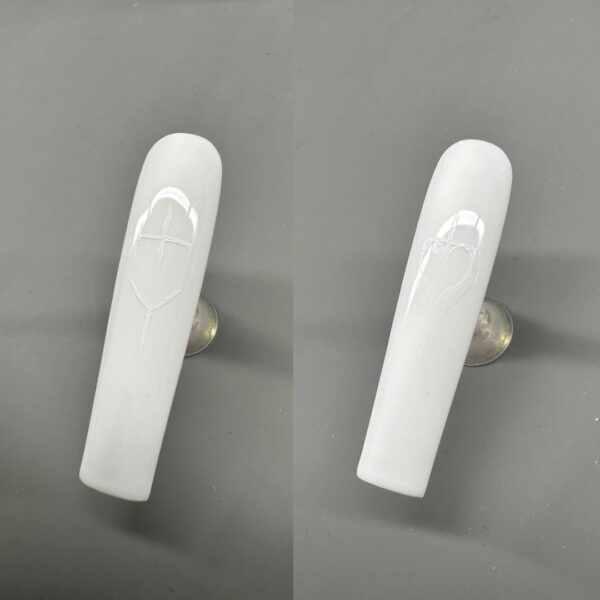
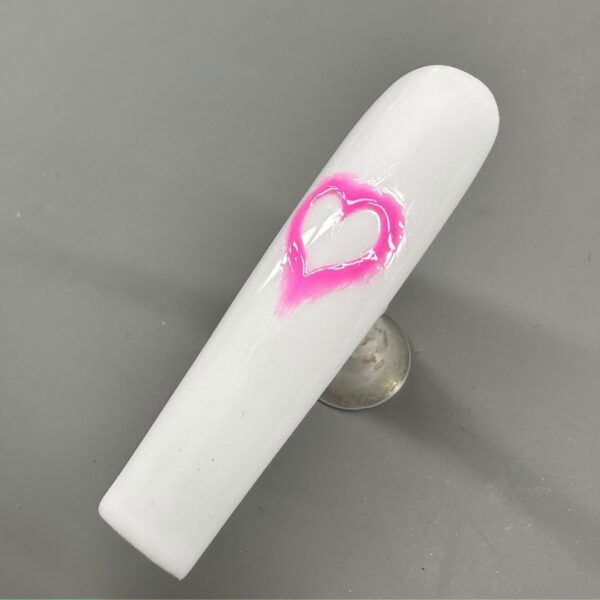
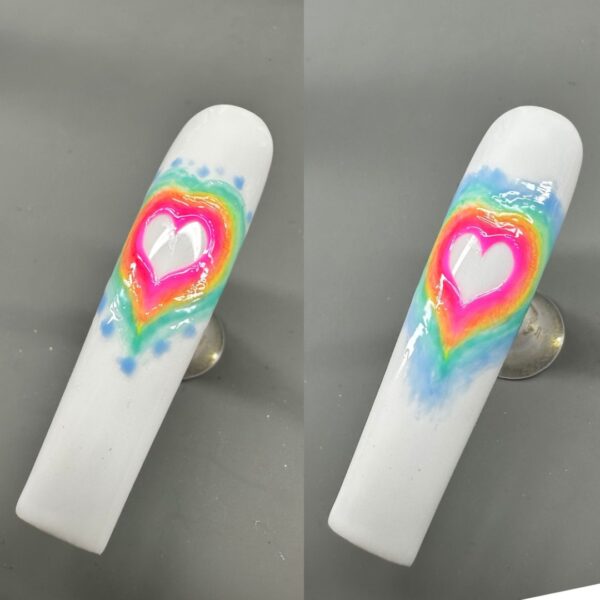
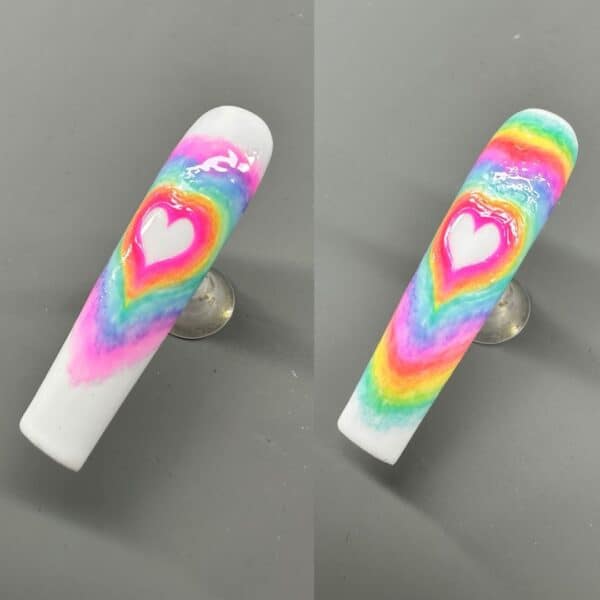
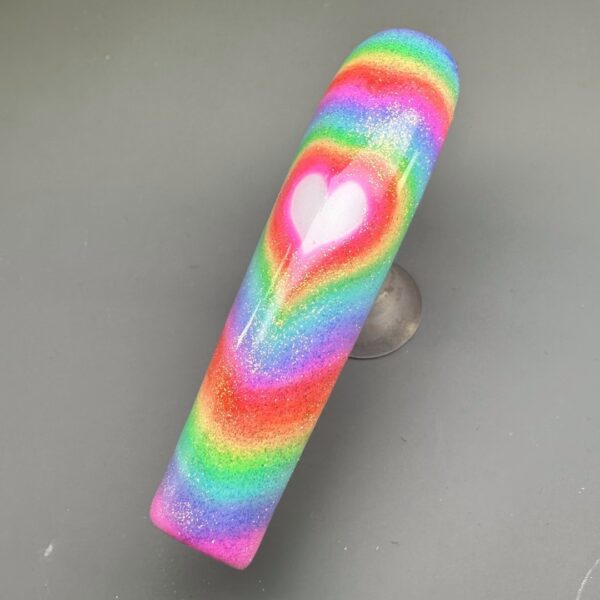
Step-by-step: Blooming Pride flag
You will need:
- White gel polish.
- Fine liner brush.
- White gel paint.
- Blooming gel.
- Gel polishes in key colours of the Pride flag (I chose pink, red, yellow, green, light blue and dark blue).
- Glitter top coat.

Read the latest issue


