
Light Elegance citrus nail design

Step by Step
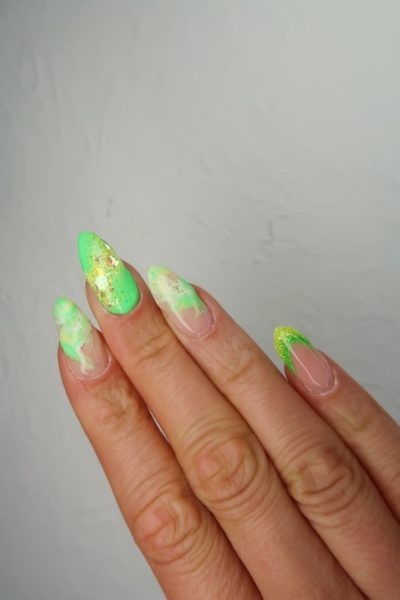
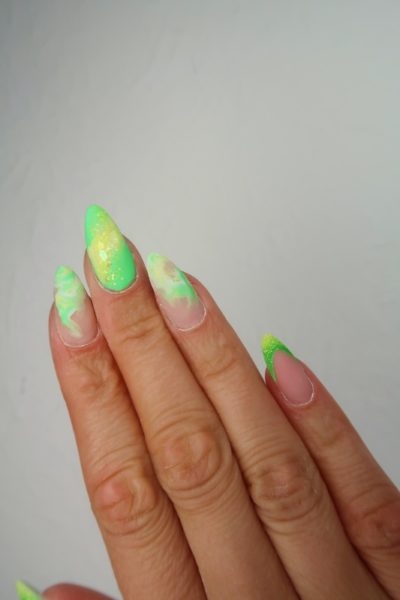
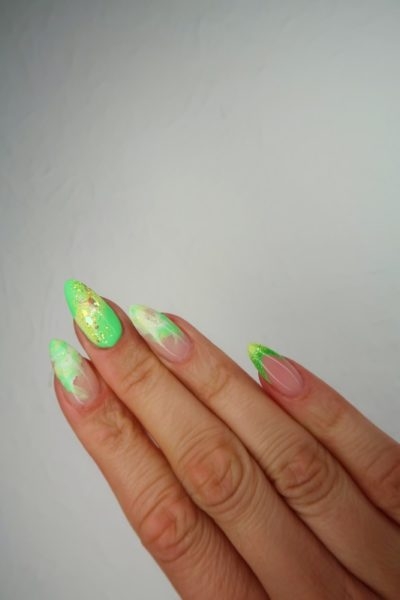
Light Elegance UK education ambassador, Jo Wickens shares this super citrus inspired design using Light Elegance’s new zesty Summer Squeeze collection.
Products are available via Sweet Squared at www.sweetsquared.com
You will need
- Natural Fibre Gel
- Ideal Pink Builder Gel
- Natural Pink Cool Gel
- 1 Step Clear Gel
- Extreme Clear Gel
- Lexy File 100/180
- Foamie Buffer
- LE Pro Cleanser
- Cleansing Wipes
- Colour Gels in Sublime Lime and Sunkissed
- Glitter Gel in Kiwi To My Heart, Bad Banana and Fairy Good
- Swedish White Gel
- Gel Polish Bling Brush
- Oval Bling Brush
- Smile Line Brush
- Dotting tool
- Super Shiny
- LE Dot Lamp
- LE Pro Cuticle Oil
- Q&Lu Bamboo Lotion
Step 1
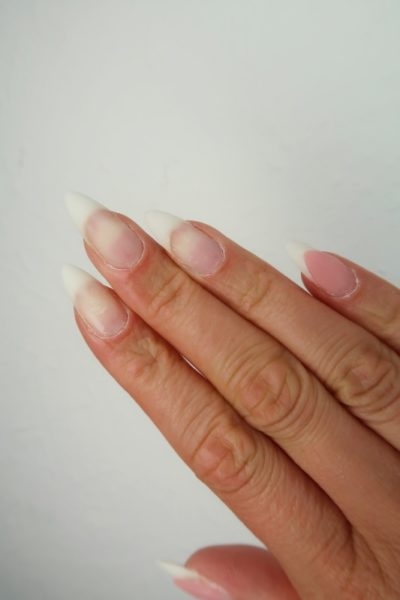
On a sculpted base (I used Natural Fibre gel) use Ideal Pink Builder gel and the Oval Bling Brush to create a reverse smile line on the pinkie finger. Cure in the LE Dot lamp for 60 seconds. Apply Natural Pink Cool gel over the top to build the apex of the extended nail bed area. Cure for 60 seconds.
Step 2
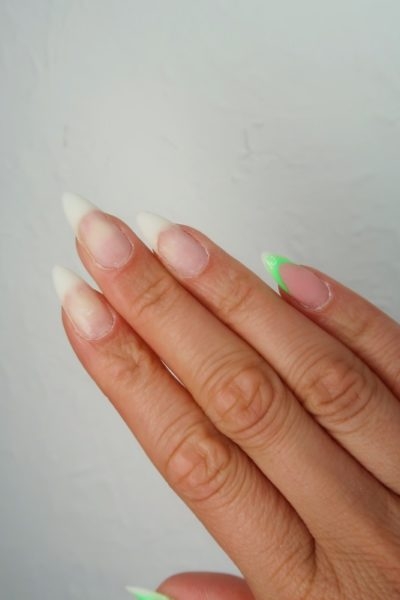
Cleanse with LE Pro Cleanser and a cleansing wipe, remove the sticky inhibition layer from the pinkie finger. File the smile line to perfect and sharpen the shape using the Lexy File 100/180. Cleanse all nails. Use the Smile Line Brush to apply a thin layer of Sublime Lime Colour Gel up to the reverse smile line. Blend down the tip to create a slight fade and cure for 30 seconds.
Step 3
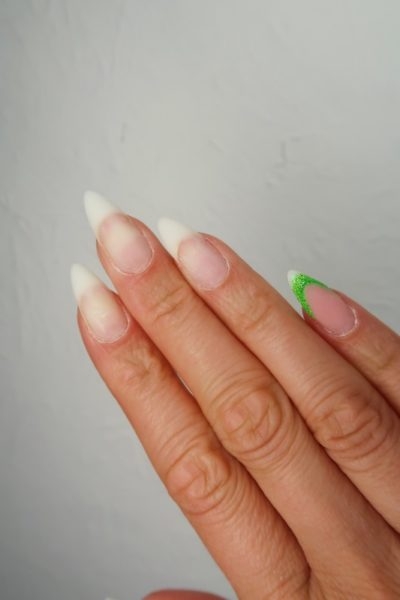
Apply Kiwi To My Heart Glitter Gel over the Sublime Lime layer using a dotting tool. Cure for 30 seconds.
Step 4
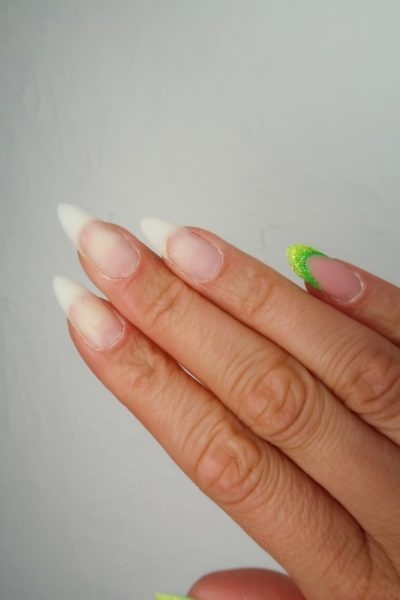
Apply Bad Banana Glitter Gel to the very tip of the French nail, blending slightly over the line of Kiwi To My Heart. Cure for 30 seconds.
Step 5
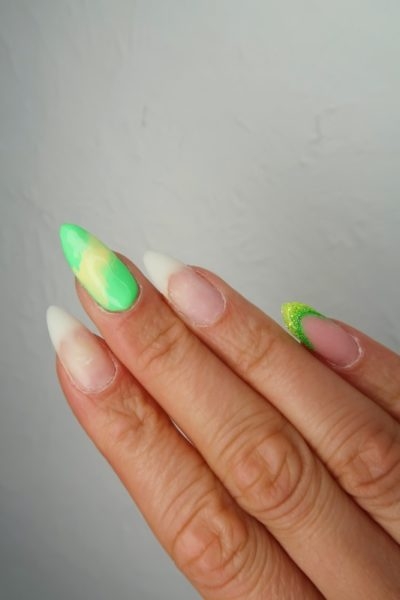
Using the Gel Polish Bling Brush, apply Kiwi To My Heart Colour Gel to the middle nail, nearest the cuticle area and diagonally across the tip of the nail, leaving a diagonal shape in the middle. Before curing, apply Sunkissed Colour Gel through the middle of the diagonal shape. Slightly blending the edges between the green and the yellow. Cure for 30 seconds. You may need to do this in two layers.
Step 6
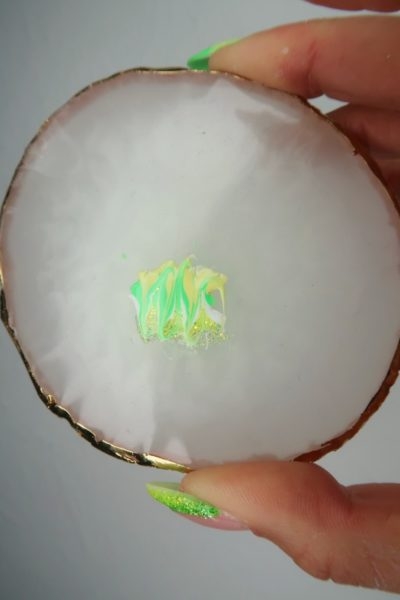
Prepare your products for the marble nails. On a palette, lay down stripes of Sunkissed, Kiwi To My Heart, Swedish White Gel and Bad Banana Glitter Gel next to each other. Use a dotting tool to zig-zag through the colours and slightly marble them together.
Step 7
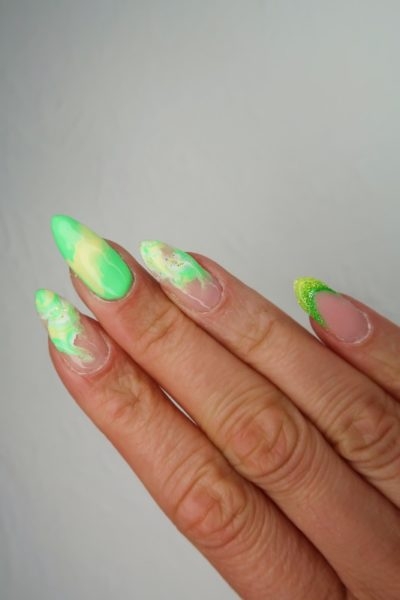
Apply a thin layer of 1 Step Clear gel to the index and ring finger with the Oval Bling Brush. Do not cure. Pick up the marbled products from the palette by dragging your Gel Polish Bling Brush through the colours. Apply to the nail keeping the colours on the top side of the brush. Tilt the brush at an angle and glide it over the wet 1 Step layer to allow the marbled colours to flow off of the brush and on to the nail. Let the products settle for a few seconds before curing for 60 seconds.
Step 8
Add some sparkle to the middle finger using Bad Banana and Fairy Good Glitter Gels. Apply with a Gel Polish Bling Brush following the diagonal shape of the yellow and blend out so the glitter slightly overlaps on to the green. Cure for 30 seconds.
Step 9
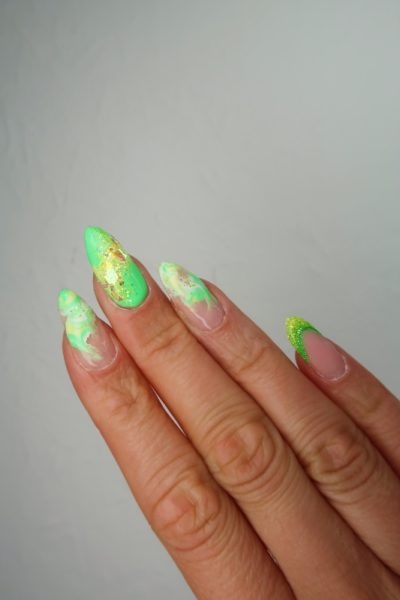
Apply Extreme Clear gel to all of the nails to encase the colours and build strength in the apex. Cure for 60 seconds.
Step 10
Cleanse the nails with the LE Pro Cleanser and cleansing wipe. Refine the nails to and file to an almond shape using the Lexy File 100/180. Cleanse the nails again.
Step 11
Finish the design with a layer of Super Shiny gel topcoat. Cure for 30 seconds and allow to cool for 15-20 seconds once out the lamp and before cleansing to remove the sticky inhibition layer. Apply LE Pro Cuticle Oil and Q&Lu Bamboo Lotion.
