
Make a splash with starfish!

Animal print, Spring/Summer, Step by Step
Ilex Wood, bachelor educator with Nail Harmony UK, shows you how to have clients starry eyed with this tropical design
Step 1

Prep the nail ready for a Gelish service. Paint a vibrant colour that will contrast with your starfish. Here, Gelish Not So Prince Charming was used.
Step 2

Once cured, place five dots in a circle using Gelish Rocking The Reef to contrast the blue tone. Use these dots to map out where your design will be. Do not cure these dots.
Step 3
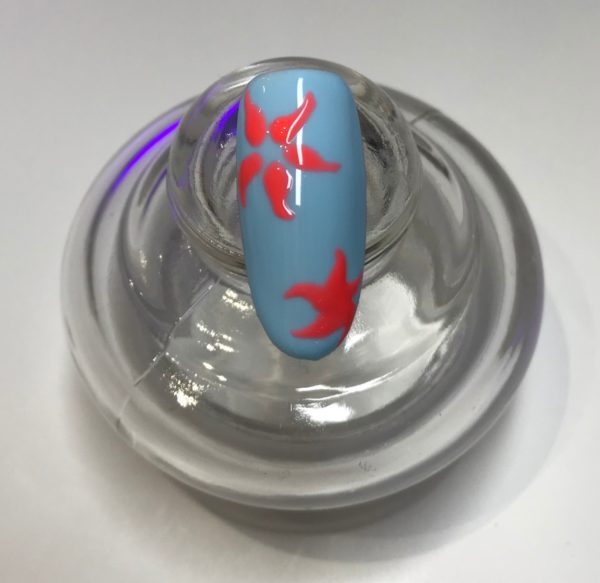
Using the Gelish Mini Gel Striper, work from the middle, pulling the uncured gel outwards. Wiggle your brush slightly to form five uneven legs. Once happy with your placement, fill the middle in with the same colour. Cure.
Step 4

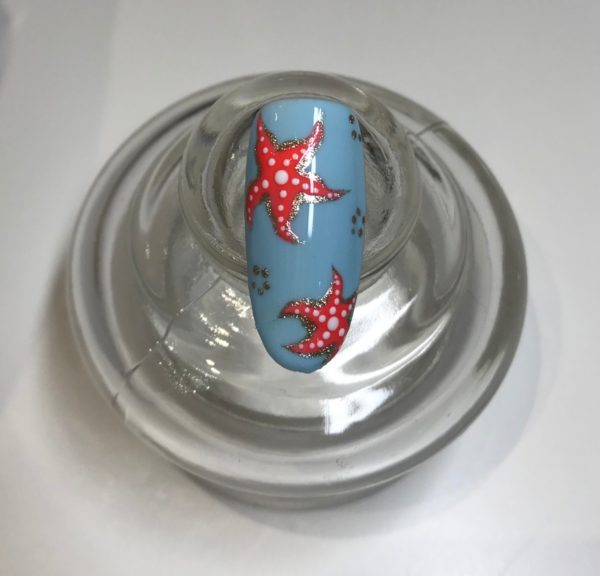
Using the Gelish Mini Gel Striper, outlined the starfish in Gelish Give Me Gold. Cure
Step 5

For the dotting detail, use Gelish Arctic Freeze and the Nail Harmony Marbling Tools. Place your first and largest dot in the middle, followed by smaller dots going across each of the legs getting smaller to add effect. Cure.
Step 6
Using the same method for the large starfish, place dots to map out three other smaller starfish for detail and to create an odd number. Use Gelish Give Me Gold to tie in the small starfish with the detail on the larger ones. Do not cure.
Step 7
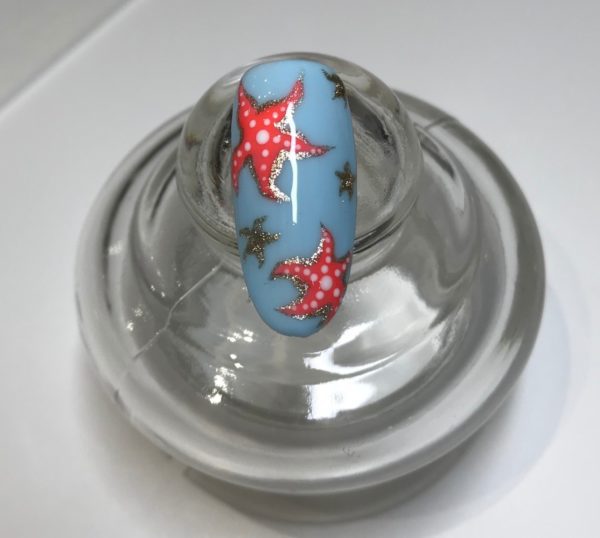
Using your striper brush, pull out the gel from the middle to form five legs on each. Once happy with placement, fill in the middle and cure. Finish with Gelish Top It Off.
