
Marble floral nail art

Floral, Spring/Summer, Step by Step
Salon System Gellux expert, Karen Louise, has created a floral marble step-by-step…
Step 1

First start by prepping the nails by pushing back the cuticle, filing to shape and gently buffing the nail. Remove any excess dust and wipe with Gellux Prep + Wipe. Then, using Gellux Fast Bond, apply to the nails and let dry. Apply the Gellux Easy Off Base Coat and cure. Then, apply a thin coat of Gellux in She Sells Seychelles to the index finger and then apply Gellux in Stormy to the remaining nails and cure. Repeat this for the second coat but making sure to cap the edges.
Step 2
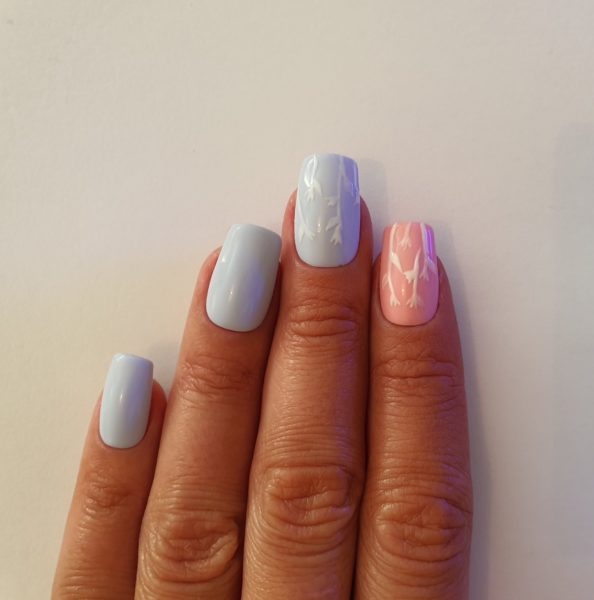
Using a thin detailing brush and Gellux in Purely White, paint the flower and the stem design on both the index and middle finger and then cure.
Step 3
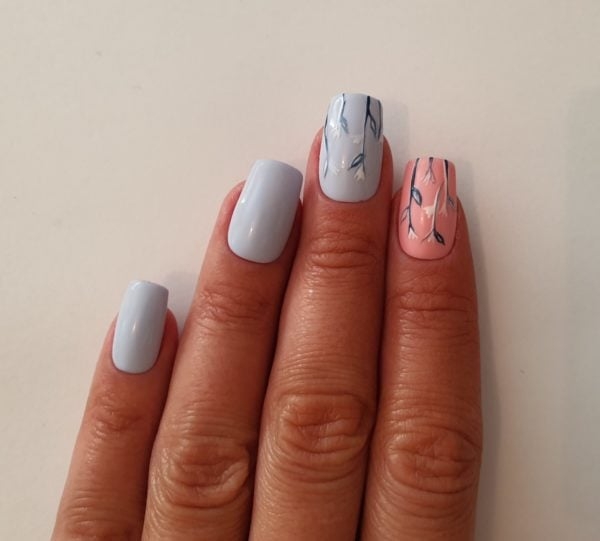
Now go over the stem and leaves on your design with Gellux in Dress To Impress and flash cure. When colouring the stork and leaves, it's okay to leave some Gellux Purely White showing to add further depth and add an arty effect to your design.
Step 4
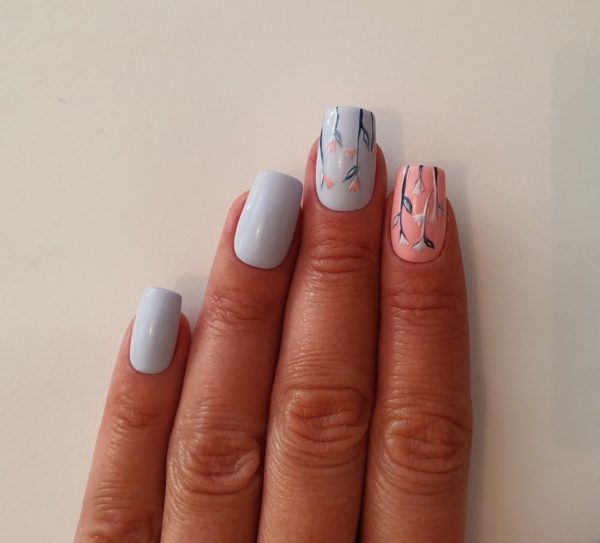
Then, using Gellux in She Sells Seychelles, create your flowers on the middle fingers and use Gellux in Stormy to colour your flowers on the index finger and cure.
Step 5
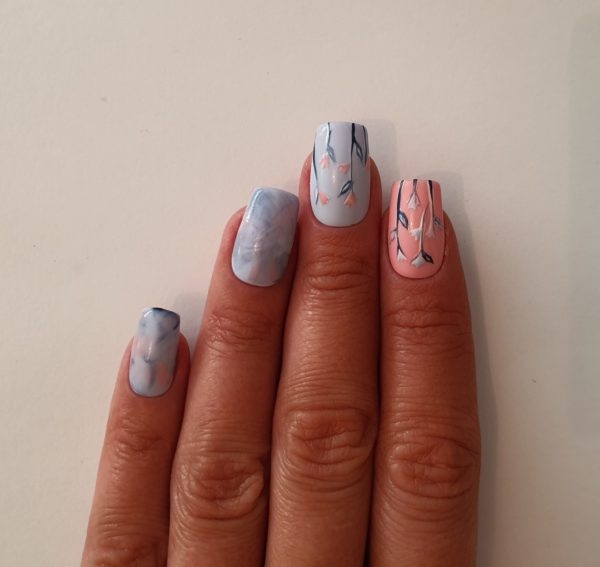
Now to the pinkie, ring and thumb nail, apply Gellux in Dress to Impress and She Sells Seychelles using a small flat nail art brush over the top of the nail (wiping off excess) and just them blend in, then cure.
Step 6
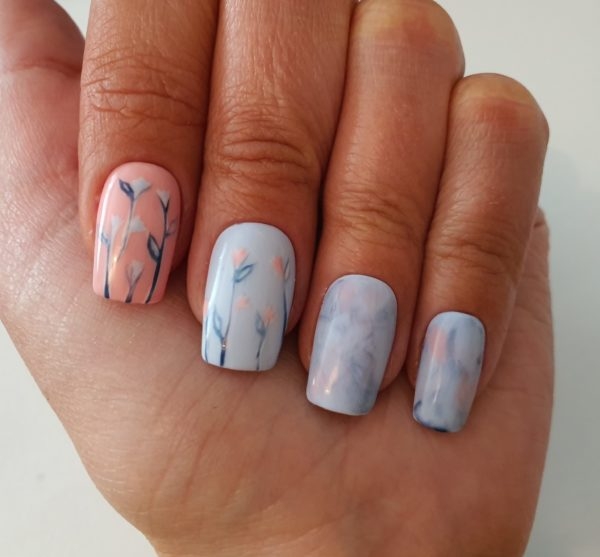
Apply the Gellux Mirror Glaze Topcoat to the nails, making sure to cap the edges and cure. Finish by wiping the nails over with Gellux Prep + Wipe and finish with the Gellux Cuticle & Nail Oil.
