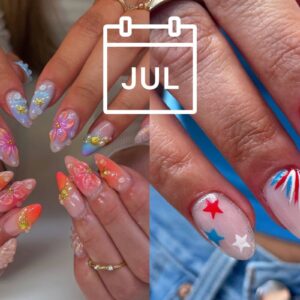
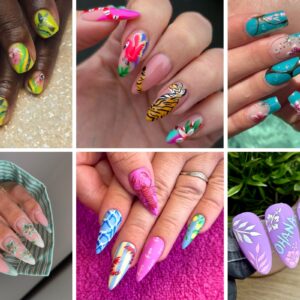
Mickey and Minnie Mouse nails

Step by Step
World’s Star Nail Artist finalist 2023, Gemma Dawson, has combined her love for freehand nail art and character designs to create this super-cute Mickey and Minnie Mouse nail design. Here, she shares the step-by-step…
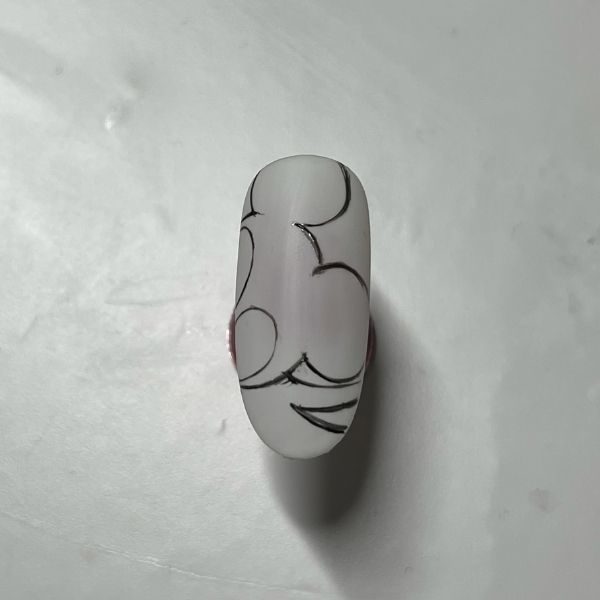
Step 1
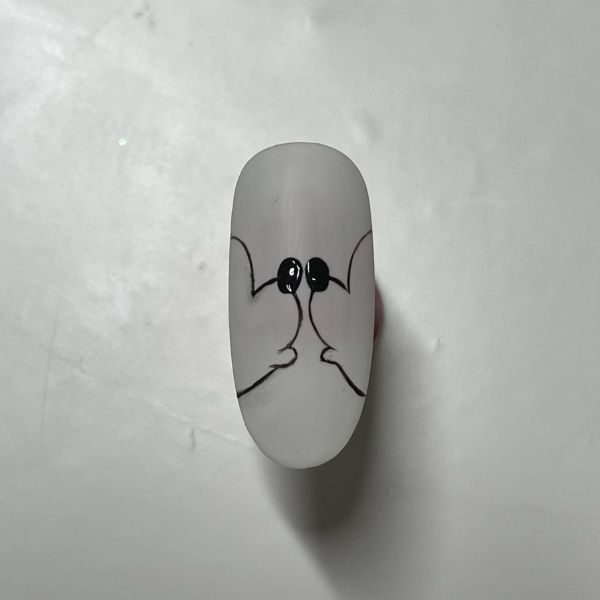
Start with three white tips and apply a matte top coat, then cure. On the first tip, using a dotting tool, create two ovals for noses in the centre of the nail. Paint curved lines from the ovals as shown, to create the outline of the two faces.
Step 2
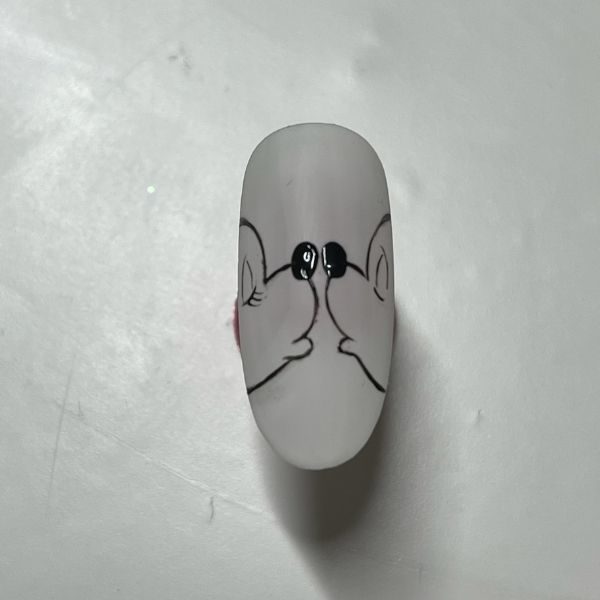
Paint two eyes on each face, adding long eyelashes for Minnie Mouse.
Step 3
On the second tip, using more curved lines, paint the outline of Mickey Mouse’s ears and body. Cure.
Step 4

On the third tip, repeat step three for Minnie, but also include her bow. Cure. Both characters are a collection of curved lines in various directions.
Step 5
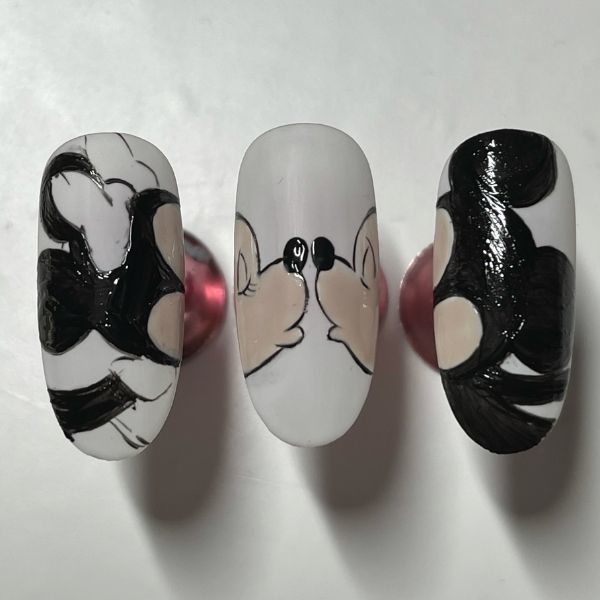
Fill in the characters with black for the ears and nude for the faces, curing between each shade.
Step 6
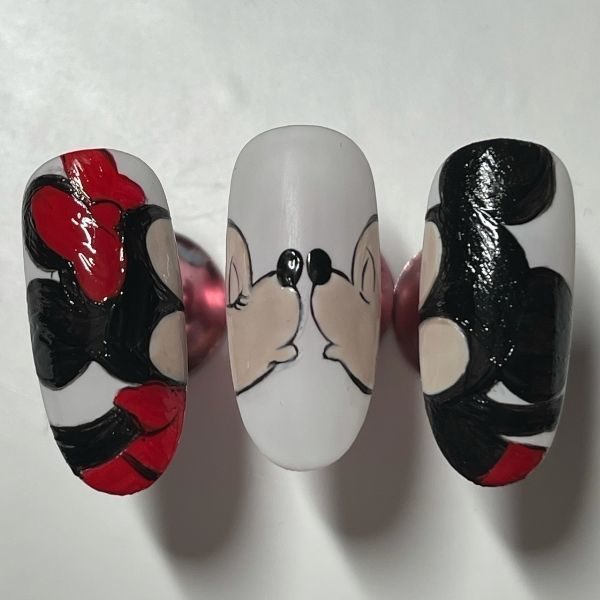
Paint the red areas of the characters' outfits and cure.
Step 7

Outline the characters with white to make them pop and add blush to their cheeks. Cure.
Step 8

Paint black heart outlines in the white space of the middle tip and cure. Apply top coat and cure.

Read the latest issue