
Milky glitter ombré nails

Step by Step
In this step-by-step, Sophie Donaldson of Sophie’s Cosy Corner showcases a nail look she predicts to be popular this autumn/winter.
“I envisage this glamorous nail style being popular during the autumn and winter months when clients are no longer opting for bright shades. The colour of the sparkle can be adapted and different milky builder shades can be used, making this design very versatile,” she tells Scratch.
Step 1
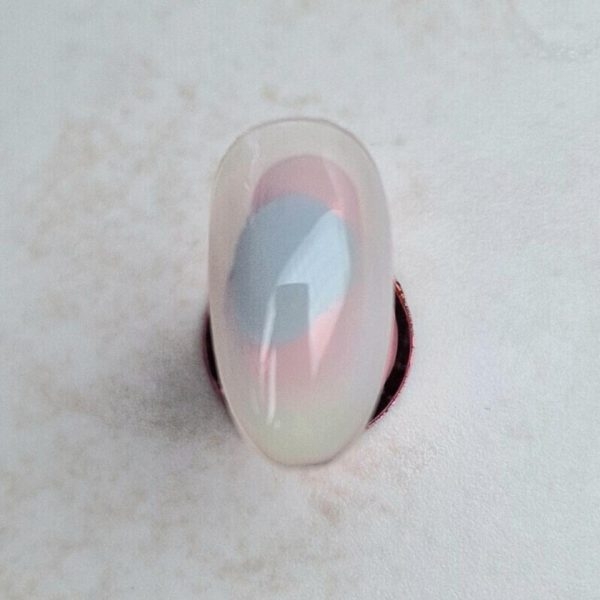
Prep the nail and add a thin layer of milky builder gel. I used Glossify's Naturabuild Gel in Sheer White (available from www.glossify.co.uk).
Step 2
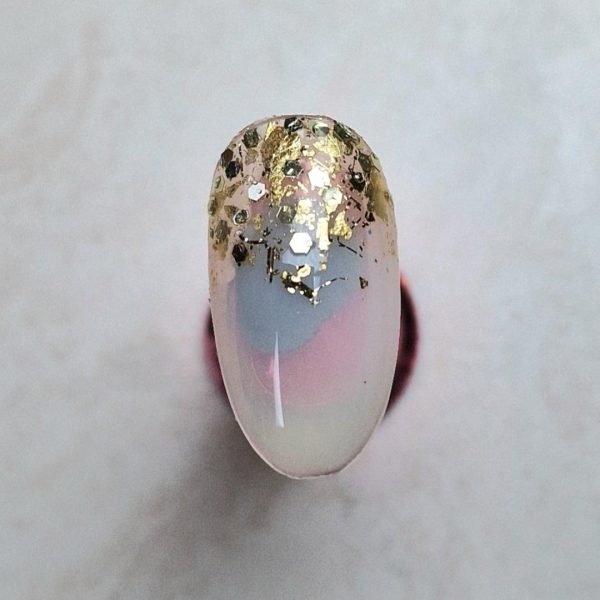
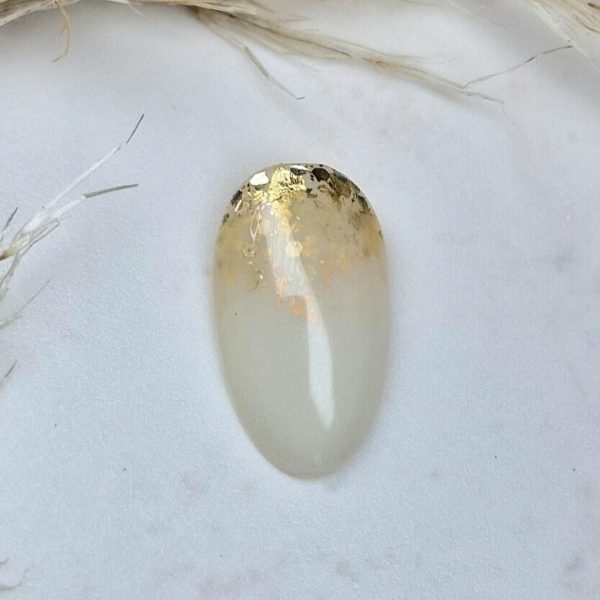
Add chrome flakes, glitter and silly string from the top to the middle of the nail, precisely placing them to create a fade/ombré effect. My go-to products for this are HD Professional Nail Systems' Glitter Flakes & Leaf in Gold (available from www.hazeldixonnails.com) and The Unicorn's Den Chrome Silly String in Gold (available from www.theunicornsden.co.uk).
Step 3
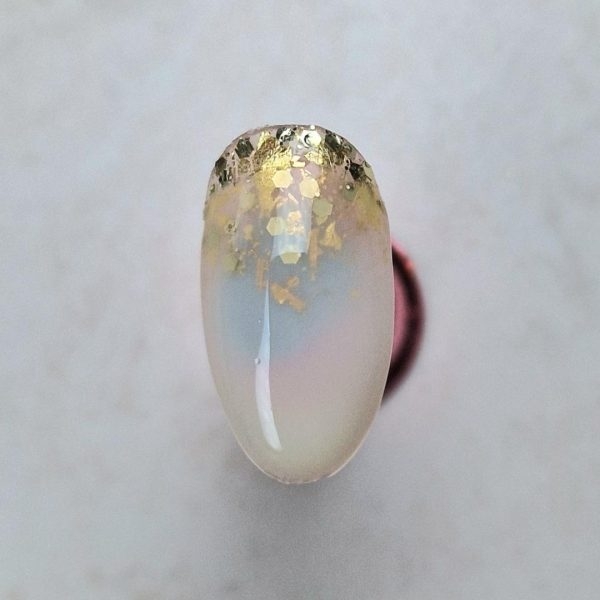
Apply your milky builder gel in the middle of the nail and down to the nail tip. Slightly fade it up to the cuticle, leaving a small line of gold sparkle shining through at the top of the cuticle.
Step 4
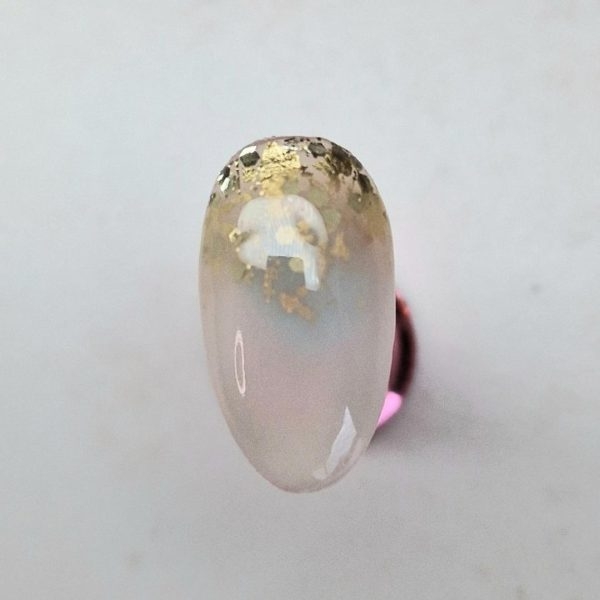
Cure then add a layer of top coat. It is preferable if you use a thicker top coat.
Step 5
If needed, refine and add another layer of top coat.
