Minimalistic love heart nail art

Seasonal & Occasions, Step by Step
Salon System nail expert, Julie-Anne Larivière, has created a love heart nail art step-by-step using GELLUX, ready for the day of love.
Step 1
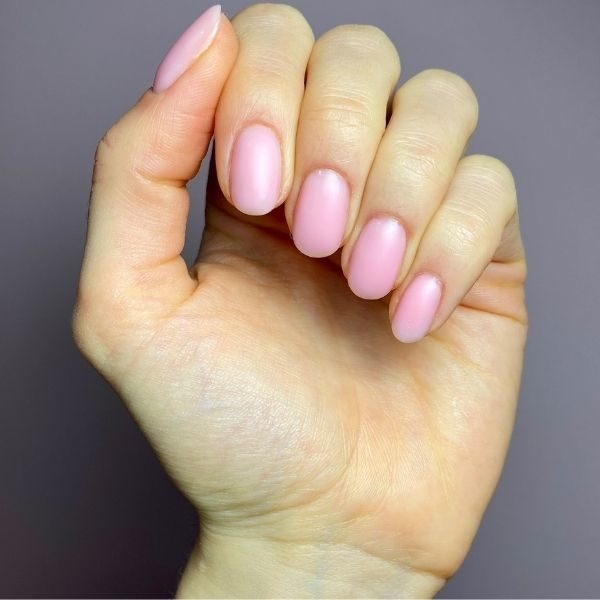
File the nails to shape and push the cuticles back, trimming the excess with the GELLUX Cuticle Handy Manicure Tool. Gently buff the surface of the nails with a white block. Thoroughly wipe the nails with GELLUX Nail + File Cleansing Spray and a lint free pad. When the nails are dry, apply GELLUX Fast Bond and let it dry for 30 seconds. Apply one very thin layer of GELLUX Builder Gel in Rose Pink, followed by another thicker layer, making sure to build an apex. Cure in between coats for 60 seconds.
Step 2
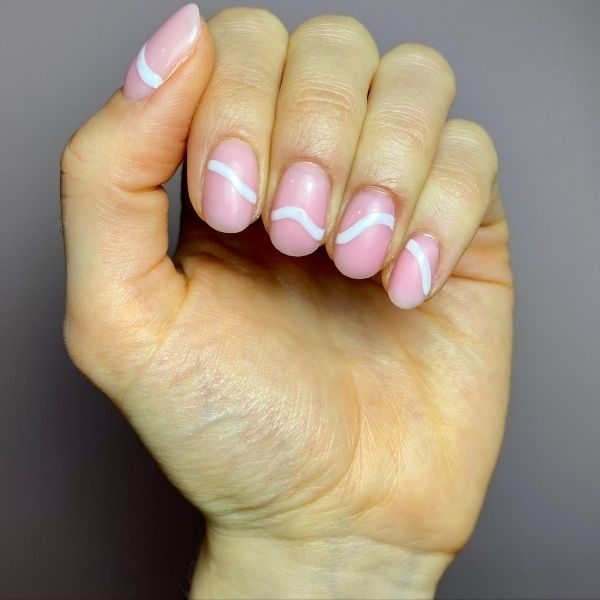
Using a fine striper brush and GELLUX Purely White, create connecting swirly lines on each nail and cure for 30 seconds.
Step 3
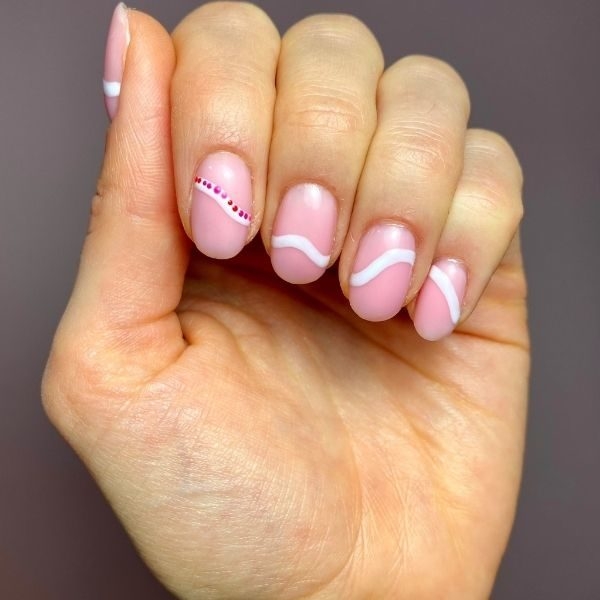
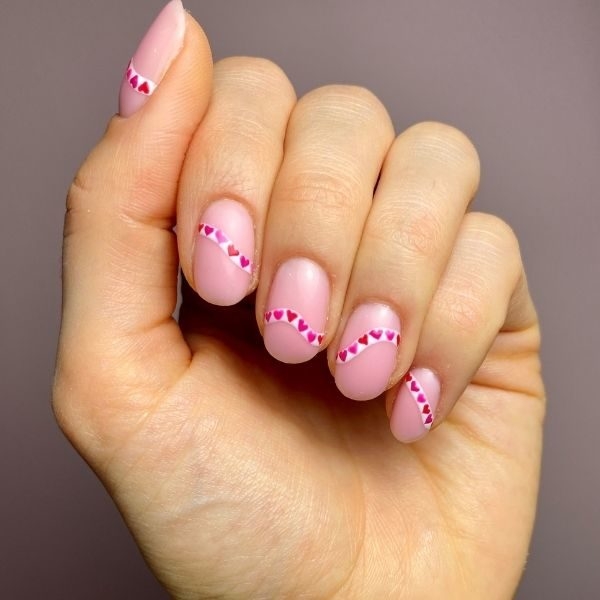
Using the colours GELLUX Really Red, GELLUX Electric Pink and GELLUX You Can Can and a pinhead dotting tool, place two dots of each colour at the top of the stripe. Do not cure.
Step 4
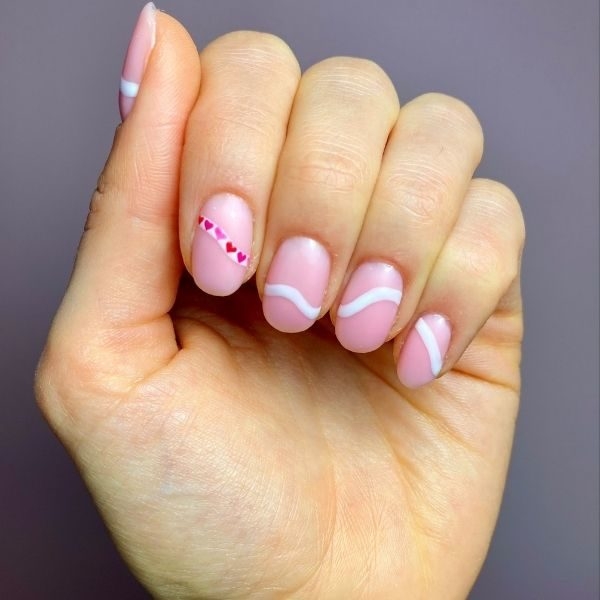
Using a fine liner brush, connect the dots at the bottom to create hearts. Cure for 60 seconds.
Step 5
Repeat the same process for all nails and cure.
Step 6
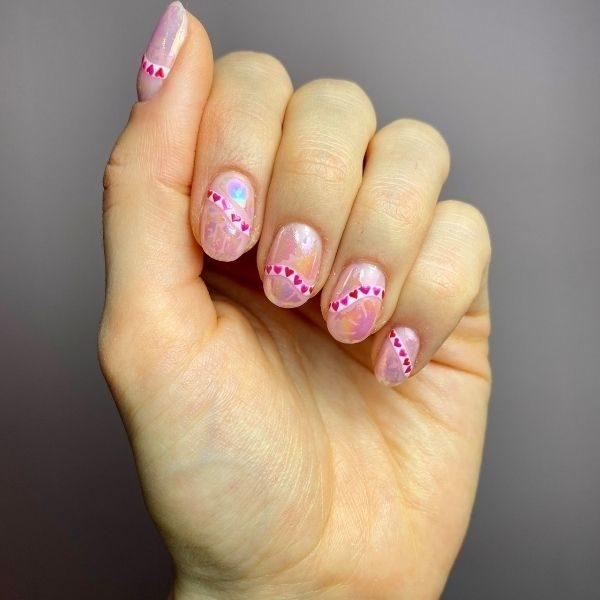
Apply some foil glue at the top and bottom of each stripe, and dab on some iridescent foil.
Step 7
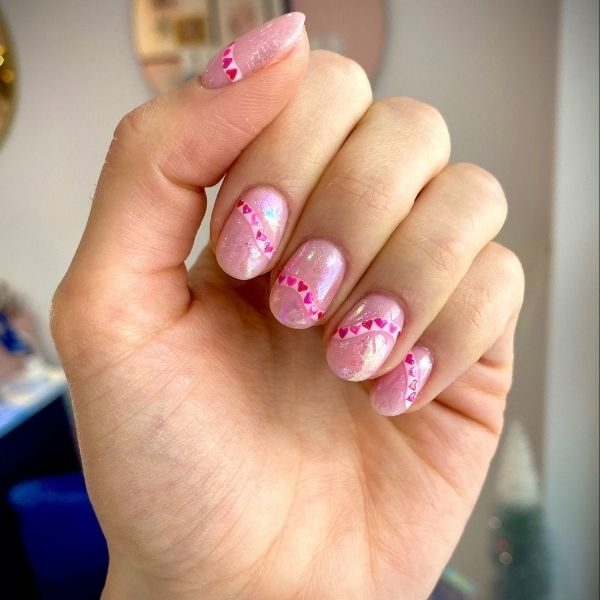
Apply two layers of GELLUX Mirror Glaze Top Coat and cure. Wipe nails with GELLUX Prep + Wipe and GELLUX Nail & Cuticle Oil to finish.