
Natural nail perfection: prep & polish application guide
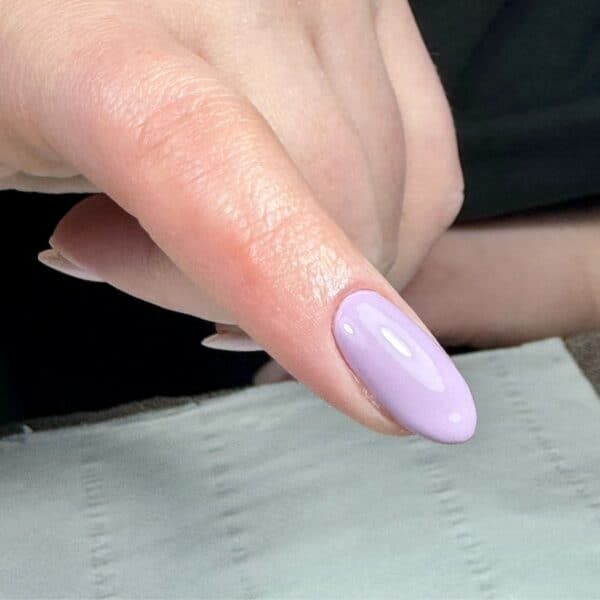
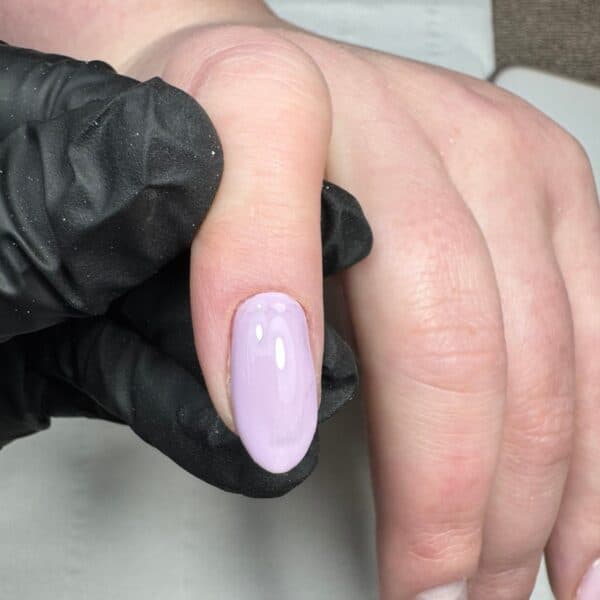
Lucy Price Styling with the Stars SBS - March 2026 - finished design

Step by Step

Scratch Stars Ultimate Natural Nail Specialist & 2026 finalist for the Builder Gel Tech of the Year & Educator of the Year categories, Lucy Price, shares a step-by-step tutorial for flawless nail polish prep and application…

Lucy is salon manager at Scratch Stars Nail & Beauty Salon of the Year 2024, Nailspa in Huddersfield, and a freelance OPI educator. After winning the Scratch Stars Natural Nail Specialist of the Year award in 2023, 2024 and 2025, she entered the Hall Of Fame. Her work was also featured on the September 2025 cover of Scratch.

Lucy runs accredited courses focused on E-file use, perfect prep and precision application, helping other professionals elevate their skills. She specialises in natural nail health and prescriptive services.

Note: Although this tutorial features nail polish, the same steps should be followed for any system applied to natural nails.

You will need:

  • Nail cleanser.
  • Cuticle pusher.
  • Loop tool.
  • 240-grit file.
  • 240-grit buffer.
  • E-file with flame bit and silicone bits.
  • Curved cuticle scissors.
  • Nail polish base coat and top coat.
  • Nail polish in desired colour.
Step 1
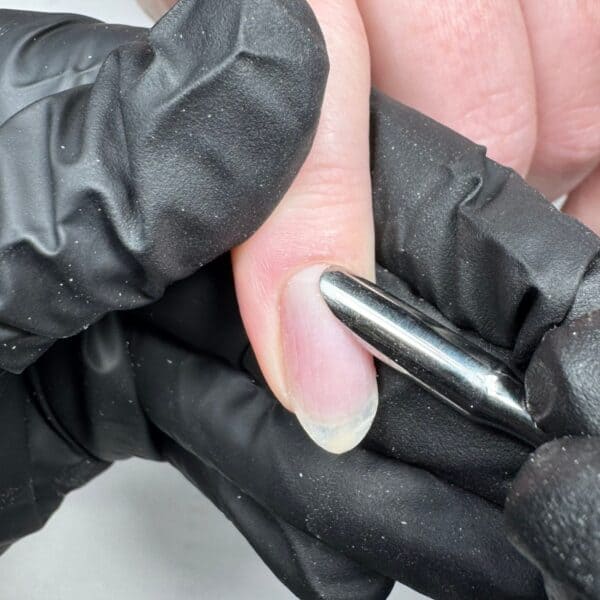
Cleanse the nail, ensuring the nail plate is product-free. Gently lift the cuticle away from the nail plate, working from right to left with minimal pressure to avoid damage.
Step 2
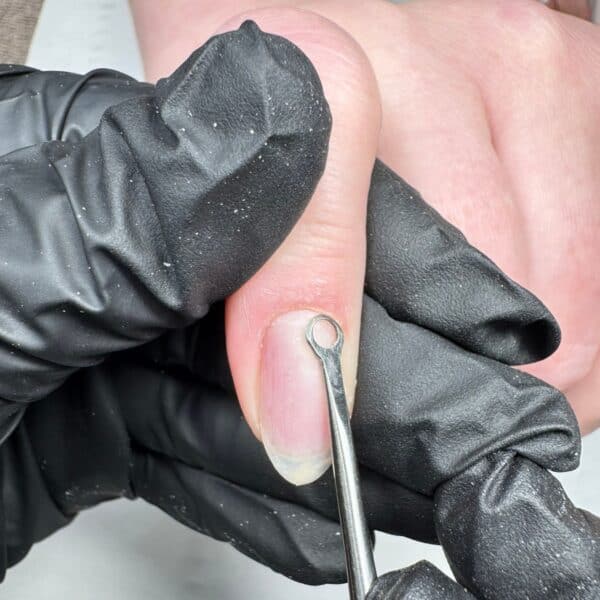
Use a loop tool to remove remaining cuticle from the nail plate. Dust away debris.
Step 3
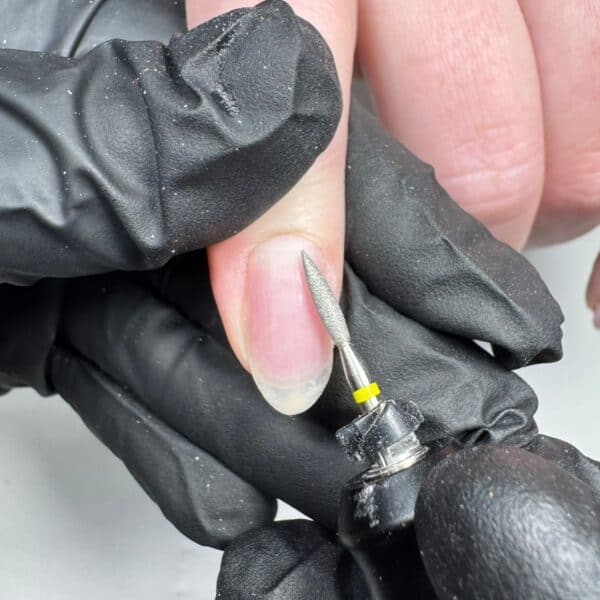
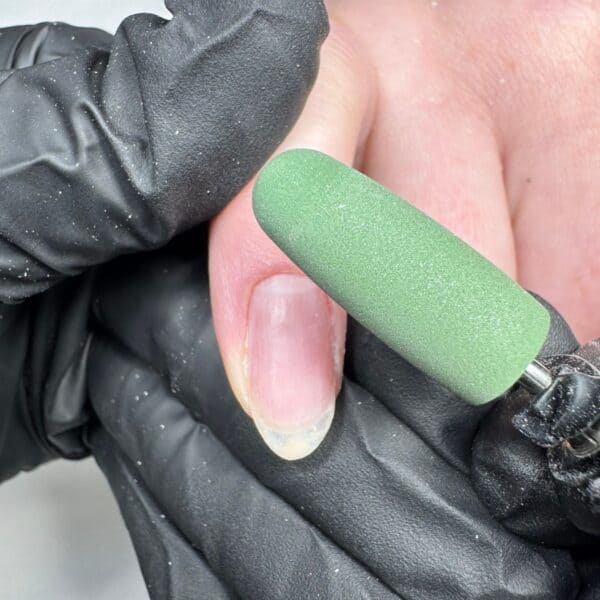
Select an E-file flame bit that is best suited to the clients’ skin – for example, extra fine for delicate skin. Using forward and backward motions, gently use the tip of the bit to lift the cuticle away from the nail plate. Dust away debris.
Step 4
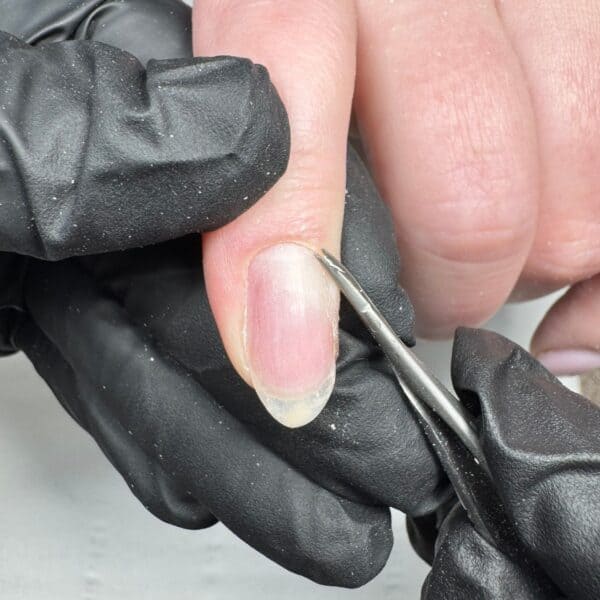
Once the cuticle is lifted, it is safe to remove any non-living tissue using curved cuticle scissors. Use the curve to follow the contour of the cuticle, only closing the scissors a little at a time.
Step 5
At this stage, I like to use a large silicone E-file bit to make the skin glow.
Step 6
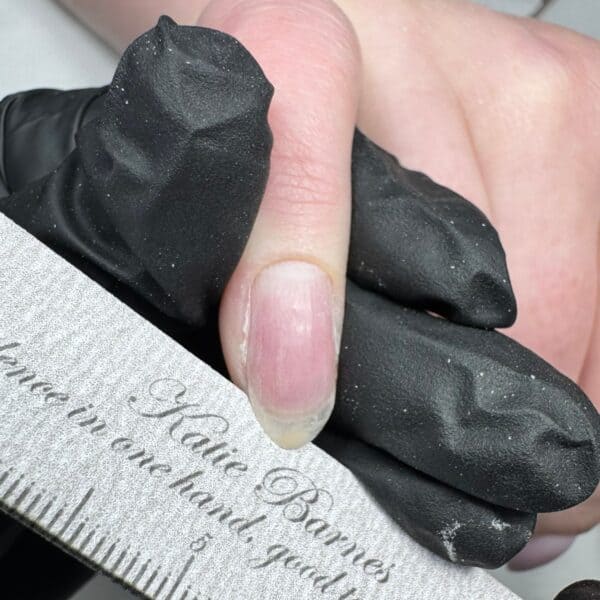
Use a 240-grit nail file to shape and reduce the length of the natural nail as desired.
Step 7
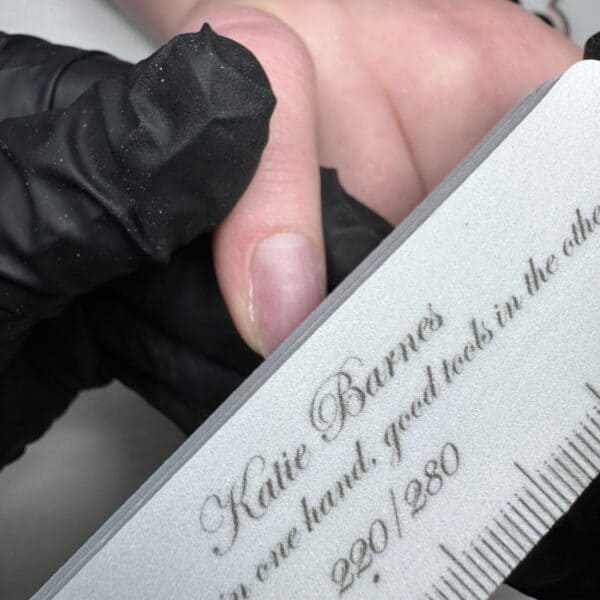
Gently buff the nail plate with a 240-grit buffer. Work down the sidewalls, cuticle area and centre of the nail plate, checking for any rough edges. Ensure you have removed all shine from the nail plate.
Step 8
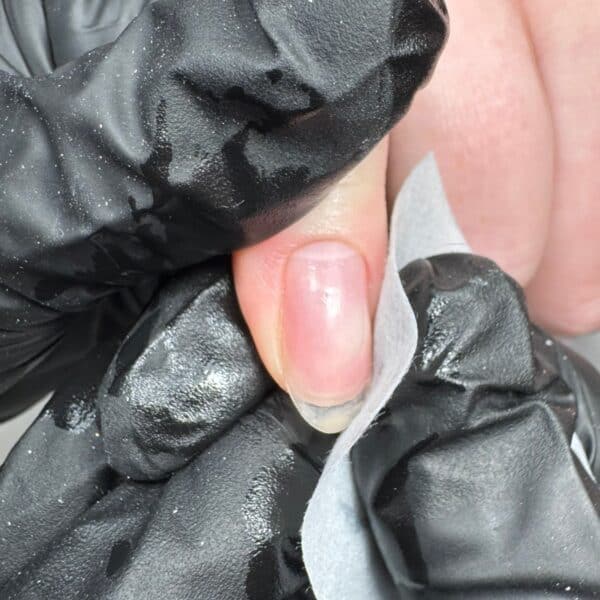
Thoroughly cleanse the sidewalls, cuticle area and nail plate, removing dust and debris.
Step 9
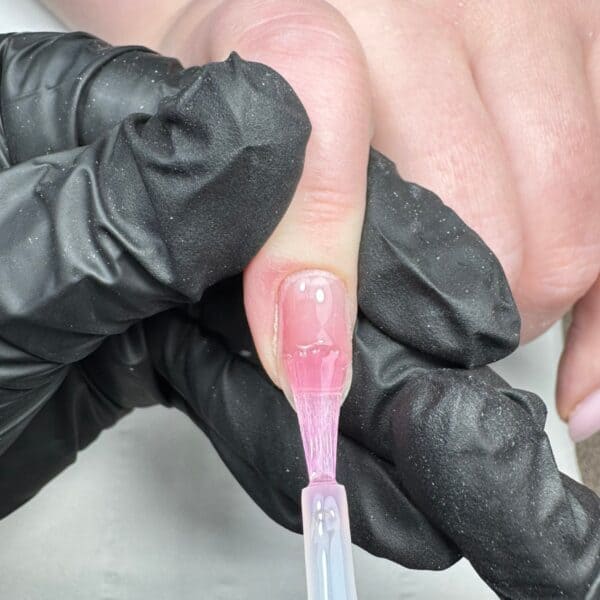
Apply a thin layer of nail polish base coat. Allow to dry.
Step 10
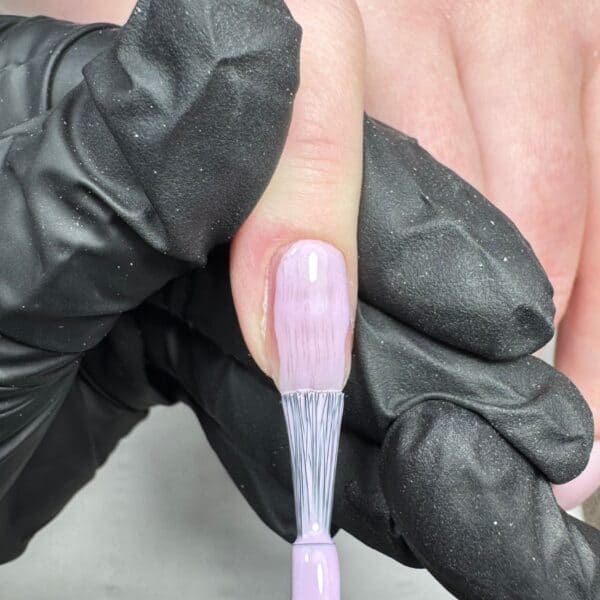
Apply the first coat of nail polish, ensuring it is thin to create the perfect frame for a second coat. Allow to fully dry.
Step 11
Build coverage with a second coat of nail polish. Ensure it is dry before continuing.
Step 12
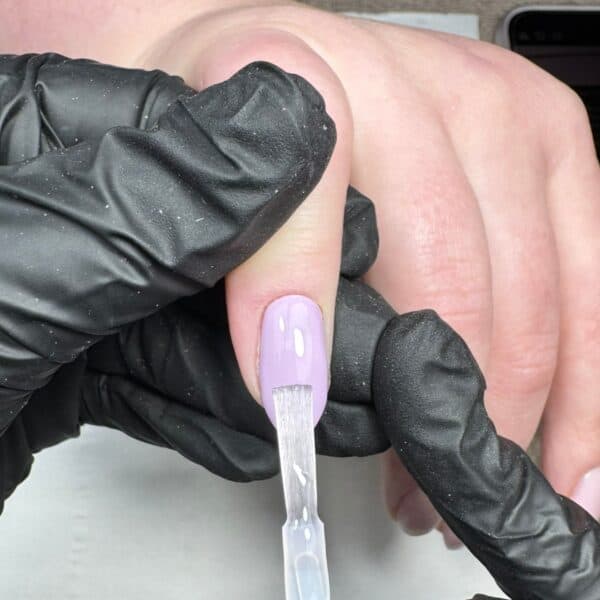
Float nail polish top coat over the nail with light pressure, and allow to dry.