One stroke floral spring nails
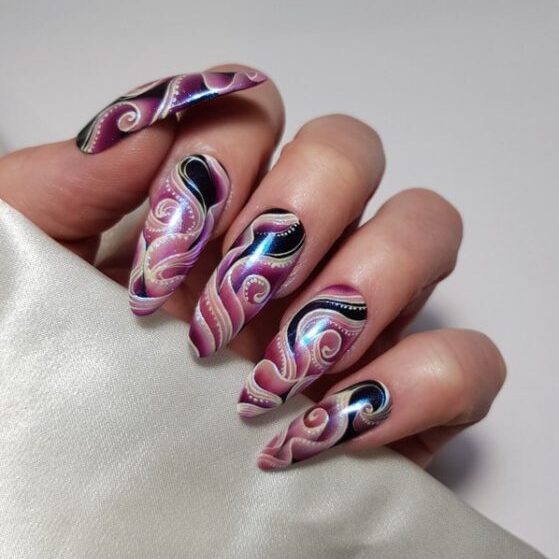
Floral, Step by Step
Get to grips with the one stroke technique with this design by Anastasiia Morozova…
“With spring on the way, a lot of my clients are beginning to request floral nail art designs. The one stroke technique is one of the fastest ways to create beautiful flowers and other artistic details. I hope this tutorial shows you how easy and quick this design can be,” she comments.
Step 1

Prepare the nail for gel polish application. Apply a black gel polish. I used LeChat Perfect Match Gel Polish Black Velvet. Cure and remove the sticky inhibition layer.
Step 2
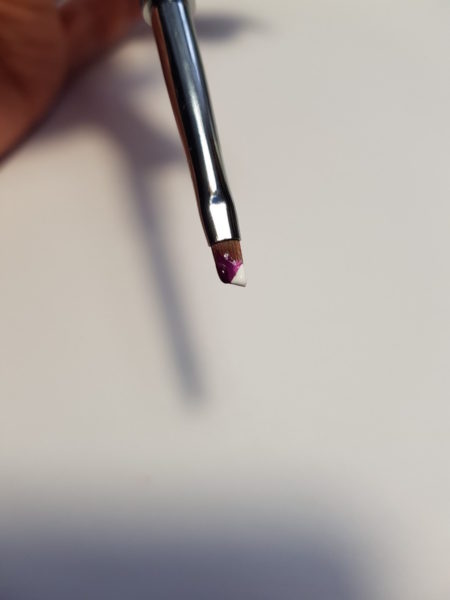
Next, I used the LeChat nail art brush for one stroke. Take two shades of gel polish; white and a dark red works well for this design. I used LeChat gel polish in Flawless White and Royal Red.
I apply my gel polish colours to a palette in advance to allows them to ‘dry’ a little bit. I put my palette inside the drawer of my nail desk, away from light sources, for an hour.
Step 3
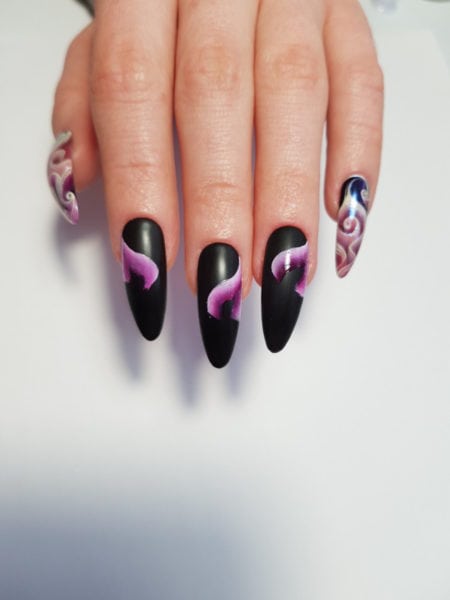
Start to paint two lines with your brush in almost a V shape. Cure.
Step 4
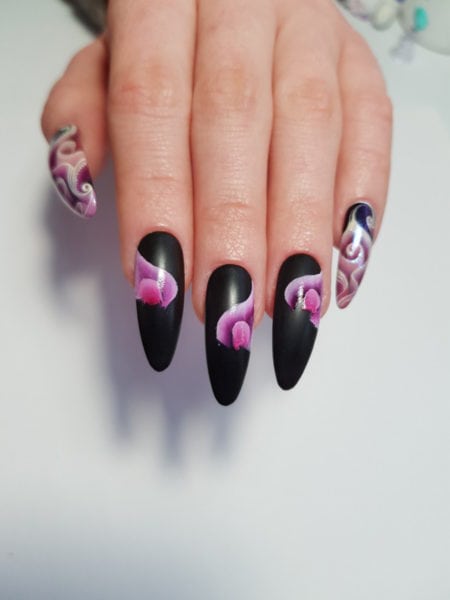
Just inside the line, pain a half circle.
Step 5
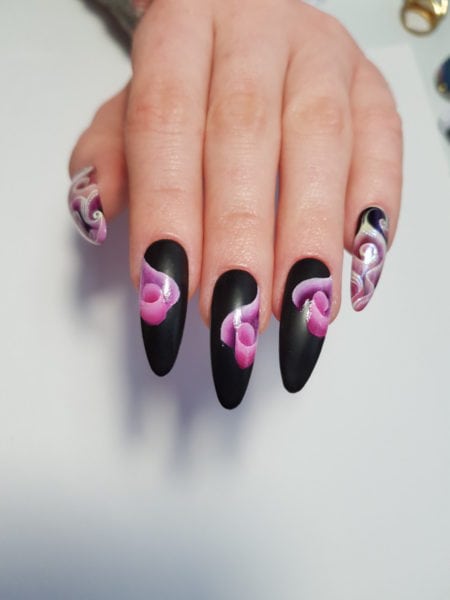
Close the circle by painting the other half. Remember to cure between each stage to ensure the colours don’t bleed into each other.
Step 6
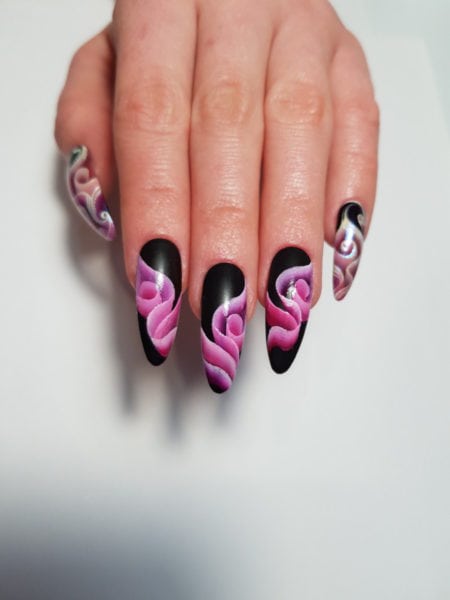
Continue to add more lines to your designs how you feel best, depending on the nail length and size. I’d also suggest moving your brush how feels best for you; this will help find your signature style.
Step 7
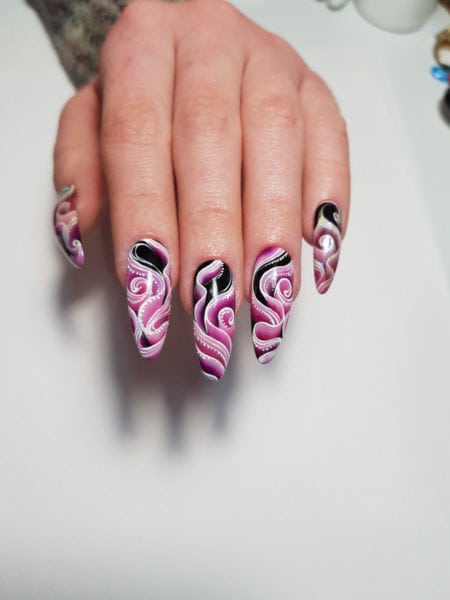
Add detail to your design by outlining the lines with white gel paint. Cure.
Step 8
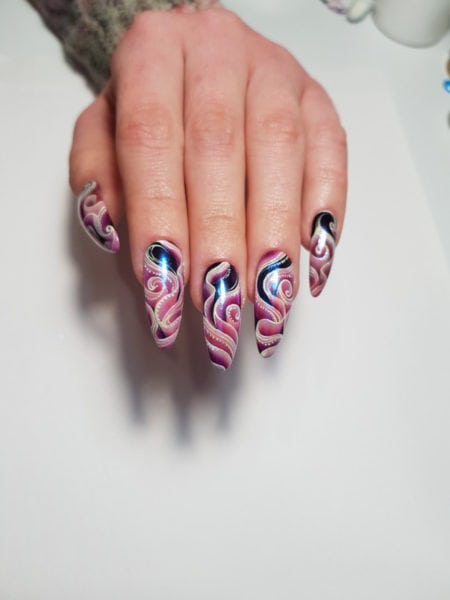
Apply a no-wipe top coat. For a little extra intrigue, apply a chrome powder over the top coat, before sealing with another coat.
