Queen of Bling

Spring/Summer, Step by Step
Get ready for a royal affair with this embellished design from Gelish, featuring fancy shades from the new Royal Temptations collection.
You can read more about the collection here!
Shop the shades in this design via Nail Harmony UK at www.nailharmonyuk.com
Step 1
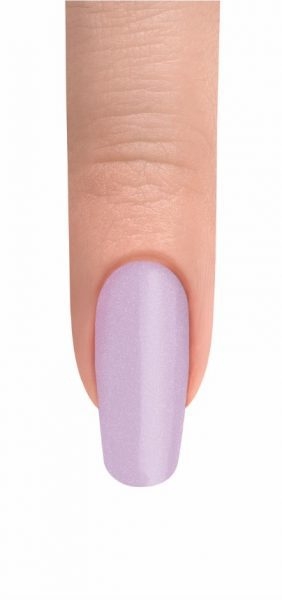
After completing your Gelish nail prep, apply a thin coat of All The Queen's Bling making sure to cap the free edge. Cure for 30 seconds in the 18G Plus LED Light. Repeat for full coverage.
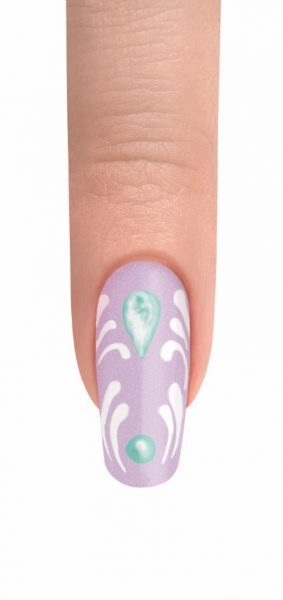
Step 2

With a mini striper brush and Ruffle Those Feathers, create a tear drop and circle shapes on the nail. Add small dots of My Other Wig is a Tiara and Artice Freeze inside the shapes. Do Not Cure.
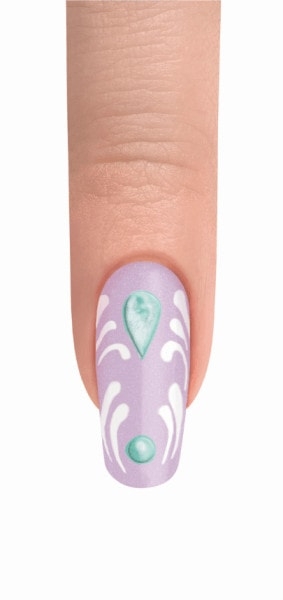
Step 3
Using a Mini Striper Brush, mix My Other Wig Is A Tiara and Arctic Freeze to create a marble design. With Arctic Freeze and the Mini Striper Brush, paint filigree lines on each side of the nail. Cure for 30 seconds.
Step 4
Apply a small amount of Structure Gel on top of each marble design to create a 3D look. Cure for 30 seconds. Apply a thin coat of Top It Off to the entire nail making sure to cap the free edge. Cure for 30 seconds.
Step 5
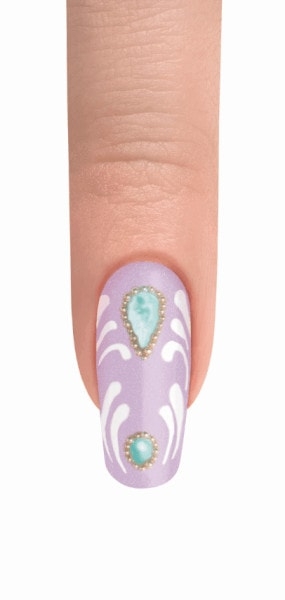
Apply a thin coat of Top It Off. Do Not Cure. Place small gold beads around the shapes and cure for 30 seconds. Apply Top It Off to the entire nail making sure to cap the free edge. Cure for 30 seconds. With Nail Surface Cleanse and Wipe It Off lint-free wipes, cleanse the inhibition layer of the nail. Finish your look by massaging Nourish Cuticle Oil into the skin surrounding the nail plate.