
Rainbow opal nails

Step by Step
 Add a touch of sparkle to nails and intrigue with an opalescent design courtesy of Salon System nail expert, Jaz Moger. She uses GELLUX products available via wholesalers nationwide.
Step 1
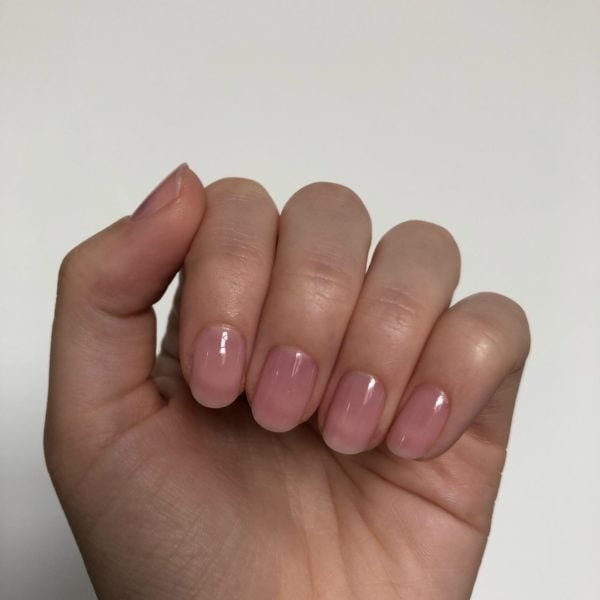
Prep the nails by and file to a round shape. Push back the cuticle using the Salon System Cuticle Handy Manicure Tool and remove the cuticle using the GELLUX Erase Cuticle Remover and cuticle clippers. Buff the nail plate and cleanse nails with GELLUX Prep + Wipe. Apply GELLUX Fast Bond followed by one coat of GELLUX Cover Pink Base Coat and cure for 60 seconds.
Step 2
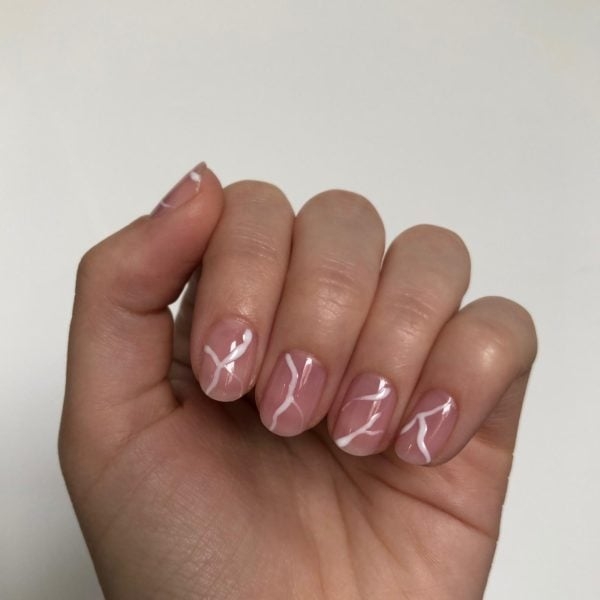
Using a fine liner brush, randomly paint thin ‘wiggly’ lines of GELLUX Purely White along the nail. Do not cure.
Step 3

Dip a slightly bigger nail art brush into some GELLUX Acetone and lightly dab the brush along the white line. The acetone will cause the line to ‘bleed’ a little. Once you have done this to every line, cure for 30 seconds.
Step 4
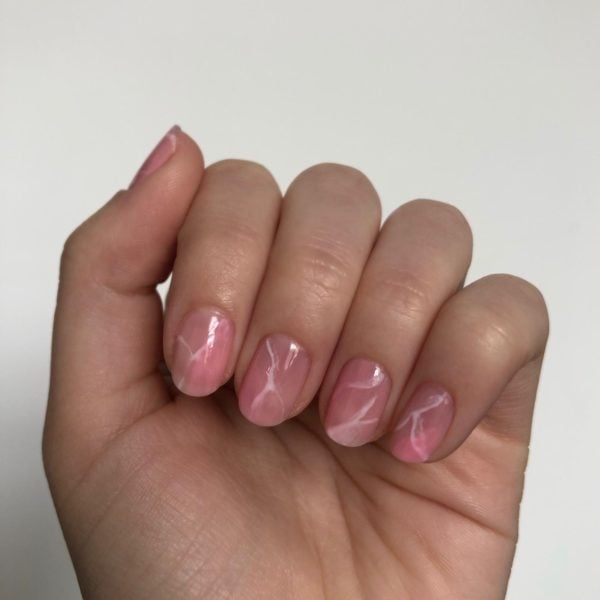
Next, mix an equal amount of GELLUX Sweetie Pie in with GELLUX Clear Base And Top Coat, (you want it to be sheer enough to see the white lines through) and paint a section randomly onto each nail. Do not cure.
Step 5
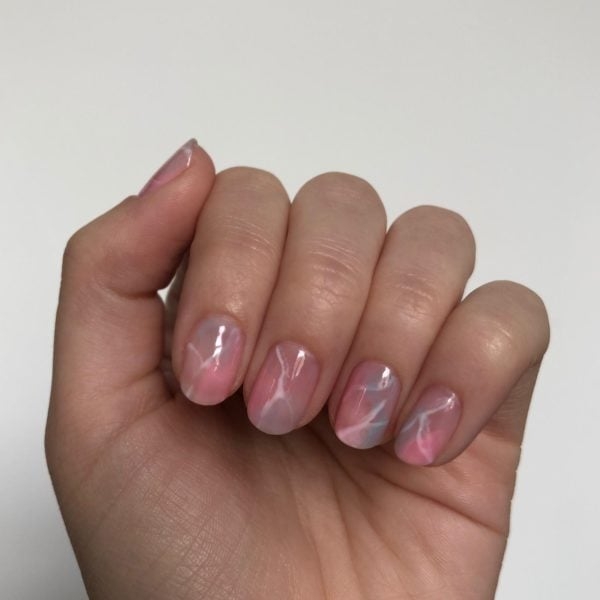
Repeat the last step with GELLUX Butterfly Blue. Mix it with the GELLUX Clear Base and Top Coat - once again make it sheer enough to see the white lines. Do not cure.
Step 6
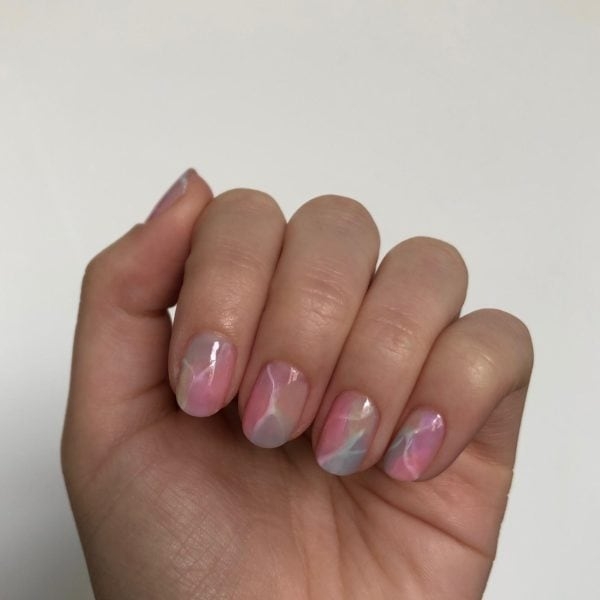
Continue to do the same with GELLUX Vividly Violet and GELLUX Ghost Train. Once all of the colours are on and blended well together, cure for 60 seconds.
Step 7
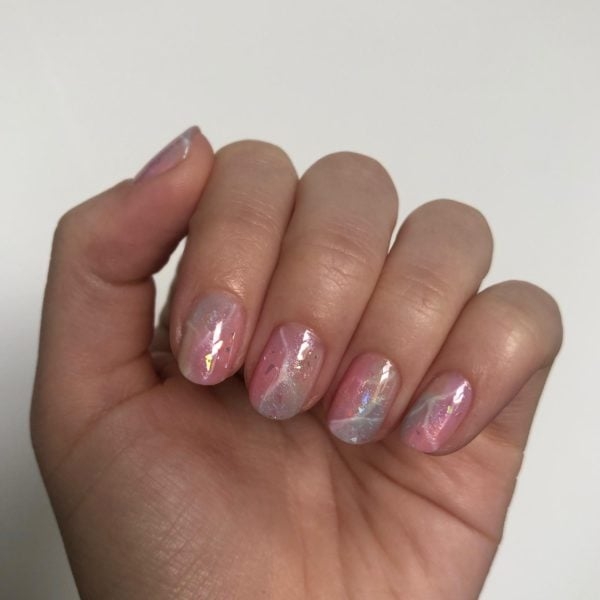
Add some glitter flakes randomly onto each nail onto the tacky layer. The nails will now be looking very ‘quartz’ like. Once you are happy with this, apply a coat of GELLUX Clear Base And Top Coat and cure for 30 seconds.
Step 8
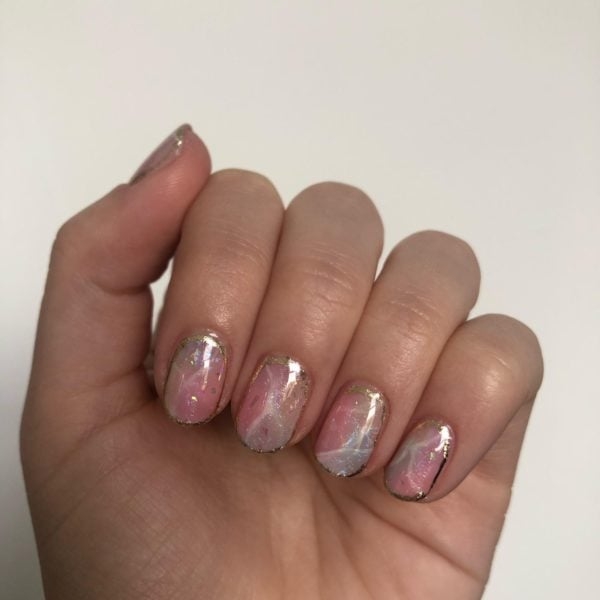
Once cured, wipe over the nails with GELLUX Acetone. Apply GELLUX Stick-It-Glue around the edge of the nail and dab gold foil onto the glue.
Step 9
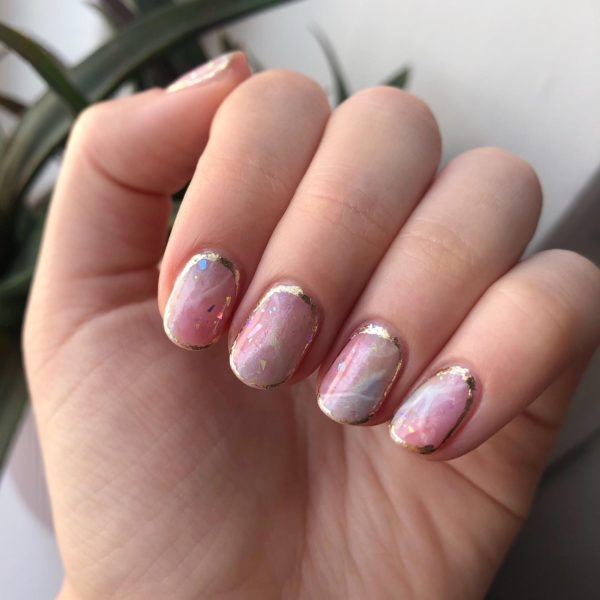
To finish the look, apply a coat of GELLUX Shiny Top Coat, cure and then wipe over with GELLUX Prep + Wipe. Finally, finish by applying GELLUX Nail & Cuticle Oil.
