Snowman nail art

Autumn/Winter, Step by Step
Recreate this wintery snowman nail design by Nathalia Baker of Nat Baker Nails by following the step-by-step below…
Step 1
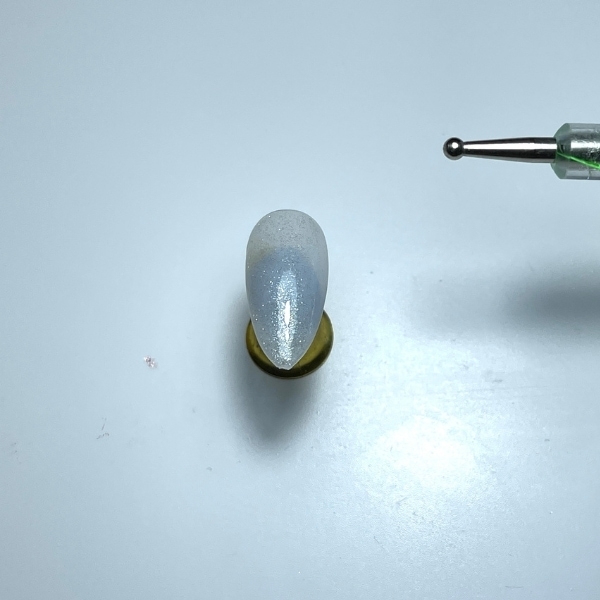
Apply your base layer and cure.
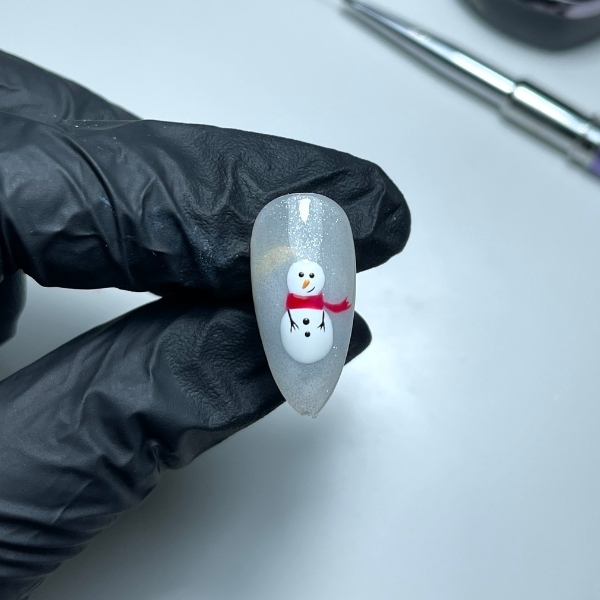
Step 2
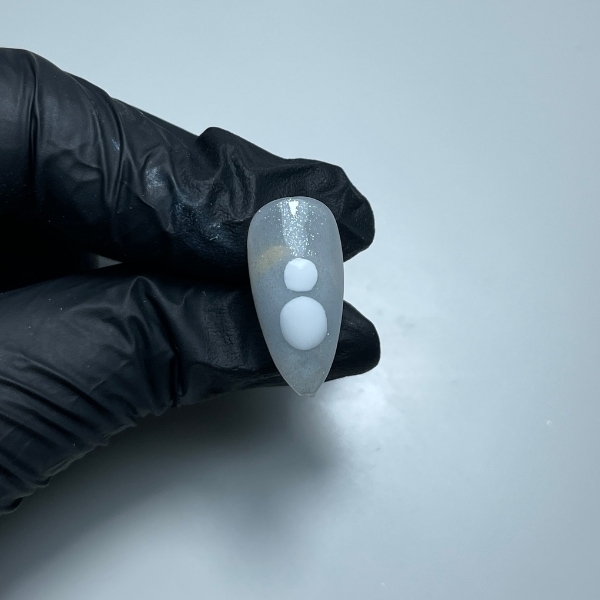
Using the bigger side of a dotting tool, create two dots, with the top one bigger than the bottom, and cure. Try to leave a gap between the dots so we can draw the scarf later.
Step 3

Using any other colour you want - I chose red - draw a stripe in between the dots, and cure.
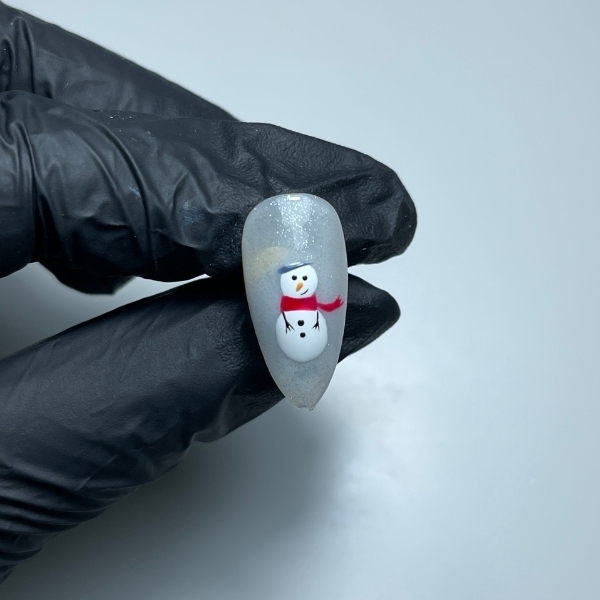
Step 4
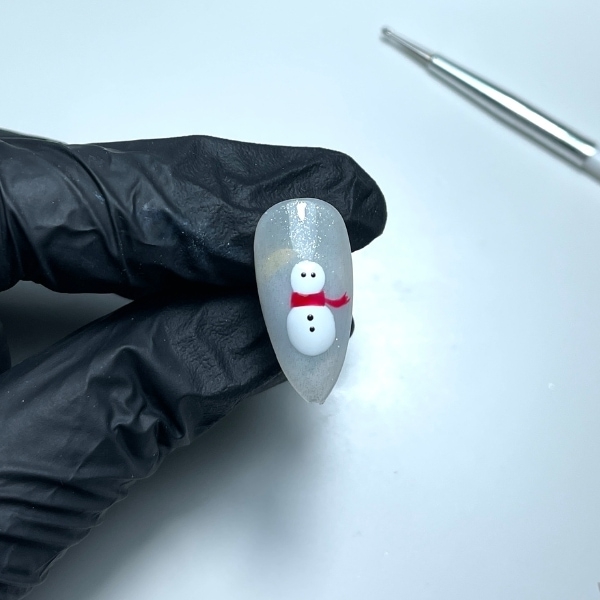
Using black, create the buttons and the eyes with the smaller ending dotting tool, and cure.
Step 5
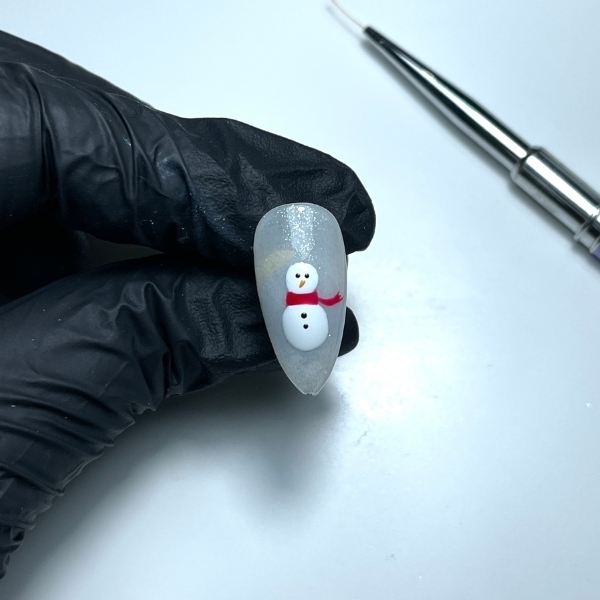
Using an orange shade to create the nose using a very thin brush.
Step 6
Using your black shade, create the mouth and the arms. For the arms, draw a very thin line and three little lines at the end representing the fingers. The mouth is optional. Cure.
Step 7
Using any colour of your choice, draw a line on the top of the head to begin creating the hat.
Step 8
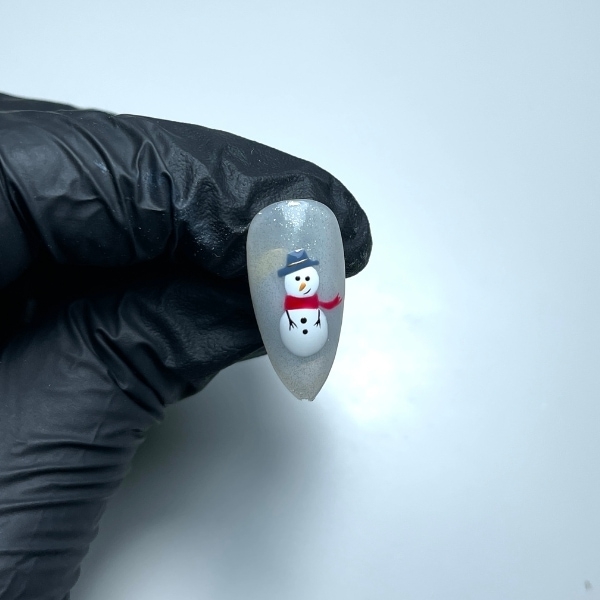
Add a small square above to finish the hat and cure. If you want, you can add a little line with a different colour as a detail.
Step 9
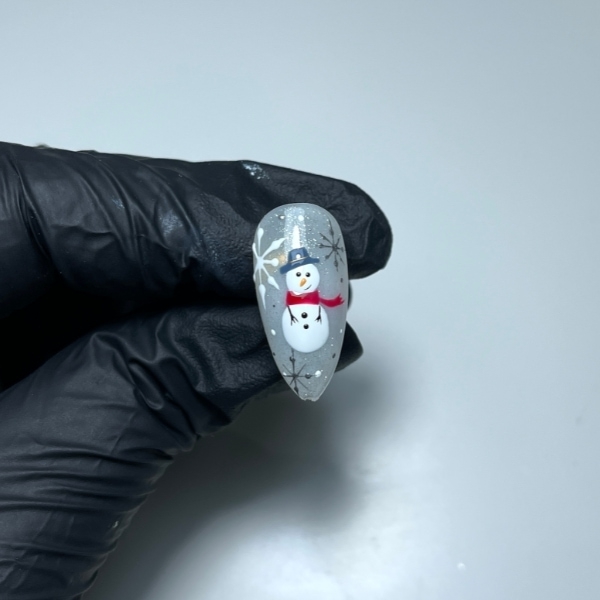
To finish it off, I add a few snowflakes around it and some dots for the final look.

Read the latest issue