Spring bees & flowers nail

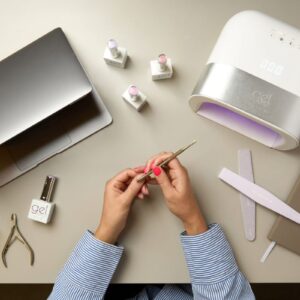
Spring/Summer, Step by Step
Lecenté educator, Kimberly Johnstone of Lillie Beau Nail Salon, serves up this spring-inspired floral nail design, complete with bees over a speckled base.
Step 1
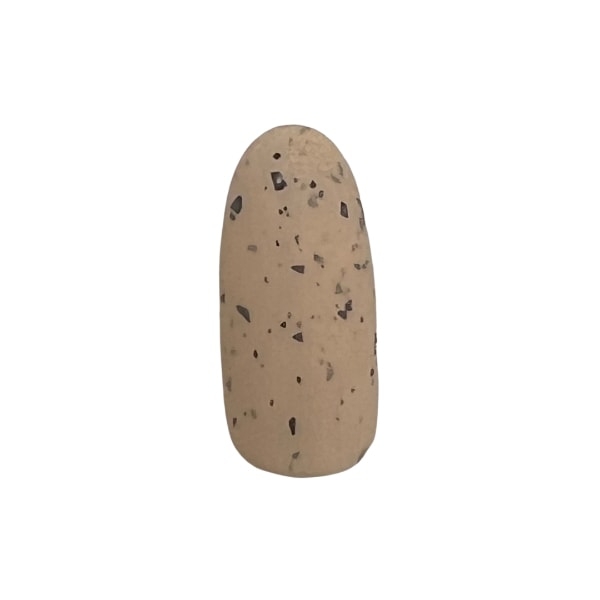
Apply your base colour, cure then apply matte top coat and cure.
Step 2

Paint the first flower using gel polish then cure.
Step 3
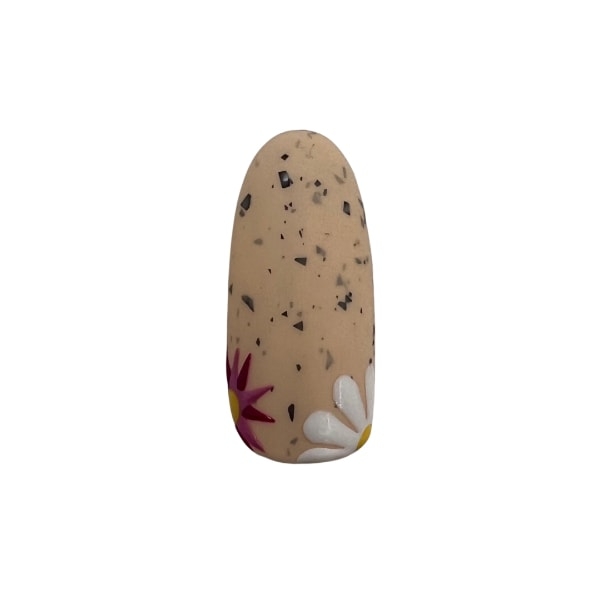
Paint a second flower using different gel polish colours, then cure.
Step 4
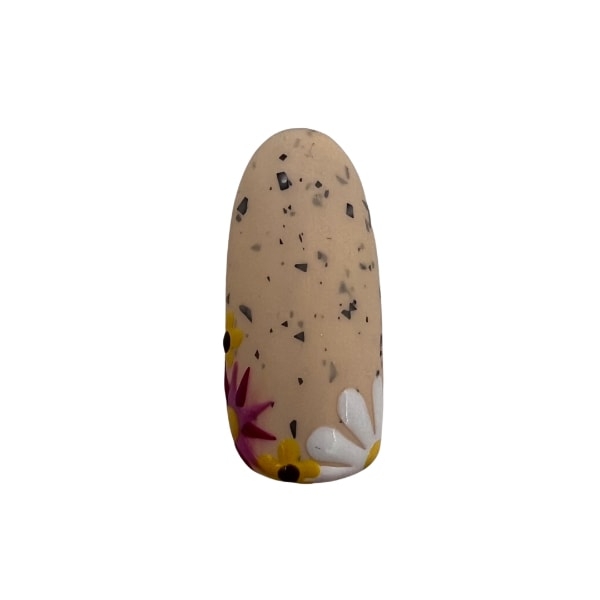
Fill in gaps with smaller gel polish flowers, layering these to add depth. Cure between colour applications.
Step 5
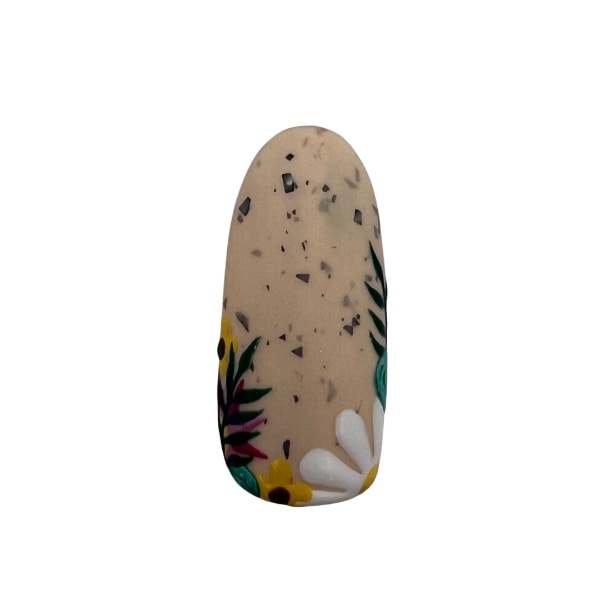
Further fill in gaps by painting branches and leaves using gel polish and cure.
Step 6
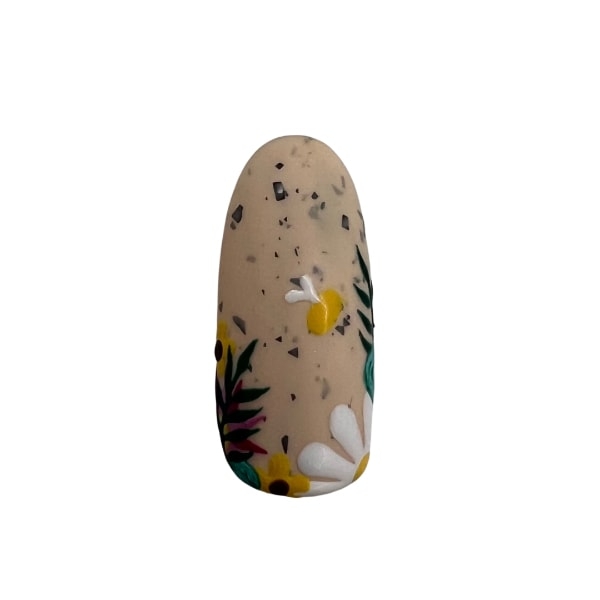
Using a dotting tool, paint an elongated oval yellow gel polish shape to create the bee's body. Cure. Add two white gel polish dots, dragging them towards the body to create the wings and cure.
Step 7
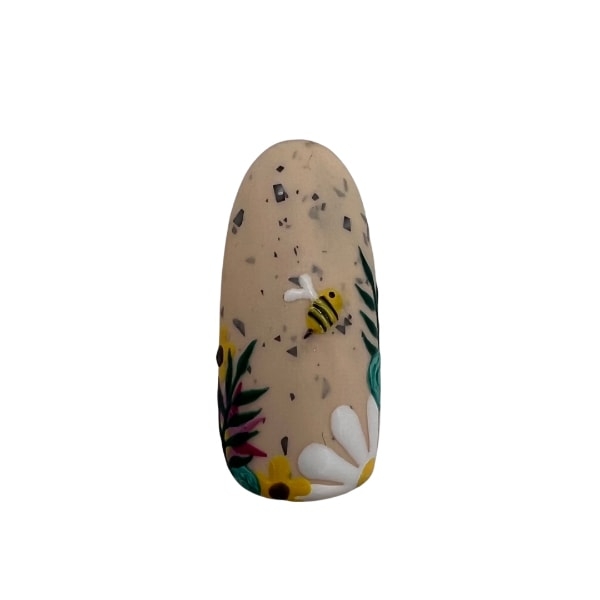
Apply black gel polish stripes on the bee's body using a thin detailing brush. Use a small dotting tool with the black gel polish for the eye. Cure.
Step 8
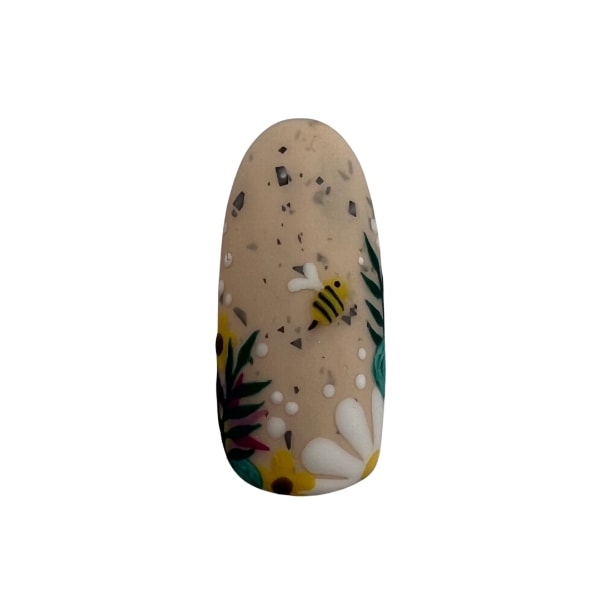
Use various sized dotting tools to apply white gel polish dots, then cure. Apply matte top coat over the whole design and cure.

Read the latest issue