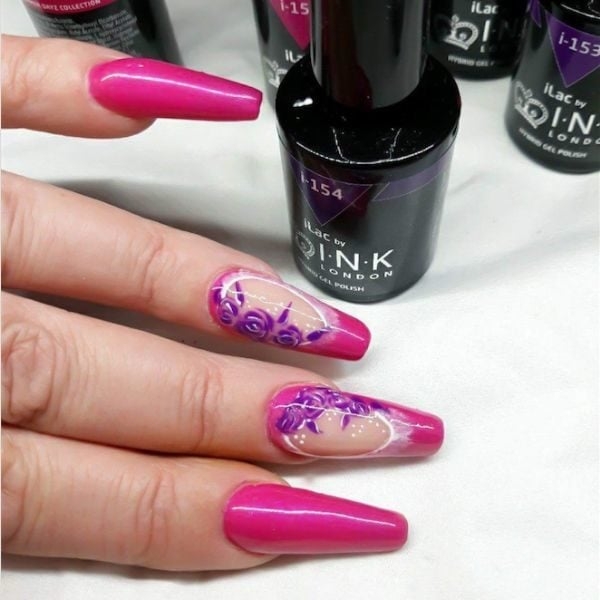
Spring rose nail design

Floral, Spring/Summer, Step by Step
INK London educator, Jayne Packenas, shares a springtime step-by-step that will have clients fawning over florals.
Step 1
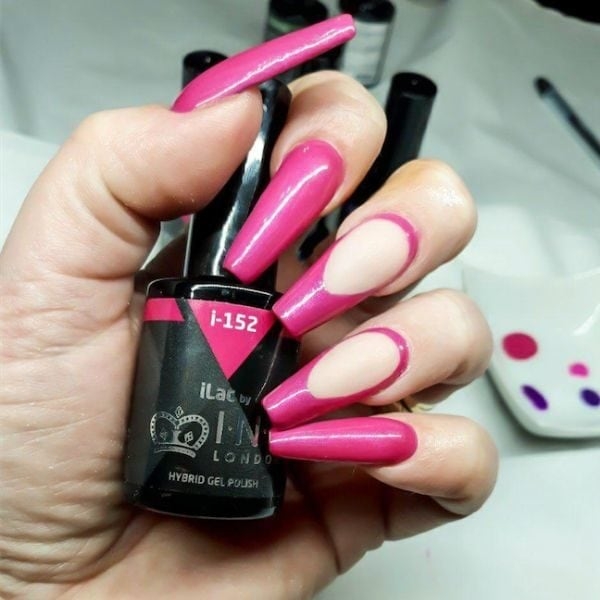
Enhance the length of the nails if desired using your chosen system. Paint the thumb, index and little fingernail with two or three coats of INK London iLac Gel Polish in Summer Sorbet, curing each coat. Create a negative space effect on the remaining two nails by painting around the centre using the same shade and curing in between. Apply INK London Top Coat and cure.
Step 2
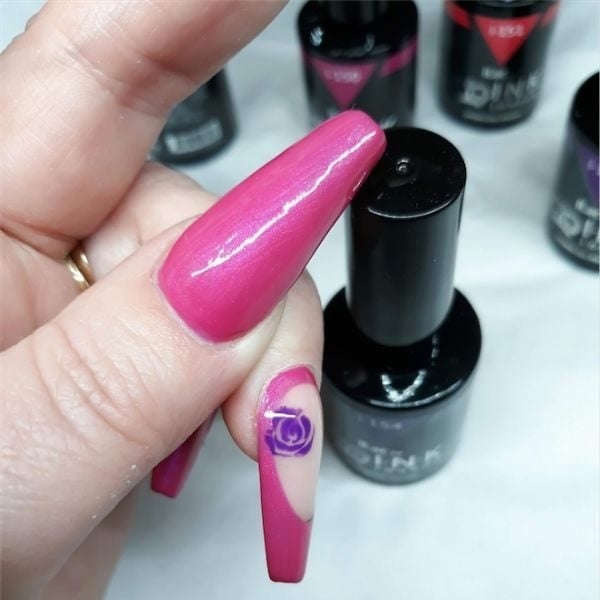
Working on one nail at a time, apply INK London Top Coat and do not cure. Use a fine liner brush with the Purple Persuasion iLac shade to create a rose design on the two feature nails, starting at the centre of the rose and adding petal shapes. Work quickly to prevent colour bleeding.
Step 3
Add two or three smaller roses to each of the feature nails and paint leaf shapes. Cure.
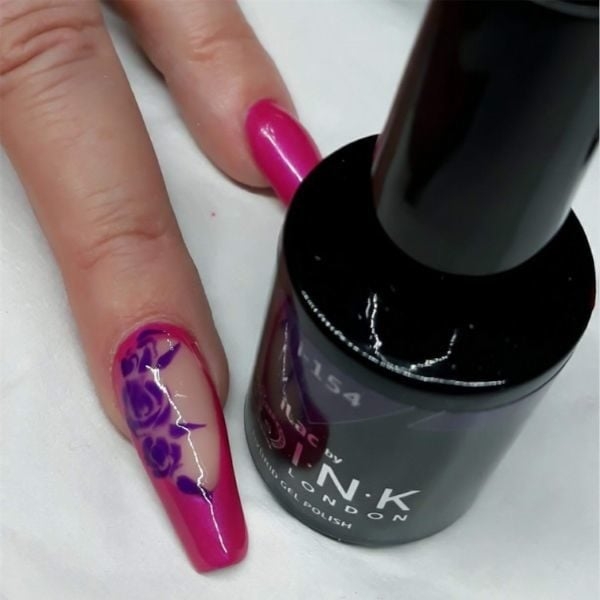
Step 4
Using a thin nail art brush and the INK London Colour Gel Paint in White Lines, highlight areas of the roses and outline the smile line on the feature nails. Add a few dots using White Lines and a dotting tool and cure.
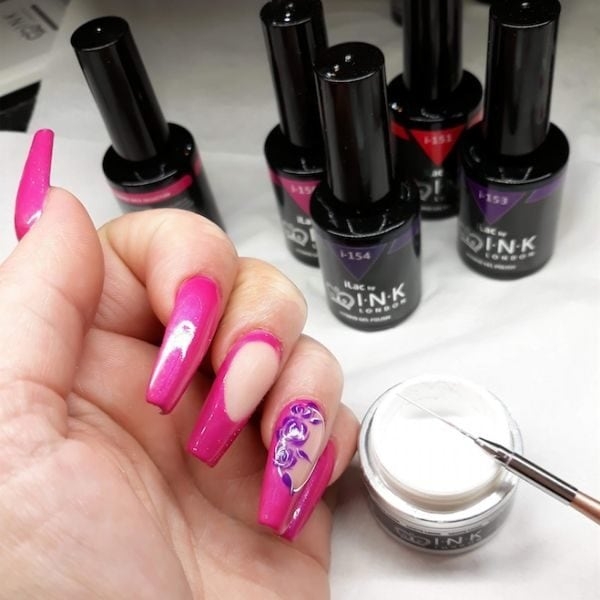
Step 5

Paint another layer of White Lines around each negative space shape and blend outwards using the INK London R1 Gel Art Brush. Cure.
Step 6
Apply INK London Top Coat and cure.
Step 7

Adhere gems where desired and cleanse with INK London’s Excel Super Shine Cleaner. Apply INK London’s Margarita Cuticle Oil to finish.

Read the latest issue