
Spring roses nail design

Floral, Spring/Summer, Step by Step
Salon System nail expert, Caroline Roberts of The Nail Fairy, painted these stand-out spring roses on nails using Gellux, and shares how you can recreate the design.
Gellux products are available via wholesalers nationwide.
Step 1
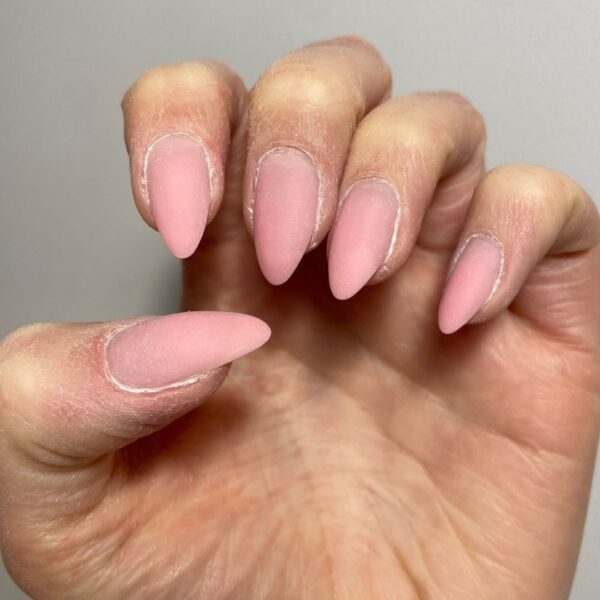
Prep the nails and push back the cuticles. Shape and buff the natural nail bed with a grey and yellow buffer. Dust and wipe the nails with Gellux Prep + Wipe. Apply a thin layer of Gellux Fast Bond.
Step 2
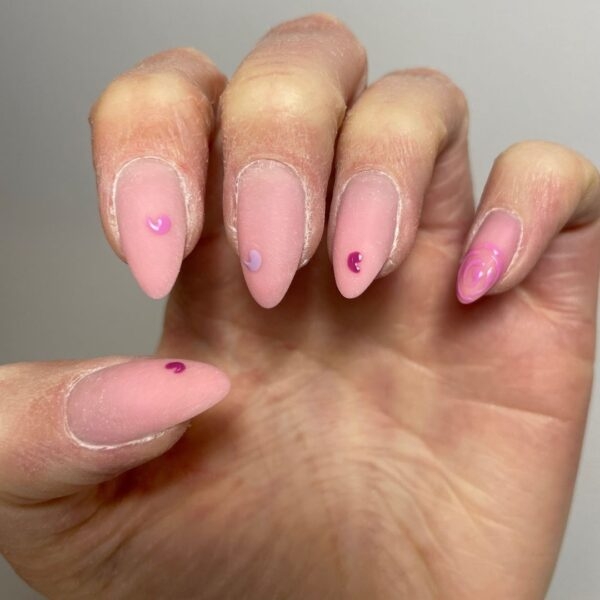
Using a dotting tool, place a dot of Gellux Mini in Berry Burst on the thumb, Gellux Mini in Flirty Fuchsia on the index finger, Gellux Mini in Dusty Lilac on the middle finger, Gellux Mini in Berry Burst on the ring finger and Gellux Mini in Flirty Fuchsia on the little finger. Slightly drag each dot to create a tail and cure for 60 seconds.
Step 3
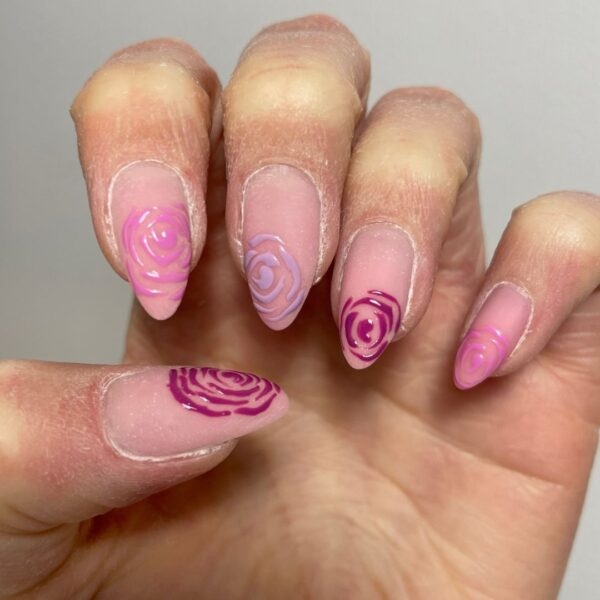
Using the same Gellux colours for each finger and a thin liner brush, paint lines in a staggered circle around the dots, mirroring the look of a rose. Cure the nails for 60 seconds.
Step 4
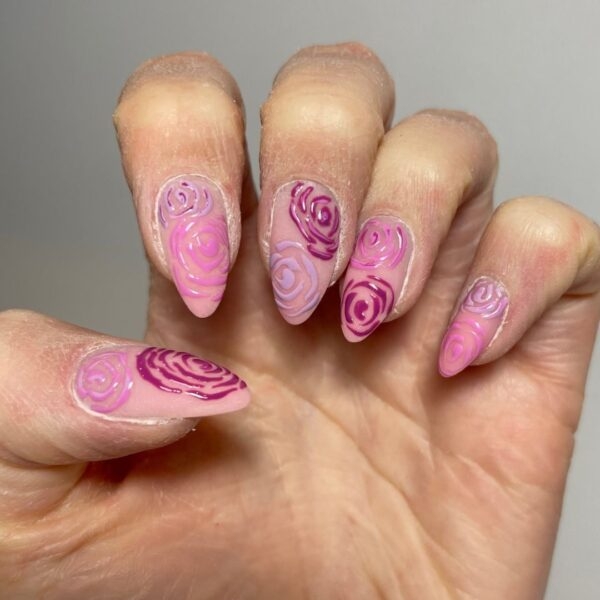
Repeat step two and three to create another rose on on each finger, but with different Gellux Mini colours. Apply Flirty Fuchsia on the thumb, Dusty Lilac on the index finger, Berry Burst on the middle finger, Flirty Fuchsia on the ring finger and Dusty Lilac on the little finger. Cure for 60 seconds.
Step 6
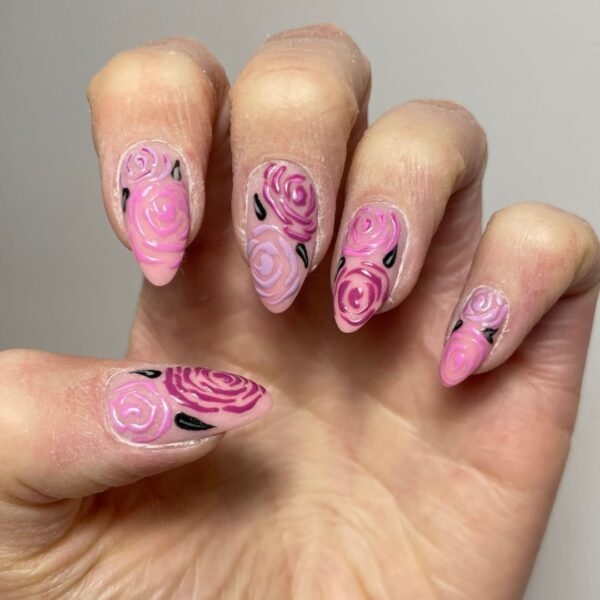
Using a thin liner brush and Gellux in Slate Grey, paint grey leaves around the roses. Cure for 60 seconds.
Step 6
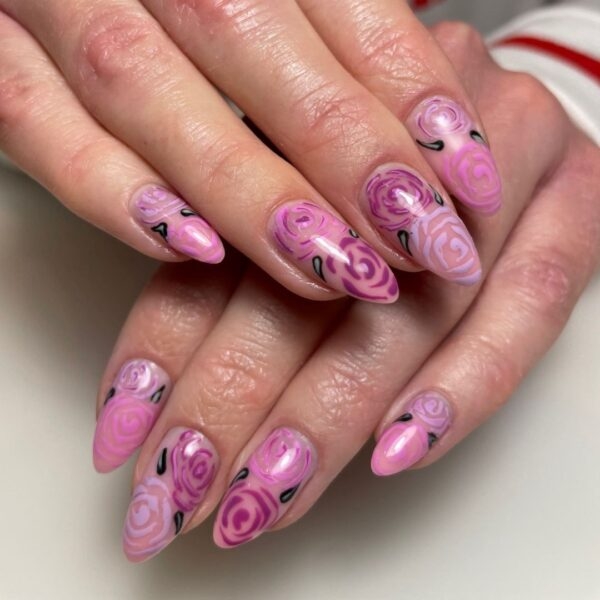
For a glossy finish, apply Gellux Shiny Top Coat and cure for 60 seconds. Wipe the sticky residue with Gellux Prep + Wipe, before applying cuticle oil to finish.
