

How to create a stamped skeleton design for Halloween

Seasonal & Occasions, Step by Step
Create this spooky stamped skeleton nail style using products from Moyra, available via www.moyrastamping.com
Step 1
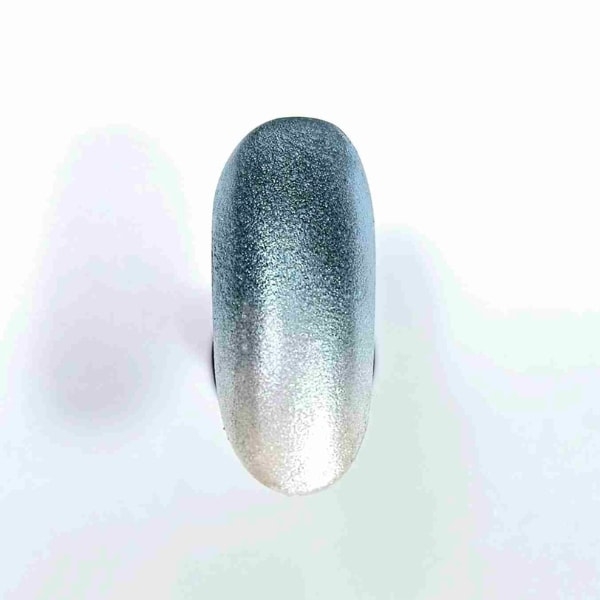
To create a pale base, use Mini Gel Polish in 220 White and cure. Using the Moyra Effects Brush, dab Pigment Powders in shades 37 and 51 onto the tacky layer.
Step 2

Apply a coat of Flexi Base and cure.
Step 3
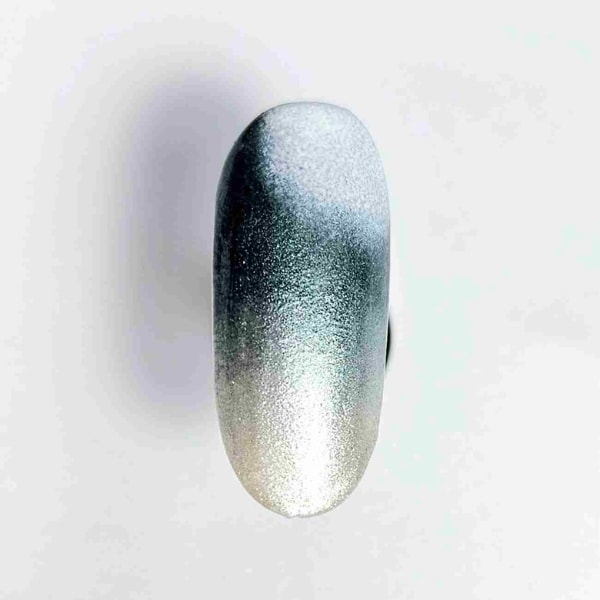
Taking the White shade of the Painting Gel and Stamping Gel, apply to the nail using the Ombré Sponge.
Step 4
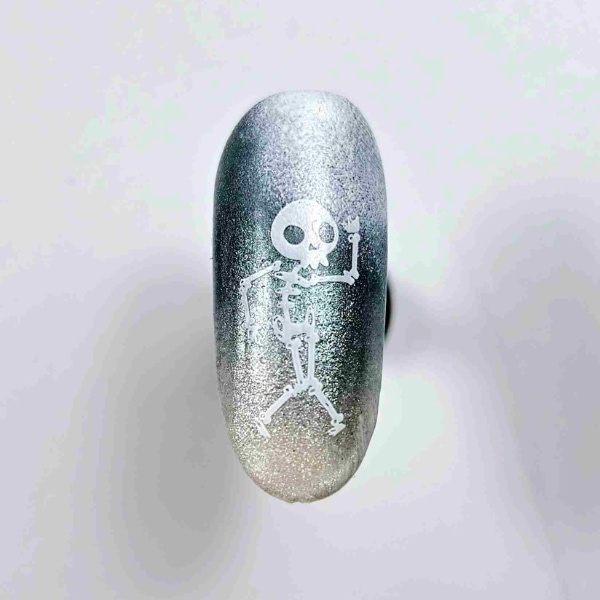
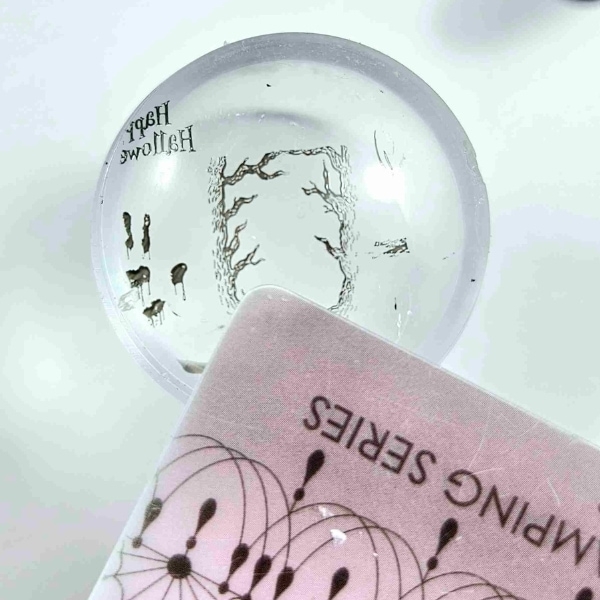
Taking the Stamping Plate in 114 Free Falling, add the Stamping Polish in White to apply a dancing skeleton stamp.
Step 5
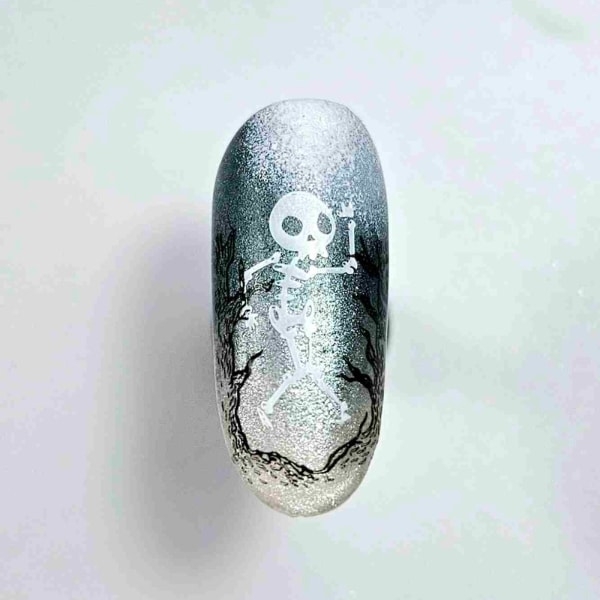
To darken the border with a spooky tree design, take the Stamping Plate in 114 Free Falling and apply the Stamping Polish in Smart Black.
Step 6
Go in with the PiXI Stamper and Scraper to pick up the same design on a stamper and remove unwanted areas.
Step 7
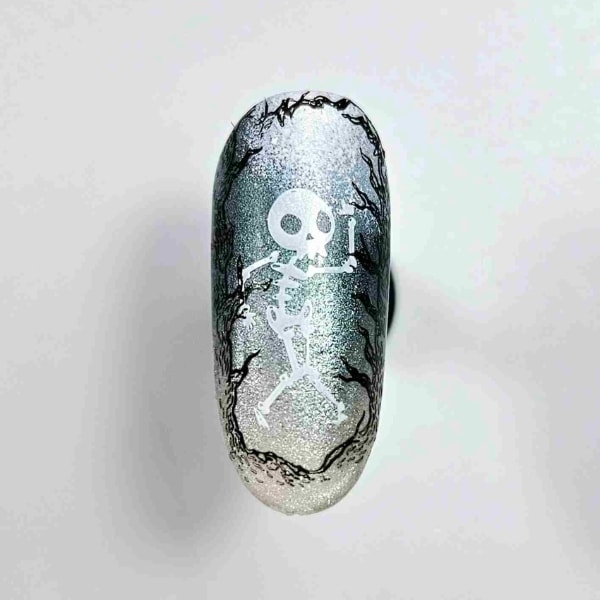
Apply the adjusted stamped design to the nail.
Step 8
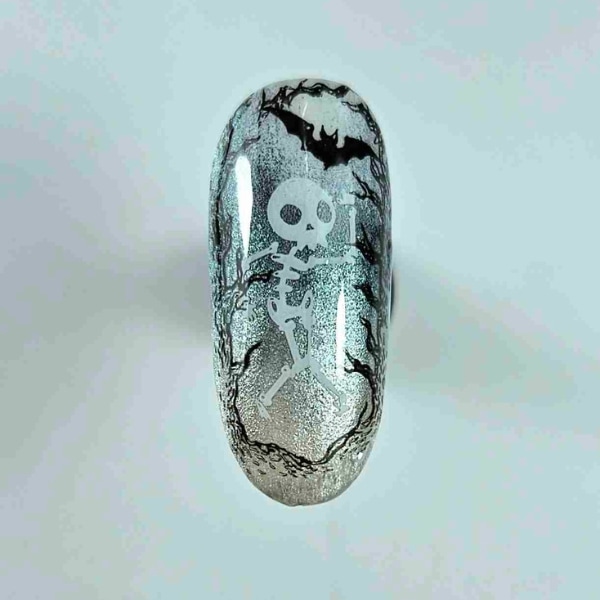
Using the Moyra Stamping Plate in 55 Fall, apply Stamping Polish in Black and cure. Apply the bat using Stamping Plate in 114 Free Falling and Stamping Polish in Smart Black. Apply top coat and cure.

Read the latest issue


