
The Lake District inspired nails by Melanie Lewendon

Step by Step
My inspiration came from the rustic gardens of the Lakes. I wanted to give my design the feel of looking through leaves into a secret garden,” reveals Melanie Lewendon. “Between each layer of leaves, I used a matte top coat layer to magnify the art work.”
See more holiday destination-inspred designs from page 54 of the July issue of Scratch magazine. Get your hands on a copy by clicking here!
Step 1

Apply two coats of your desired colour gel. Cure between each layer.
Step 2
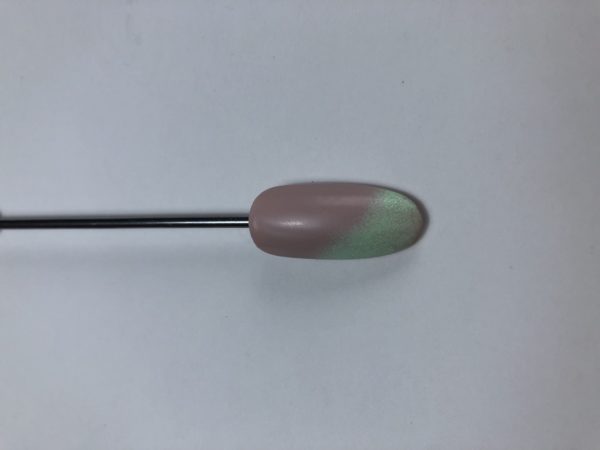
Using a gel paints and a sponge, mix your desired ombre colour in a palette. Apply to the area of the nail you wish to ombre with a clean make up sponge. Do this two or three times, building up the colour gradually and curing between each layer.
Step 3
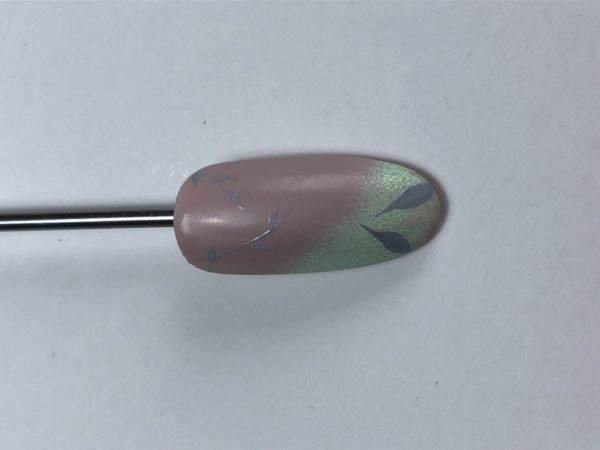
With gel paint, mix 2 shades of grey – a light grey and a darker shade. Using the lighter grey, start to paint leaves and branches. Cure, apply a matte topcoat and cure. Wipe away the inhibition layer.
Step 4
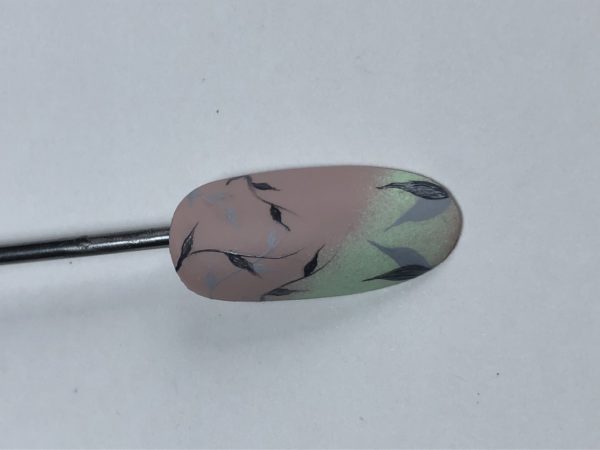
Using the darker grey, paint more leaves and branches in different directions, cure. Apply your matte topcoat and cure. Wipe away the inhibition layer.
Step 5
Using a black gel paint, add more leaves and branches to give perspective. Cure.
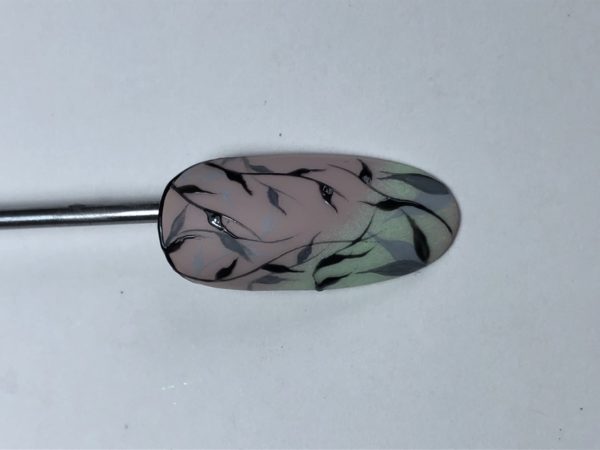
Step 7
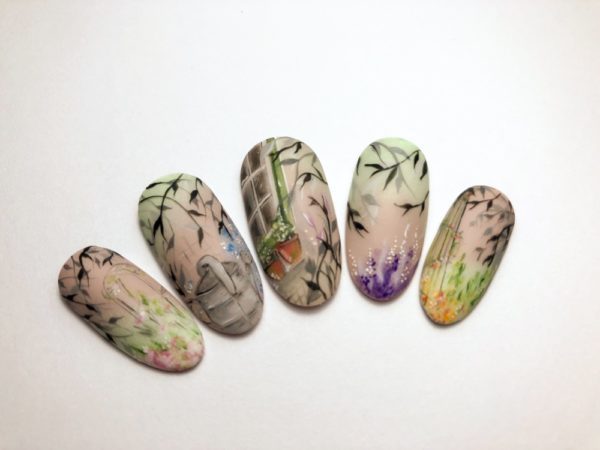
If you want to add flowers or other aspects to the design , do this before adding any of the leaves. If you want your design to be more colourful and vibrant add after the black leaves. Remember the more layers of matte, the more the design softens.
