
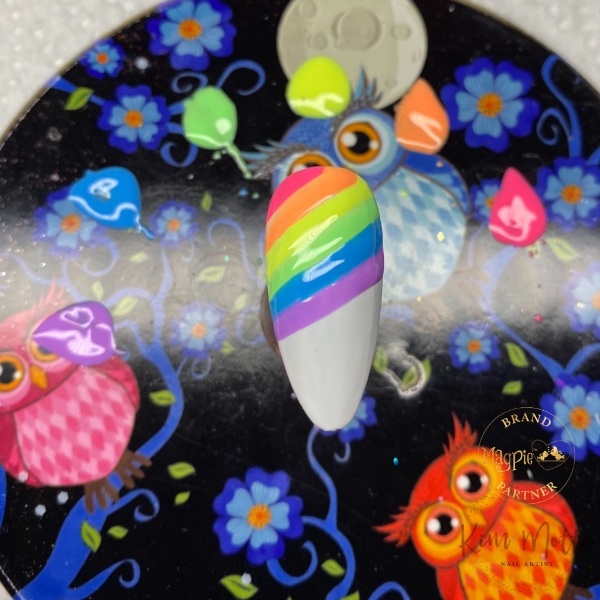
Tie dye nails

Spring/Summer, Step by Step
Stay on-trend this summer with Kim Motte‘s tie dye tutorial!
Step 1
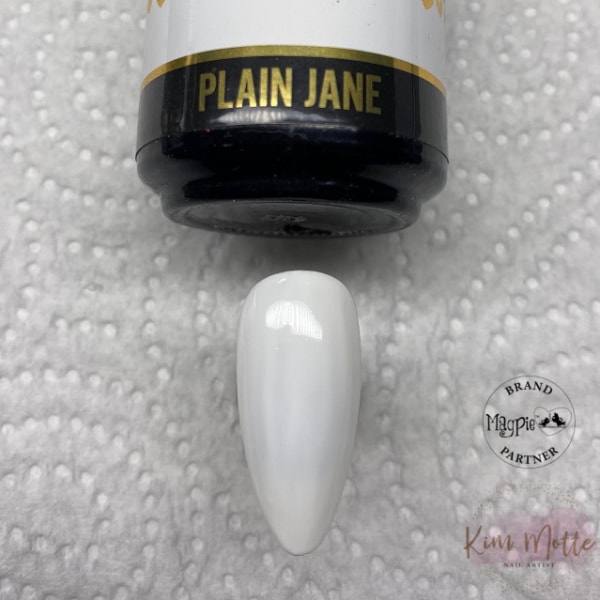
Apply 1-2 coats of your chosen base colour - I am using Magpie's Gel Colour in the shade Plain Jane to best accentuate the colours I am using for my tie-dye. Cure.
Step 2
Using your chosen colours, apply a thin band of each colour in sequence at one corner of the nail with a striping brush. Do not cure.
Step 3
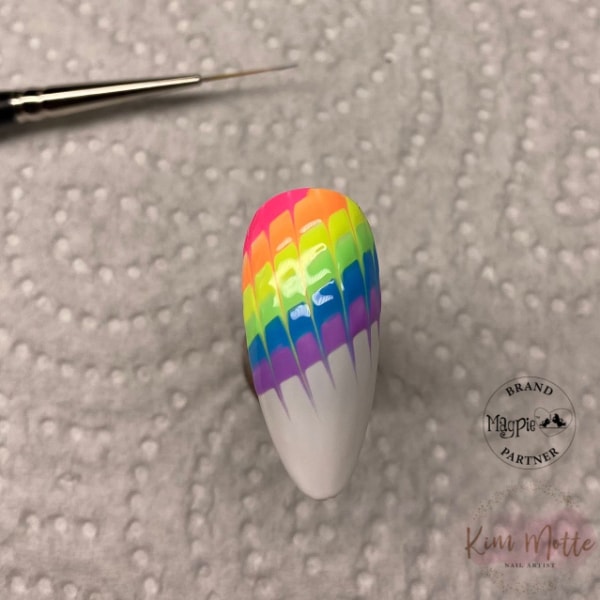
With your striping brush, gently pull the very tip of the bristles down through the colours from the top corner and into a point. Wipe your brush clean after every stroke to keep your colours sharp. Repeat this method across the nail. Do not cure.
Step 4
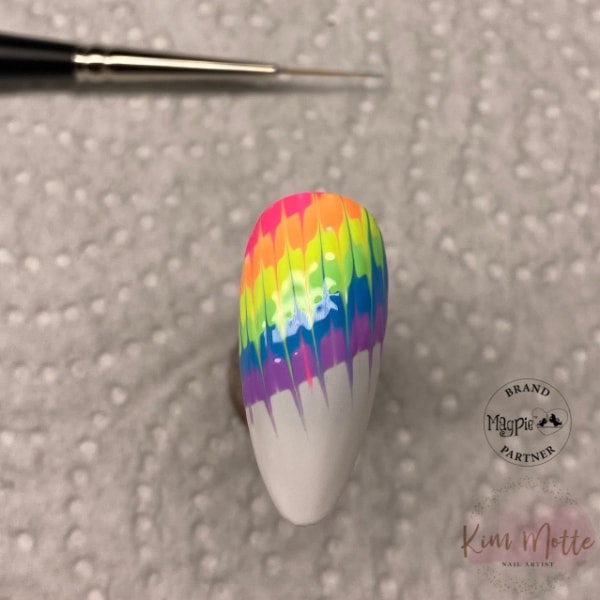
Between each downwards stroke, gently trail the tip of your bristles up through the colours to change the direction. Be sure to clean your brush after every stroke to keep the colours sharp. Repeat across the bands of colour until complete, and then cure.
Step 5

Apply a layer of your chosen topcoat and cure to complete the design.
