
Tinkerbell nails

Step by Step
Freehand nail artist, Gemma Dawson, has created this magical Tinkerbell nail design.
Step 1
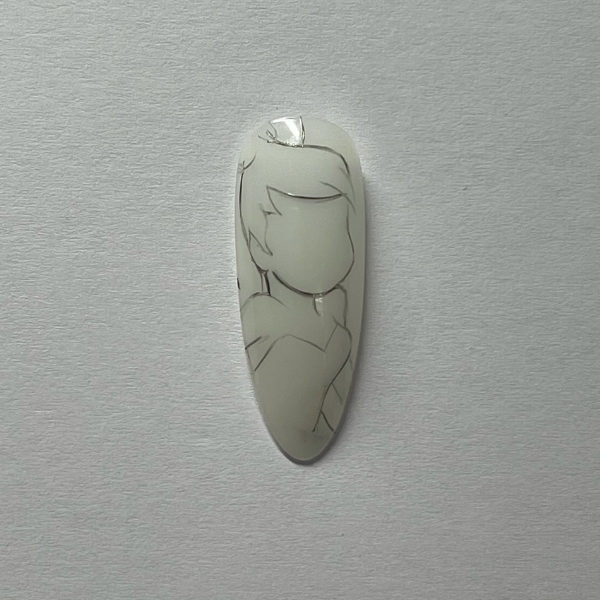
Start with your base colour then outline the shape of Tinkerbell
Step 2
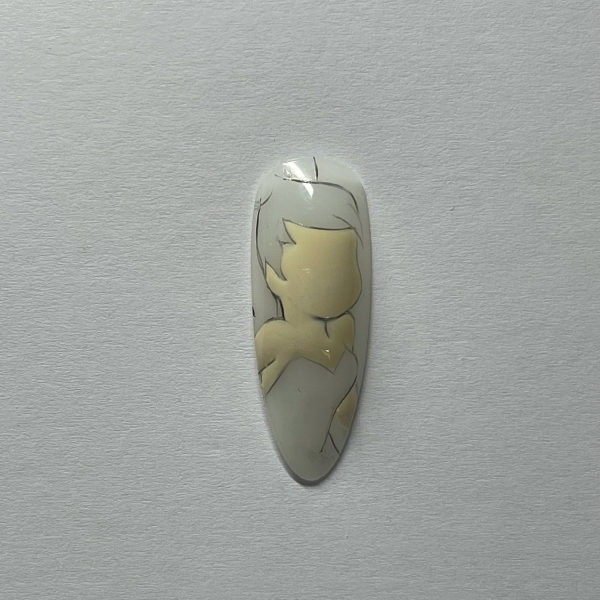
Fill in her skin with a skin tone of your choice then cure
Step 3
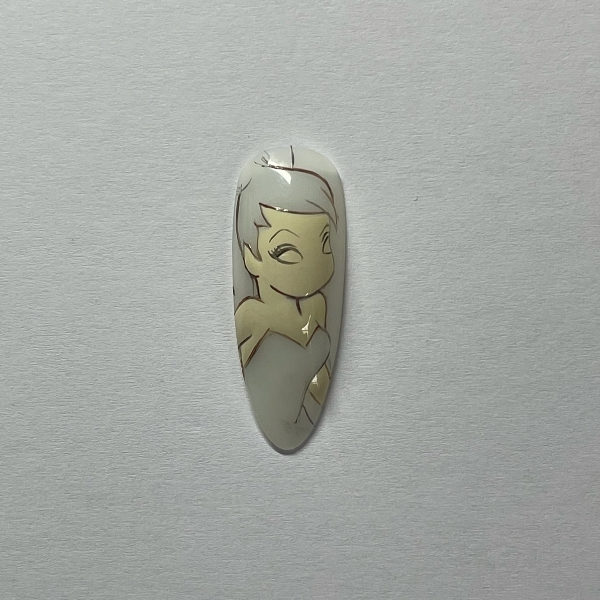
Start with adding her eyebrows and then gradually working down her face, adding her features as you go. This will help you to get your proportions correct
Step 4
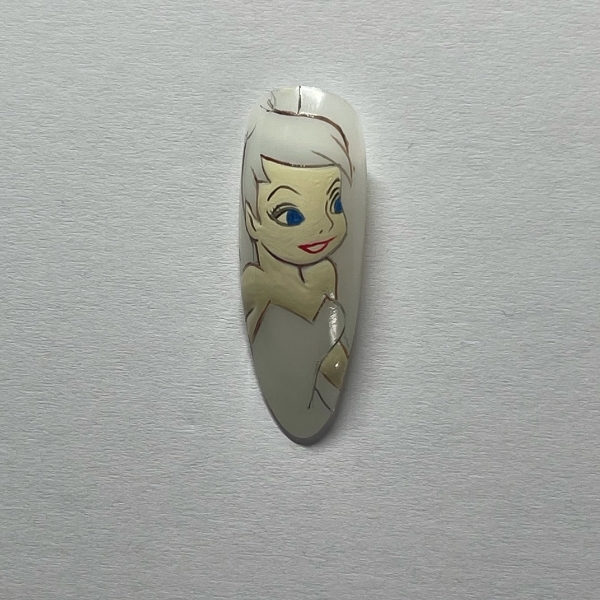
Outline the details of her eyes and add white. Fill them in with a blue iris. Add the outline of her mouth, cure and then fill in her teeth with white.
Step 5
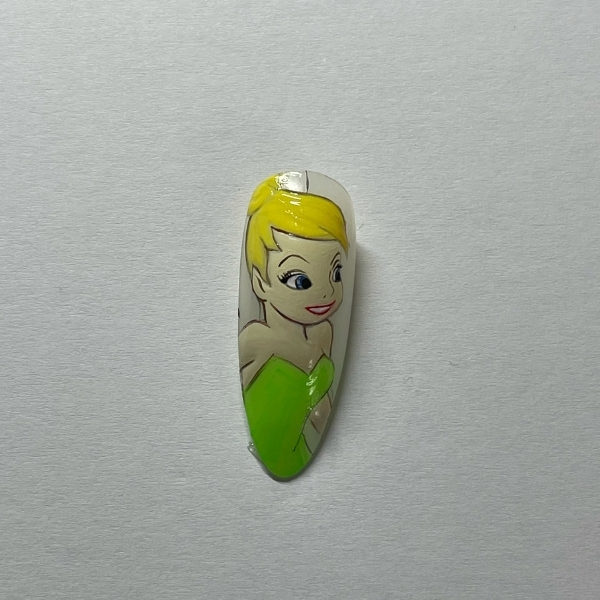
Add eyelashes and pupils. You are then ready to add her hair colour and the colour of her dress
Step 6

Add a white spot into Tinkerbell's eyes. Using a slightly darker skintone than the one you have chosen, add shadow underneath her hairline, jaw and down the back of her neck. You can also add some to the underside of her arms. Add some white highlight points to her hair
Step 7

Use a green holographic glitter for her dress and fill in her wings with a white irredescent glitter or flakes
Step 8
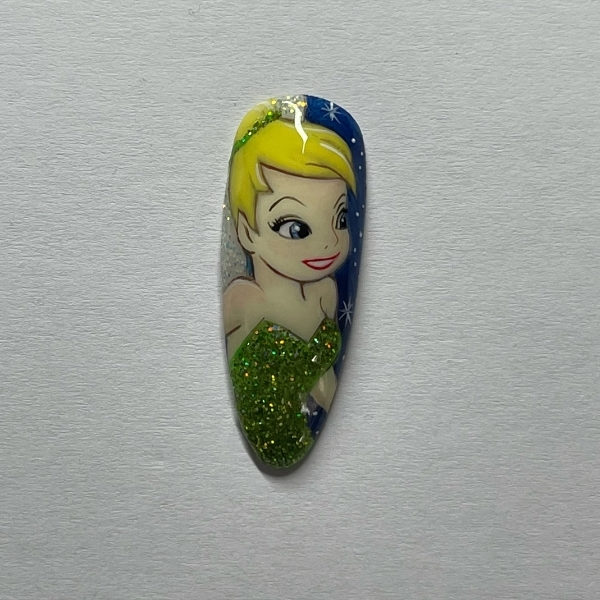
Next go in with a navy gel polish or gel paint. This will act as the night sky. Cure and then go back in with a dotting tool and add some white dots in an S-shaped pattern for fairy dust. Add a little bit of blush to her cheeks in a very pale red or dark pink, then cure
Step 9

Base coat the entire nail to fill in any ridges from brushstrokes, then to finish, top coat and cure
