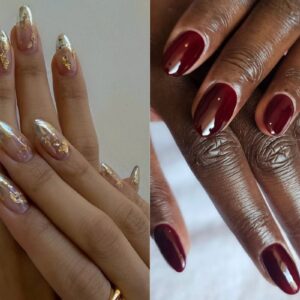
5-step tortoiseshell nail art for tantalising talons

Animal print, Autumn/Winter, Step by Step
Katie Lou Pritchard, brand ambassador for Hara Professional, shares her foolproof method to achieving this luxe layered tortoiseshell look.
Don’t be intimidated by the depth and detail; it’s simpler than it looks, and the results are nothing short of stunning.
Katie used the Hara Professional Tortoiseshell Nail Bundle to create the design.
Products used, available in the UK via www.astonandfincher.co.uk:
- Hara Professional Gel Polishes in Pumpkin, Umber and Ebony.
- Hara Professional Base Coat.
- Hara Professional Gel Polish No Wipe Top Coat.
Step 1

Begin by mixing equal parts of Hara Professional Gel Polishes in Pumpkin and Umber and Hara Professional Base Coat to create a translucent amber tone. Apply a thin layer to the nail and do not cure.
Step 2

Add blobs of Hara Professional Gel Polish in Ebony randomly across the nail. Let them bloom naturally to create an organic mottled effect. Use a brush to lightly blend and texture the blobs. Cure for 60 seconds in the Hara Pro LED/UV Nail Lamp.
Step 3

Repeat steps 1 and 2 to deepen the layered effect. This time, add a few Umber spots alongside the Ebony blobs to enhance dimension.
Step 4

Apply a layer of the sheer mixture of Pumpkin, Umber and Base Coat. Cure for 60 seconds.
Step 5

Finish with a smooth float of Hara Professional Gel Polish No Wipe Top Coat across the nail for a glossy, glass-like finish. Cure for 60 seconds.

Read the latest issue