
Toy Story nail tutorial: Woody nail art

Step by Step
Rachel Mansfield is an East Sussex-based nail artist, who you may know by her business name: Pretty Perfect Nails 2017. She has created a community of over 45K nail enthusiasts on Instagram, and supports global nail techs by breaking down nail designs into simple steps.
She has done just that for Scratch, explaining how to paint Toy Story character, Woody’s shirt on a nail – in time for the release of Toy Story 5 on 19 June.

Are you enjoying this content?
Join our community to receive more like this
Step 1
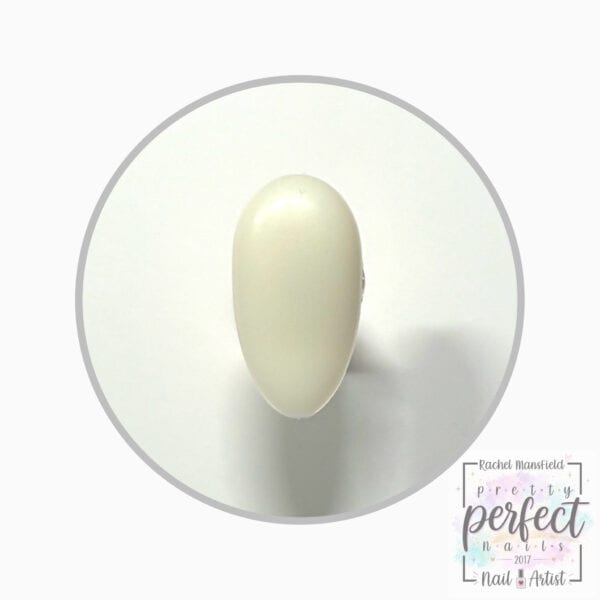
Prep the nail ready for the design.
Step 2
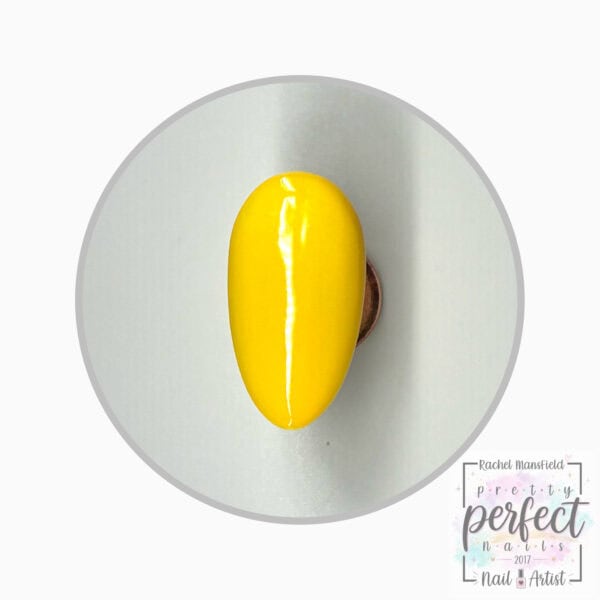
Apply two coats of yellow gel polish, curing after each application - following the manufacturer's guidelines. Remove the tacky layer once fully cured.
Step 3
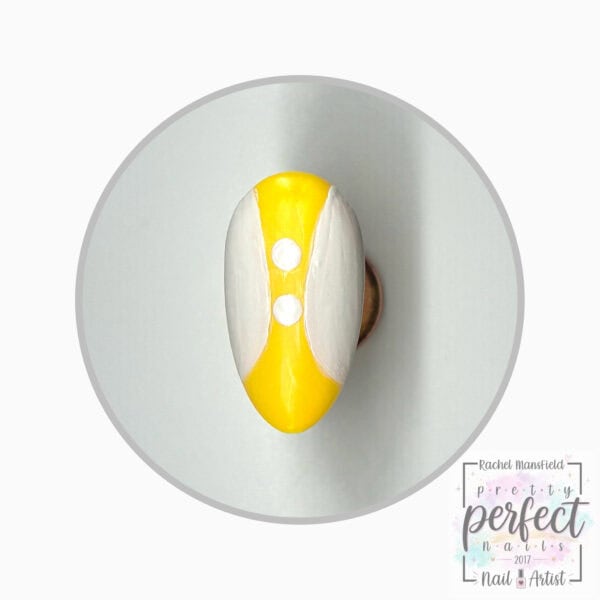
Using a white gel paint or gel polish, paint two large semicircles on either side of the nail, to create Woody's jacket. With a dotting tool, place two white dots (buttons) in the middle of the design and cure.
Step 4
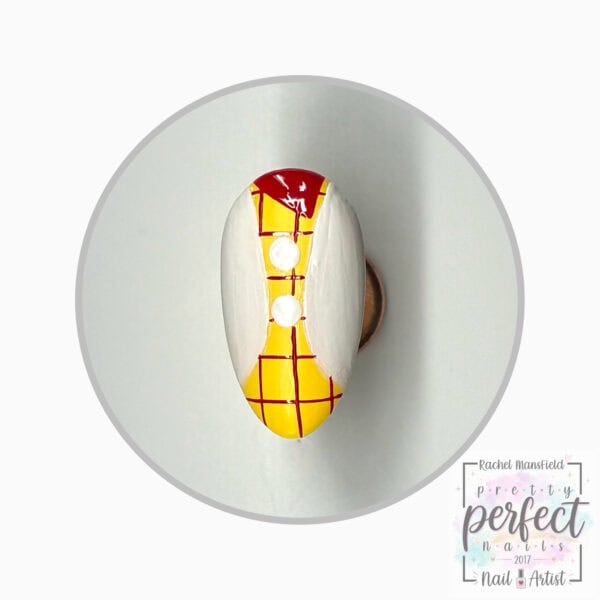
Using deep red gel paint, paint equally spaced vertical and horizontal lines on the yellow background, making a chequered pattern. At the top of the nail, paint a red lopsided triangle shape (Woody's scarf). Cure when happy with the design.
Step 5
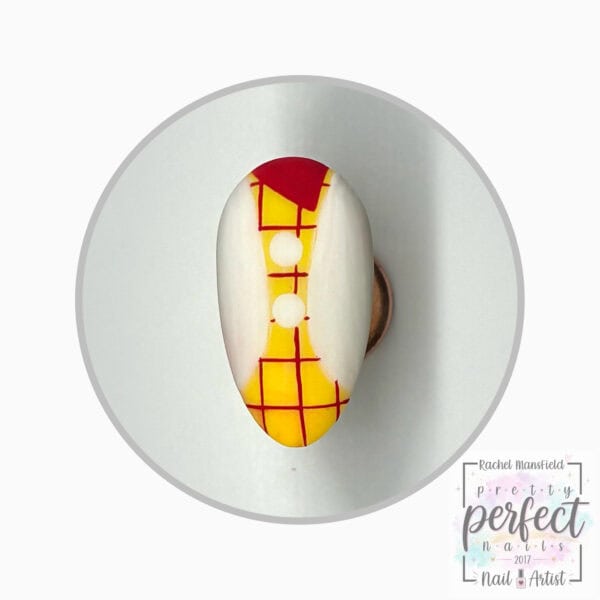
Apply matte top coat to the entire nail and cure.
Step 6
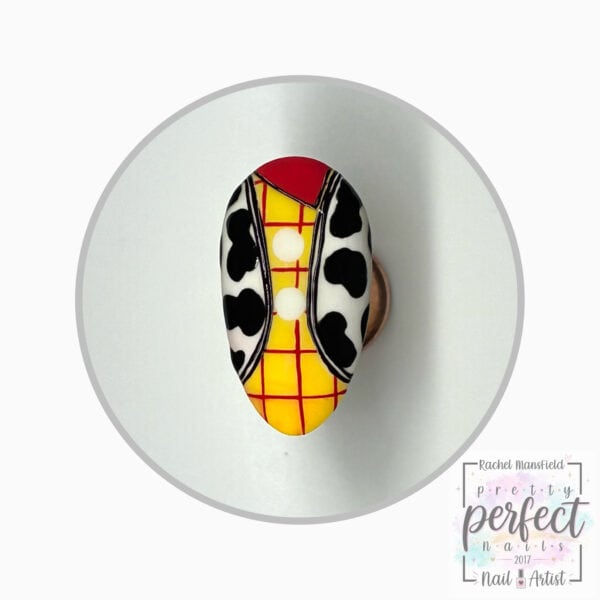
Using black gel paint, outline the red scarf, then the white semicircles with two thin lines. Paint some black cow print marks on the white semicircles. Cure.
Step 7
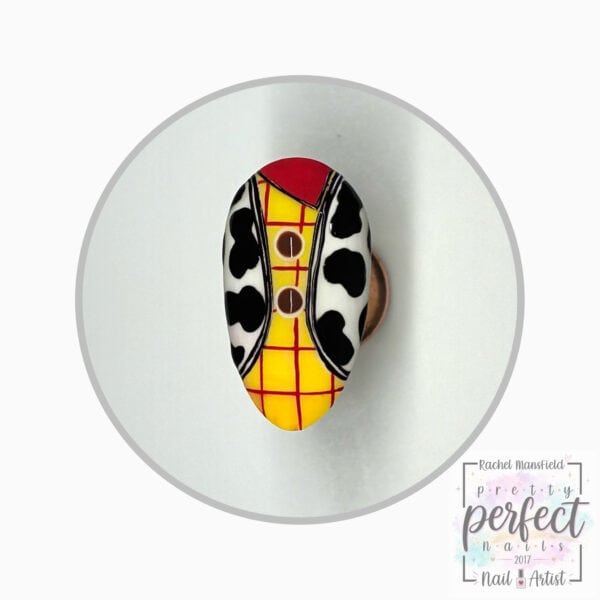
Add two brown gel paint dots in the middle of the white circles/buttons and cure.
Step 8
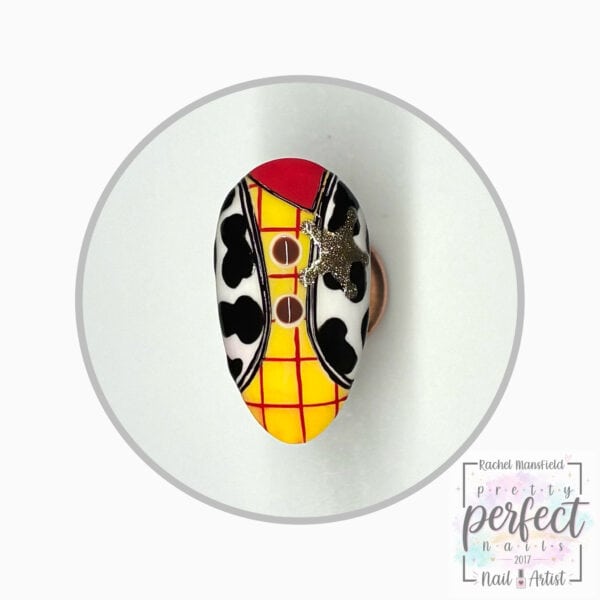
Using gold gel paint, paint a star on the right-hand side of the design/jacket. Alternatively, you could add a gold star sticker. If painting the star, use a dotting tool to place a small gold dot at the end of each point, and cure once happy with the look.