How to create romantic Valentine’s swirl nails

Seasonal & Occasions, Step by Step
Magpie Beauty brand partner, Rachel Mansfield of Pretty Perfect Nails, reveals how to create a trendy swirl nail design for Valentine’s Day.
Step 1
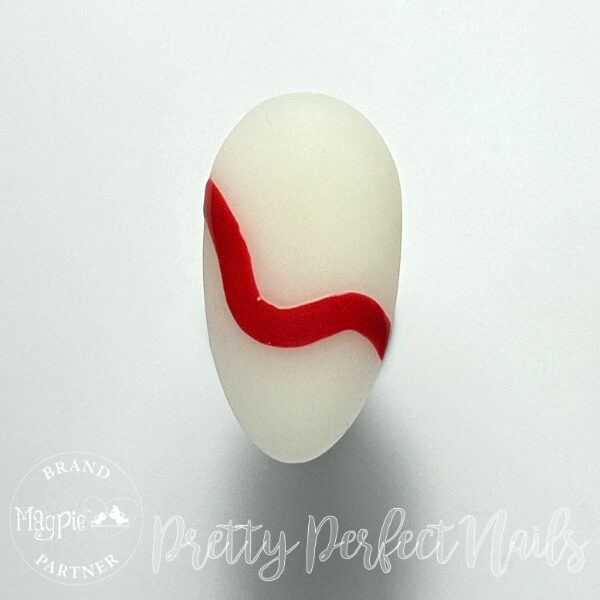
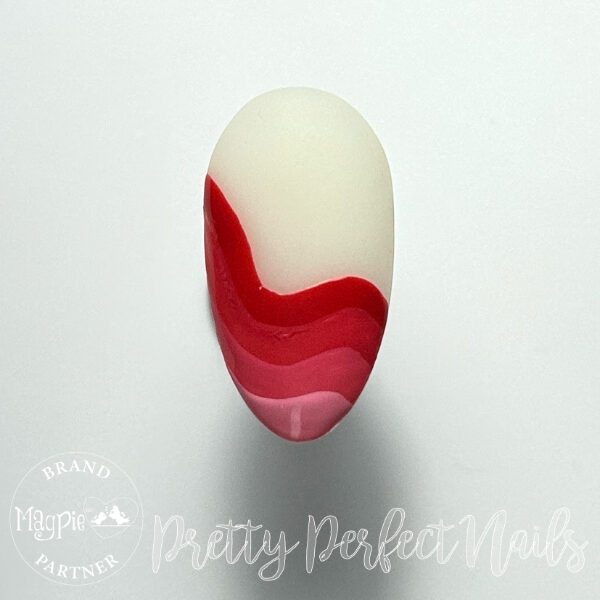
Apply two coats of a nude or natural base, curing in between layers. Wipe the tacky layer off with Magpie Beauty Prep & Dehydrate. Using Magpie's ARTYgel gel paint in Chilli, paint a wavy line halfway up the nail. Cure.
Step 2
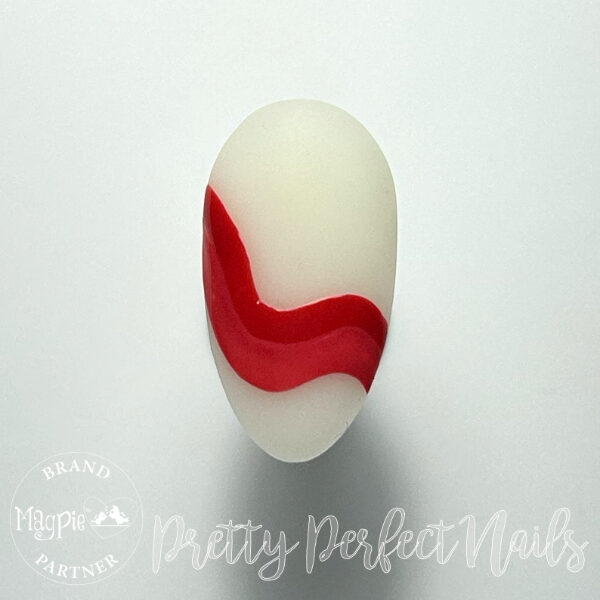
Mix ARTYgels in White and Chilli to create a shade you’re happy with, then paint it below the first line. Cure.
Step 3
Repeat step two until the wavy lines reach the tip of the nail, adding more White each time to create a gradient. Cure after each line.
Step 4
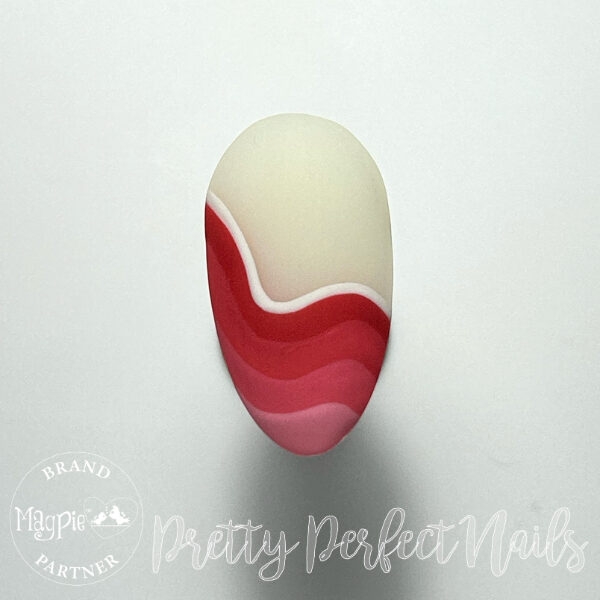
Using ARTYgel in White, paint a thin line against the first red line and cure. Add a matte top coat and cure.
Step 5
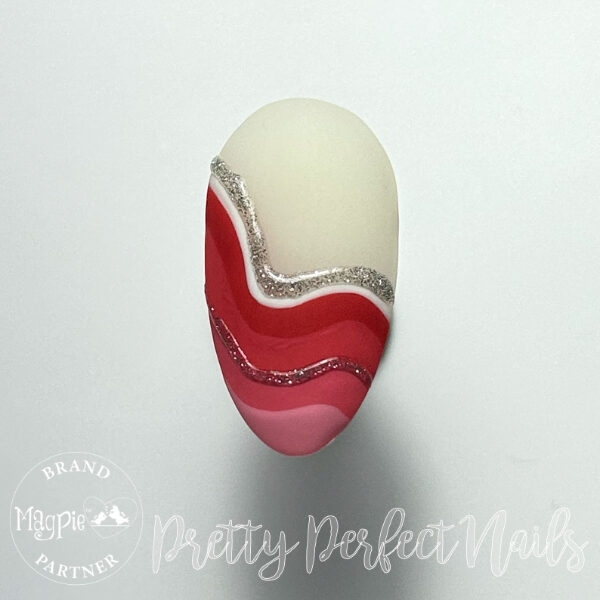
Mixing a silver glitter with top coat, paint a thin line next to the white, and another next to one of the mixed red shades. Cure.
Step 6
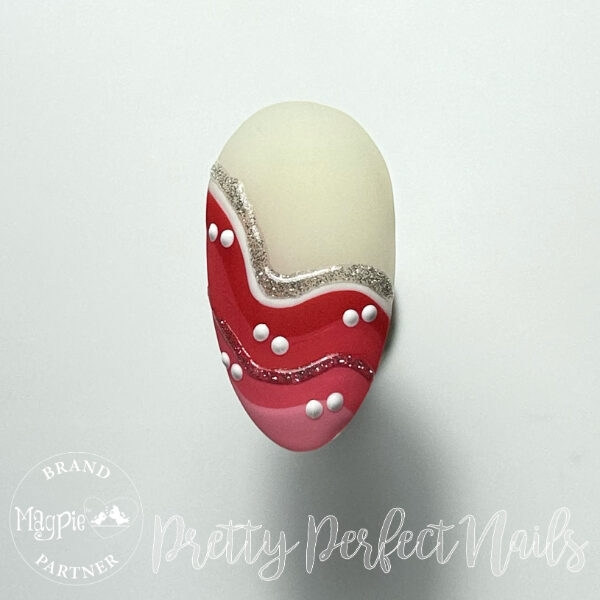
Using the White ARTYgel and a dotting tool, add two small dots where you want to place your hearts.
Step 7
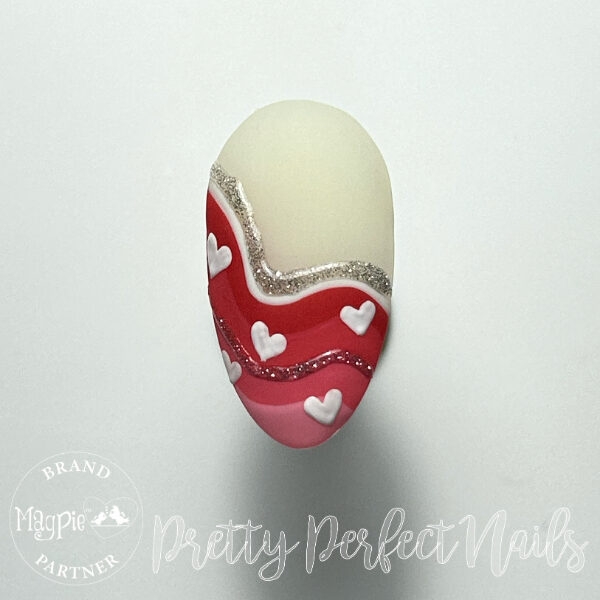
Join up the dots to create hearts on the nail and cure.
Step 8
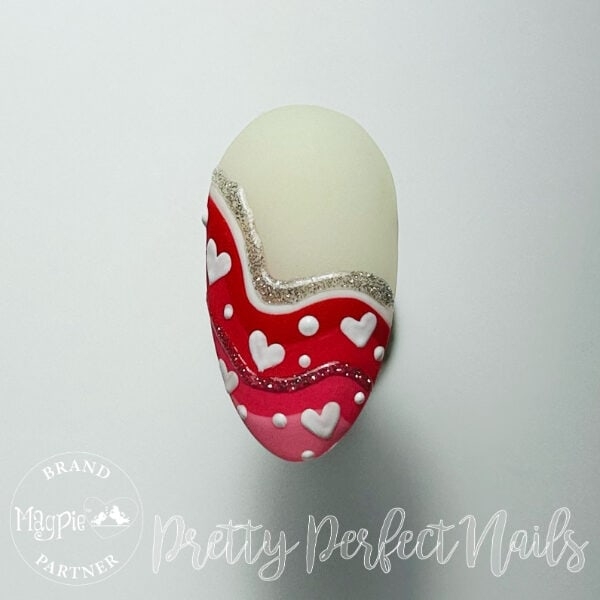
Using a dotting tool, place random sized dots in between the hearts and cure to finish the look.

Read the latest issue