

How-to: tortoiseshell nail art
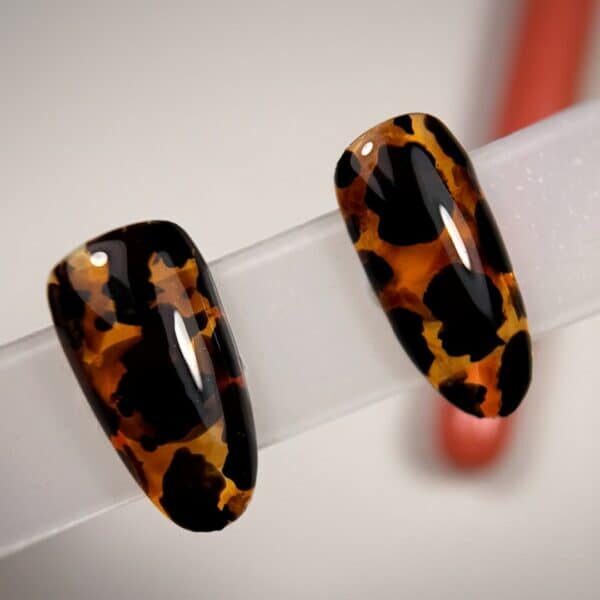
Animal print, Autumn/Winter, Step by Step
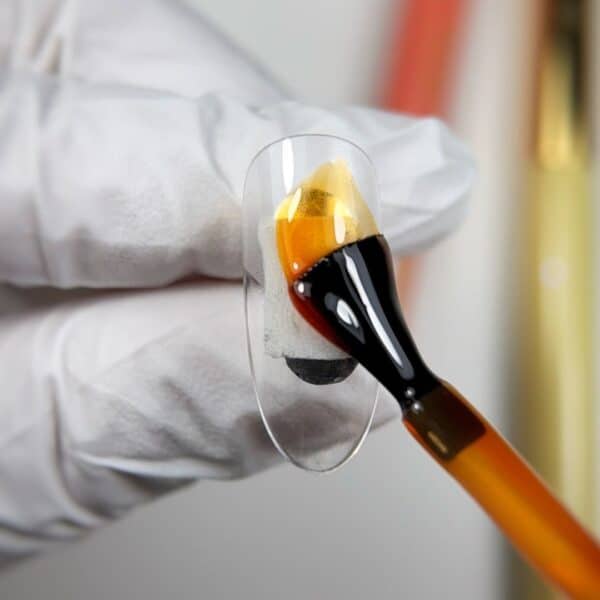
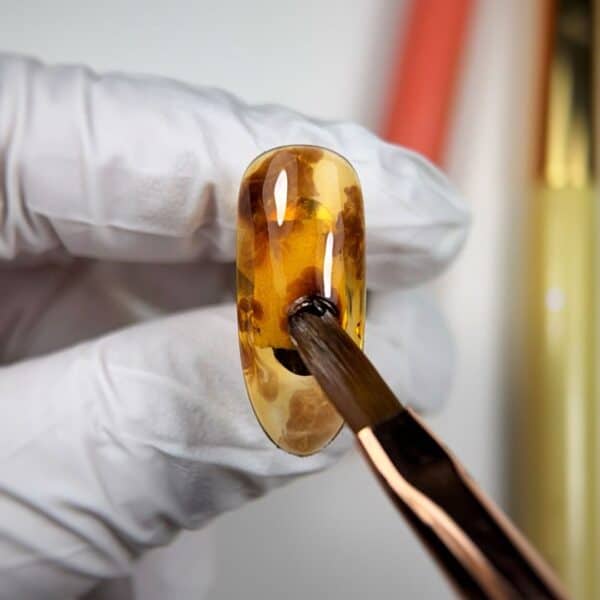
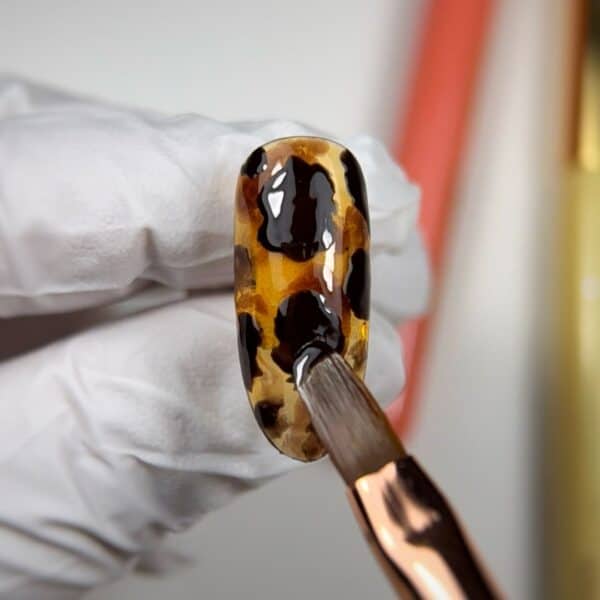
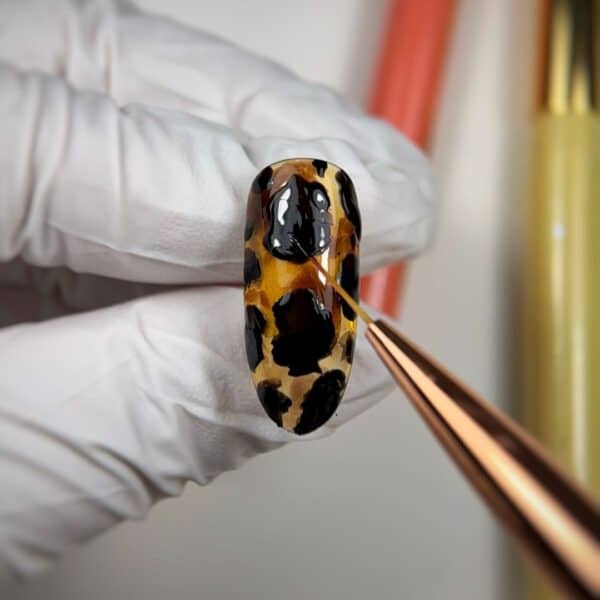
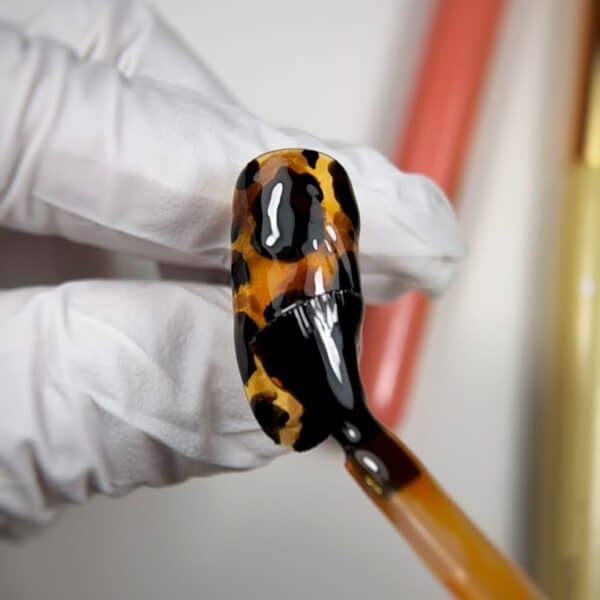
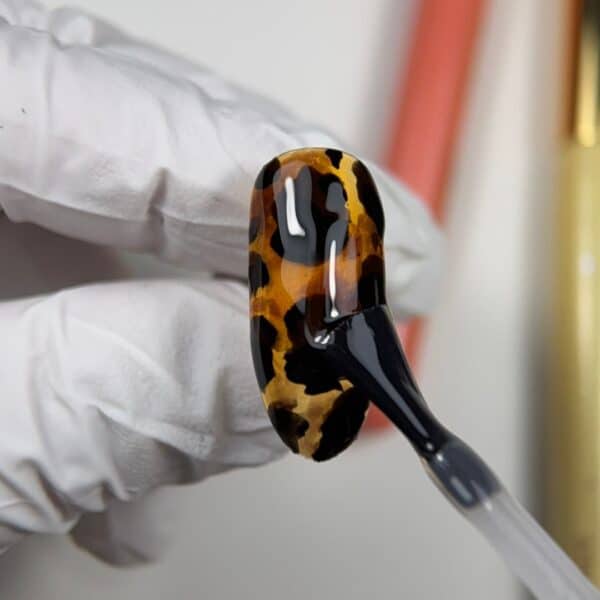
Texas-based nail artist, educator & international competition judge, Halyna Kaliugina, shares how to achieve tortoiseshell nails in six simple steps…
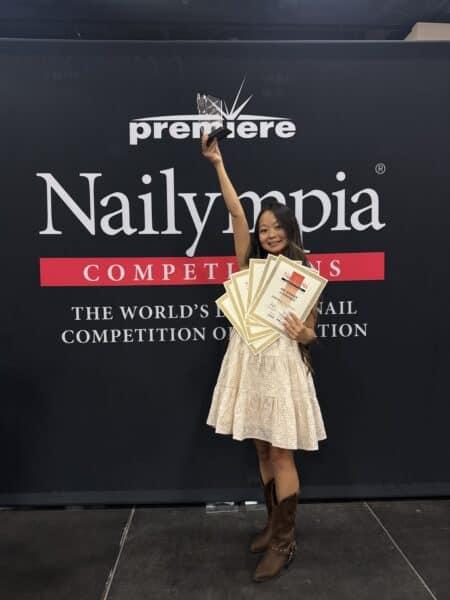 Halyna is a multi award-winning Nailympia competitor, recognised for her precision work, creative nail art and competition designs.
The founder of Texas-based nail studio, LiNails, scooped the Art Winner of Winners trophy at Nailympia San Antonio 2026. Halyna combines advanced nail techniques with a passion for education and artistry.
Tortoiseshell makes a stylish return every autumn/winter, proving that some trends never go out of fashion. Halyna comments:

Are you enjoying this content?
Join our community to receive more like this
“This layered tortoiseshell design looks intricate, but the technique itself is surprisingly simple. The key is to work with translucent shades and slightly offset, irregular shapes. Each layer adds more depth and dimension, creating a warm, glass-like effect. Don’t aim for perfect spots – the more organic and uneven the shapes are, the more natural the finished look.”
You will need:
- Jelly gel polishes in amber and medium brown.
- Gel polishes in dark brown and black.
- Nail art brushes: fine liner and flat.
- Glossy gel polish top coat.
Halyna used the following Kokoist gel polish products:
- NT-12 Tortoise Shell.
- E-240 Marrone Brown Glass.
- E-223 Midnight Chocolate.
- E-148 Blackest Black.
Styling tip: “This tortoiseshell design works beautifully across all ten nails, or as an accent paired with a clean, neutral manicure. Its warm tones make it especially versatile for autumn looks,” Halyna says.