How to fit a form to bitten nails
By Katie Barnes | 28 March 2017 | Feature, Technique
Salon owner, educator, former Scratch columnist and award-winning nail stylist, Katie Barnes, offers advice on tending to the nails of clients that like to nibble…
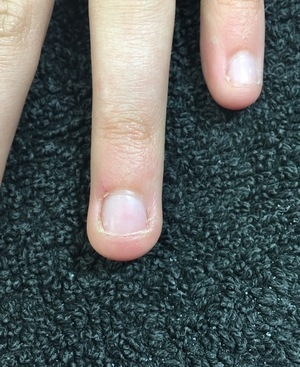
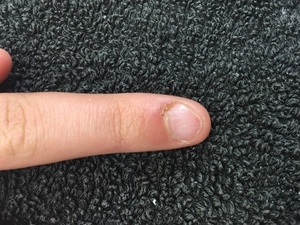
Many clients and techs often believe because a nail is naturally very short, they are unable to extend the nail with a sculpted enhancement or are sometimes just unsure how to achieve length. However bitten the nails are, enhancements can be sculpted providing the surrounding skin is not swollen and the skin unbroken.
These are some of my favourite clients as they can be the most challenging yet rewarding with the success that can be achieved.
When sculpting enhancements on a nail biter, there are a few important points to consider: their history, the length and the maintenance and aftercare.
Client history
It is important to sit down with the client and offer a thorough consultation to figure out what will work best for them so you can tailor the treatment to suit the individual.
Length and shape
The extension should be no more than 1/3 of the nail plate, but sometimes this may be necessary to get the length to where the natural free edge should be. Keeping this rule for length in mind, there will be very little free edge for the client to adjust to in their day-to-day lifestyle. Starting out with short enhancements is the key to success for the nail biter. The next important aspect is correct shaping. You must not leave any edges for them to be able to pick, otherwise they could start picking instead of biting.
Maintenance and aftercare
Educate your client to file and oil rather than pick and bite. Every client is different, enhancements on severely bitten nails won’t last as long as on strong, healthy nails so clients need to be educated that they may have to visit for maintenance appointments more often to begin with until their own nails begin to grow.
Tailoring your form
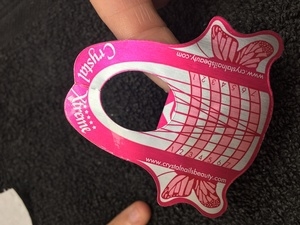
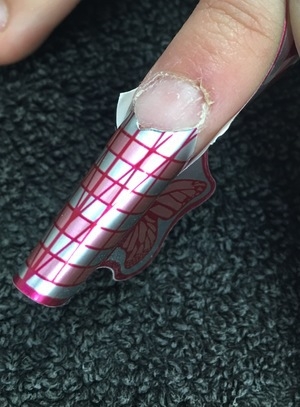
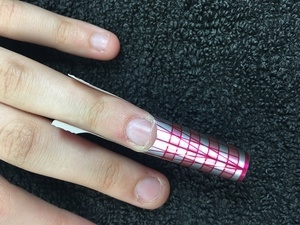
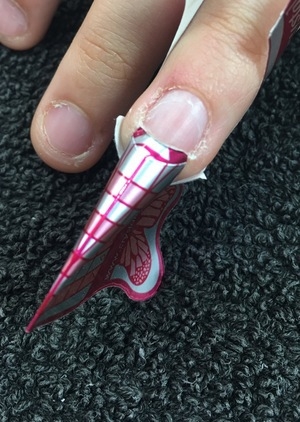
Nails are not all one size or shape, so it is likely that you will need to pre-customise your form prior to fitting under a client’s nail, especially that of a nail biter. Nail biters come in different degrees – from a nibbler to a severe biter. It is paramount that the form fit is flush under or at the free edge, even if there is not an apparent one in sight.
Sculpting nails is like architecture; if the foundation is incorrect, the structure will be compromised. If a form doesn’t fit perfectly, adjustments are required to get that perfect fit. This is especially true for a nail biter, who will have no free edge and most likely excess skin to work around. It is paramount to ensure that as well as the correct placement, the correct adjustments are also made. If there is a gap between the natural nail and the form then the product will leak under and create a ridge at the join. Not only will this give the client something to pick at, it will also create a weakness.
Many techs struggle with how to fit a form on an uneven free edge or when the fleshy pad of skin where the free edge would usually be is raised and higher than the nail plate. The nail plate is often flat or may be concave.
When pre-customising my forms, I always cut the form at a 45-degree angle from the side wall to allow a tighter pinch and ‘c curve’, which also allows you to ensure that the product has no edges.
It’s essential that your nail nibbling client keeps seeing you for regular appointments even after they’ve stopped biting, to ensure their nails stay healthy, and nibble free.
Love Katie B x
