

How to successfully edit your nail photos
By Katie Barnes | 17 July 2023 | Business, Expert Advice, Feature, Technique

In a previous blog, I shared 5 top tips on improving your nail photos. In this post, I am going to share more about editing your nail photos.
Editing images these days, including nail images is a controversial topic. Your nail images should show the quality and truth of your work. It is therefore important to not over edit, but equally as important to enhance and make the best of the image to make it stand out.
It may be that you take a pic against a perfect crisp, white background and you spot some black fluff distracting from the nails in the image, or your customer has a cat scratch that they had prior to attending their appointment and you don’t want it to look like the cut was obtained from their nail appointment. Remember – the camera has better sight than us at times, and these slight imperfections can’t be seen in person but can be through the camera and the need to edit is sometimes necessary. Keep in mind this is only going to work if there is a tiny touch-up needed. If the full perimeter of the nail is wavy or the glitter is all over the skin, then this calls for more practice in application versus an editing app.
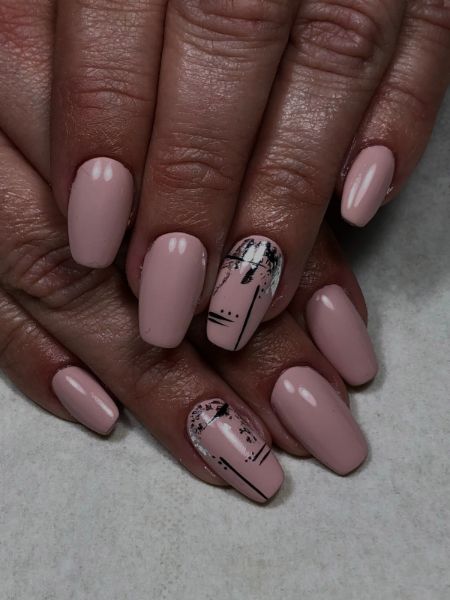
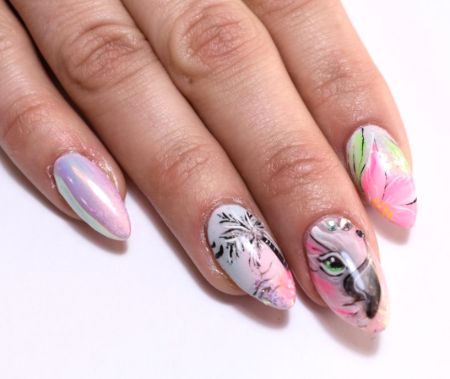
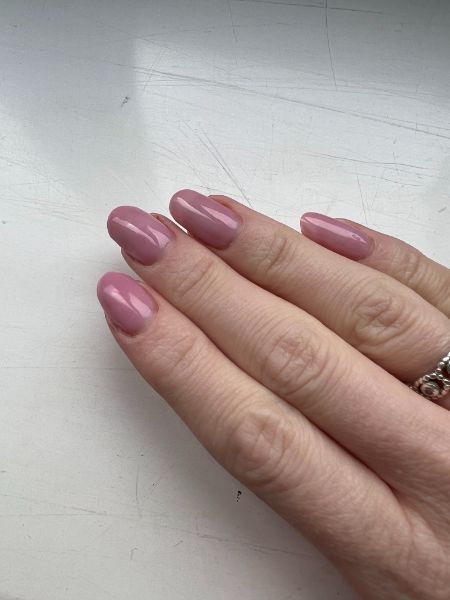
Unedited photo; dull with fluff
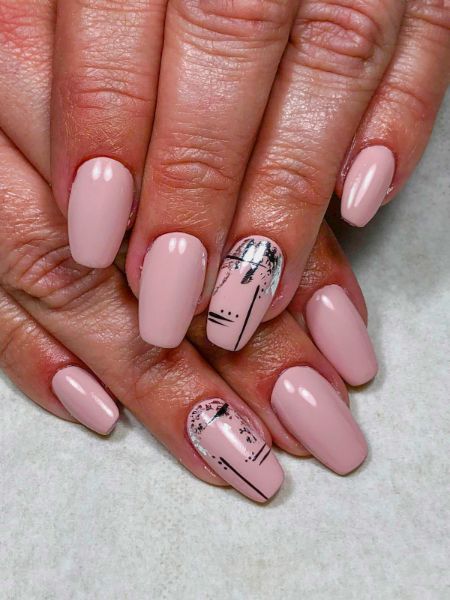
Edited, fluff removed using PS Express Heal function
Editing your image
The first stage of editing is cropping. I only recommend using your phone zoom x 2 and cropping for a crisper final image. Cropping your image will make sure the nails are the focus and any background clutter is removed.
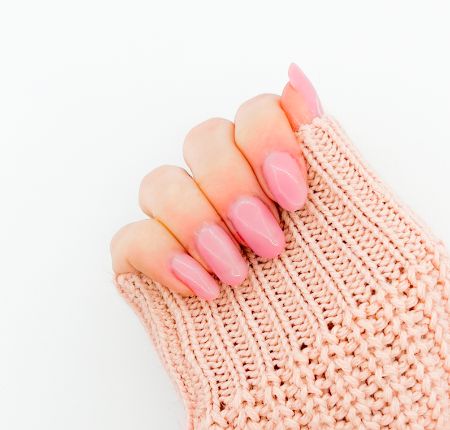
Unedited nail photo
Edited using Pixelcut
Next is adjusting the brightness and correcting colours. You can instantly change and bring life to an image by improving the brightness and removing shadows.
When you take photos, they are often at all different times of the day and this therefore, affects the white balance of the photos.
When you shoot, you may find that the temperature of your photos has a blue or yellow hue. It is important to remove any of these hues to make your photos uniform with the same background colour. You can do this by editing your exposure, contrast and saturation. adjust colour balance to make the colours more accurate. While greatly improved, try to avoid the classic photo filters and instead use the manual sliders on your editing app to strike a balance between true to life and bright and focused.
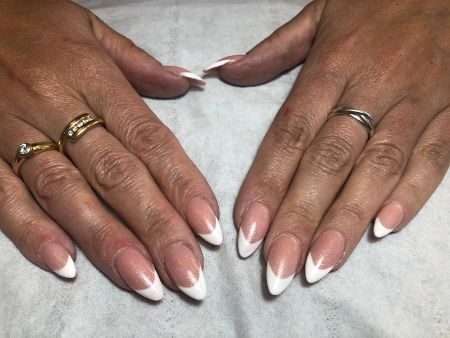
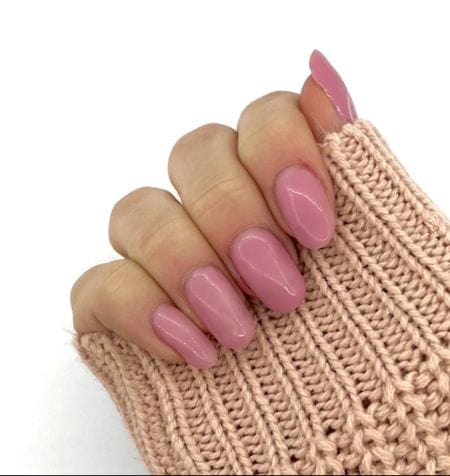
Unedited nail photo
Edited nail photo; cropped & colour edited using phone camera settings
Some of my favourite editing apps are:
- Phone camera editing (cropping, exposure, contrast and saturation)
- PS Express (for touch ups)
- Pixel Art (great for changing backgrounds)
- Photoroom (great for changing backgrounds)
Some of these have a small fee but you can download free trials to see if they are suitable for you.
Overediting your images
Striking the balance between enhancing and overediting your images can be difficult. When the photo starts to look fake, the skin over smoothed so the knuckles disappear, cuticles blended into the skin and filters look unnatural this is when you know the photo has been overedited. The aim is to make the most of the image, not completely alter it.
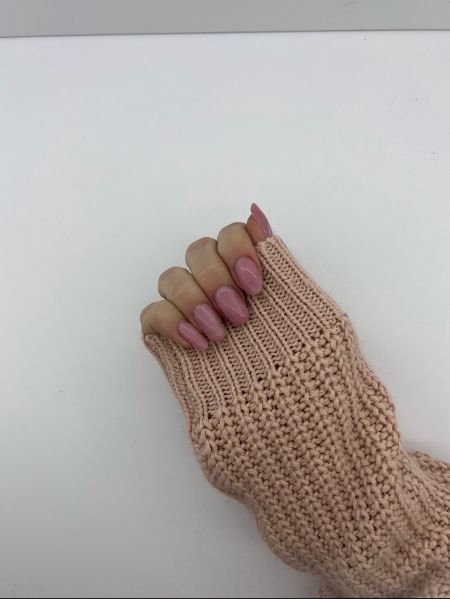
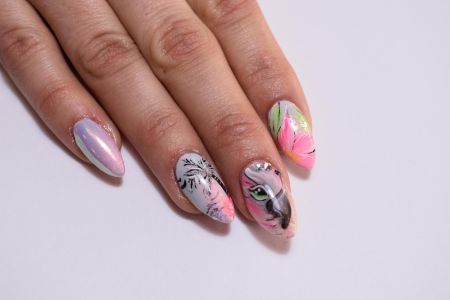
Nail image unedited
Nail image over-edited
Edited using Pixelcut to change the background colour
Edited with phone camera settings
Background
While a clean, crisp white background will ensure your nails are the focus and set you apart from your competitors; the background you select should reflect your branding – you can change this background to match your branding or a particular theme by using apps such as Pixelcut.
Unedited nail photo
Edited with PixelCut to clean up the background
It is important to ensure your nail photos represent the work you are creating while enhancing your image to its best potential to showcase your skills.
Love Katie B x